Sale by Photo: Master Second-Hand Listings in 2026


Table of Contents
You’ve got the item in your hands, the light from the window looks decent, and you’re about to list it anyway, even though the first photo still feels flat. That’s the moment where most second-hand sellers lose momentum. Buyers scroll fast, compare dozens of listings, and decide in seconds whether your item looks trustworthy enough to open, save, or message about.
A sale by photo approach treats each image like part of the sales pitch, not decoration. That matters because professional imagery has been linked to faster sales and stronger prices in major housing markets, where listings with professional photos sold 32% more and 32% faster on average, and buyers said photos were the most important online factor in their decision-making (imgix’s summary of VHT Studios data). Second-hand selling works the same way in spirit, even if the category is different. The seller who shows the right view first usually gets the buyer who keeps reading.
Table of Contents
- Introduction to Sale by Photo
- Understanding the Key Concepts
- Platforms and Photo First Workflows
- Benefits of Sale by Photo for Second-Hand Sellers
- Limitations of Sale by Photo Strategy
- Best Practices for Photo Quality
- Automating Photo-Driven Listings
- Conclusion and Next Steps
Introduction to Sale by Photo
A vintage camera can sit unsold for weeks because the first image makes it look like a dusty shelf object instead of a desirable collectible. Then the seller swaps in a cleaner main photo, adds one close-up of the lens, and the listing suddenly feels different. Nothing about the camera changed, but the buyer’s confidence did.
This is the primary purpose of sale by photo. It’s the practice of using images to answer buyer questions before they even type them, especially in second-hand marketplaces where condition, completeness, and authenticity matter more than polish. When buyers can’t touch the item, the photos become the inspection table, the salesperson, and the trust signal all at once.
For second-hand sellers, this shift is practical, not theoretical. A photo-first listing reduces guesswork, helps buyers compare options, and makes your item easier to understand at a glance. In categories like electronics, fashion, and collectibles, that clarity can be the difference between a saved listing and a completed sale.
Practical rule: if a photo doesn’t help a stranger understand the item faster, it’s probably not earning its place in the listing.
Understanding the Key Concepts

The easiest way to understand sale by photo is to compare it to real estate. In housing, photos stopped being a supplement and became the main filter for decision-making. That same logic now drives online resale, where the buyer often sees the image before they ever read the title.
A photo-first listing usually has four jobs. The primary display shot catches attention and gives a clean first impression. Detail images show texture, labels, ports, stitching, or any feature that proves value. Flaw documentation shows wear transparently, which lowers surprise later. Scale references show size in a way words often can’t, especially for items that are smaller or larger than people expect.
Imagine handing a buyer a tiny inspection packet. One image says, “This is the item.” The others say, “Here’s what matters, here’s what’s included, and here’s what you should know before you buy.” That structure is what turns casual browsing into informed buying.
In major housing markets, professional photography has been tied to materially better outcomes, including faster sales and stronger realized value, and that’s a useful analogy for resale because the mechanism is the same, better visuals reduce uncertainty (imgix’s data summary). The more uncertainty you remove, the less work the buyer has to do.
Platforms and Photo First Workflows
A marketplace listing is only as strong as its preview. On visual platforms, the photo isn’t just content, it’s the gatekeeper that decides whether someone clicks into the item at all. That’s why platform rules and photo habits matter so much for resale sellers.
How different marketplaces shape the workflow
Some platforms push you toward speed, others toward compliance. eBay and Amazon are the clearest examples of technical image rules, because they care about whether photos load, zoom, and meet catalog standards. eBay accepts images with at least 500 pixels on the longest side and recommends 1,600 pixels for zoom, while Amazon requires clear, non-pixelated images and sets a 10,000-pixel maximum on the longest side (eBay photo dimensions guide). That’s why many sellers standardize around a ~1,600px longest-side JPEG, since it clears zoom needs without creating extra upload friction.
Other marketplaces are less strict on paper, but still behave like photo-first environments in practice. More images usually means fewer doubts, and listings with 20+ high-quality photos have been reported to receive 118% more views on Zillow, with other marketplaces often mirroring that pattern (industry roundup). For second-hand sellers, the lesson is simple. If the platform is visual, the buyer is visual too.
A practical workflow that fits most sellers
Start with one clean hero image, then add proof images in the order a cautious buyer would ask for them. If you sell across multiple channels, use your master set once, then adapt it to each platform’s image rules and crop behavior. If you want a channel overview while choosing where to list, the marketplace guide at Ruit’s best selling sites overview can help frame the channel mix.
A good workflow also keeps the item’s story consistent across channels. The same jacket should look like the same jacket on every platform, even if one listing needs a tighter crop and another needs a white background. Consistency reduces buyer confusion and saves you from rewriting the visual narrative each time.
Benefits of Sale by Photo for Second-Hand Sellers
Second-hand buyers don’t just want to know what an item is, they want to know whether it’s worth the risk. Good photos answer that question early, which is why photo-first listings usually feel easier to sell and easier to manage.
What better images do for your listing
- They raise trust quickly. Clear images make the listing feel real, not recycled or vague. Buyers are more likely to believe the condition matches the description when they can inspect the item visually.
- They reduce repetitive messages. When the listing shows wear, labels, accessories, and size cues, fewer buyers need to ask for basic clarification.
- They support better pricing. A clean presentation can justify a stronger ask because the item looks cared for, not rushed.
- They improve browsing efficiency. Buyers can tell faster whether the item fits their need, which helps the right people click through and the wrong people move on.
The strongest benefit is not just more clicks, it’s better-fit clicks. A buyer who understands the item from the photos is less likely to reopen the conversation later with disappointment or confusion. That matters in resale because time spent answering the same question is time not spent sourcing, listing, or shipping.
A clear photo set also helps when you’re trying to sell items that need explanation, like used electronics or clothing with fit risk. If your images already show the ports, tags, wear points, and included parts, your description can stay shorter and more direct. The listing becomes easier to trust because the photos do part of the communication work.
Limitations of Sale by Photo Strategy
Photo-first selling solves a lot, but it doesn’t solve everything. The biggest trade-off is time, because every extra image takes setup, shooting, sorting, and sometimes editing. If you list at volume, that overhead adds up fast.
The second risk is the opposite of the first, too many images without a plan. More photos can help buyers, but only if the set is purposeful. If you flood the listing with near-duplicates, you waste your own time and make the item harder to scan.
There’s also a genuine research gap in second-hand commerce. Existing guides repeat generic advice about showing flaws and scale, but they don’t quantify which image types most reduce return rates or buyer disputes (Gavelbase’s discussion of buyer expectations). That leaves sellers doing the best they can with judgment, category knowledge, and customer feedback.
The most honest way to think about it is this. A photo set should be complete enough to reduce surprises, but lean enough that you can ship listings consistently. That balance is different for a handbag than for a laptop, and different again for a collectible toy.
Best Practices for Photo Quality
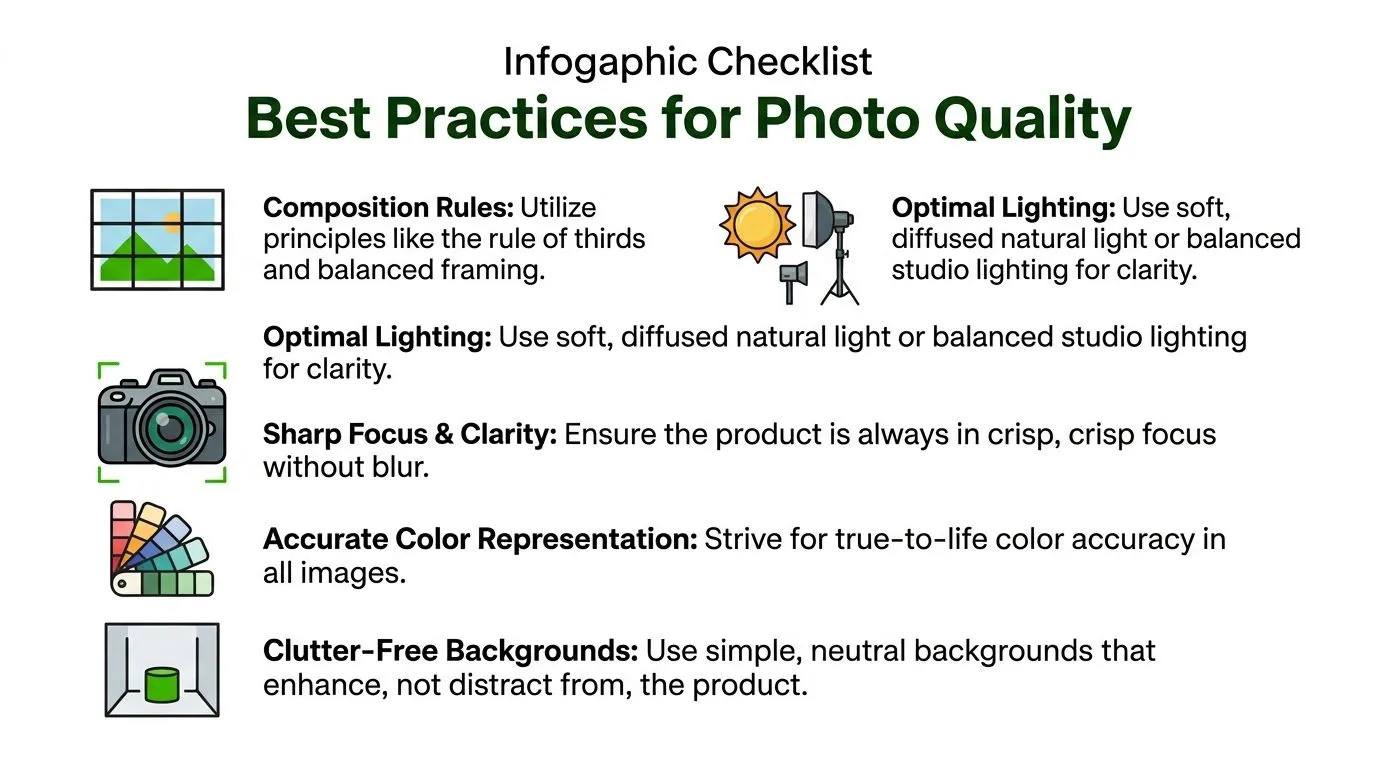
The best resale photos are not the most dramatic ones. They’re the ones that make the item easy to understand, easy to trust, and easy to buy without second-guessing. That means paying attention to framing, light, and file quality before you ever worry about filters.
The technical side that buyers notice
Use even lighting first. Soft daylight near a window usually works better than harsh overhead light because it preserves true color and avoids ugly shadows. For product close-ups, keep the item in sharp focus and avoid angles that make the object look warped or smaller than it really is.
Resolution matters too, but you don’t need to overdo it. Standardizing on ~1,600px longest-side JPEGs satisfies zoom requirements on both eBay and Amazon while keeping uploads manageable (eBay photo dimensions guide). That size is a practical sweet spot for second-hand sellers who want quality without bloated files.
Clean presentation without over-editing
A simple background usually works best because it keeps attention on the item. For Amazon’s main image, the product needs to occupy at least 85% of the frame on a pure white background, and GS1 catalog exchange standards recommend image sizes from 600×600 to 4,800×4,800 (Amazon image guide and GS1 reference). Even if you’re not selling on Amazon, those standards are useful because they show how strict professional catalog workflows can be.
A useful test is simple. If a stranger can’t tell the condition, size, and main feature in two seconds, the photo probably needs a reshoot.
For sellers who cross-list often, a channel-aware approach helps. One listing may need a tighter crop, while another needs a more neutral background. If you’re building out a Wallapop workflow specifically, this guide to selling on Wallapop fits well with a photo-first setup.
Automating Photo-Driven Listings
Once your photos are solid, the next bottleneck is manual work. Resizing the same item for different platforms, removing backgrounds, renaming files, and publishing listings one by one can eat the entire margin of a busy day. Automation helps because it turns a careful process into a repeatable one.
Where automation saves time without hurting quality
AI background removal is useful when you need clean marketplace-ready images without hand-editing each one. Bulk resizing matters when the same product photo needs to meet different channel rules. Scheduled publishing matters when you don’t want all your listings going live at the same time or when your best listing windows vary by channel.
A photo-first workflow can also be tied to inventory and listing creation so that the image set becomes the starting point, not the afterthought. That’s where a unified system like Ruit can fit into a seller’s stack, because it centralizes sourcing, inventory, and multichannel listing in one place, with cross-posting across connected channels. If you already manage stock in more than one marketplace, the integration guide at Ruit’s multichannel connection page is relevant to that setup.
The practical automation chain
A clean workflow usually looks like this. Capture photos once, edit them into reusable variants, generate platform-specific versions, and push them into the right listings. That cuts repeat work and makes it easier to keep your catalog consistent when items move fast.
The value here is not just speed. Automation also helps preserve compliance, because the same source photo can be adapted to different marketplace expectations without you rebuilding the listing from scratch. That matters when you’re selling at volume and every manual step creates another chance for inconsistency.
Conclusion and Next Steps
Sale by photo works because it matches how people shop online. Buyers don’t want to decode a vague listing, they want to understand the item quickly, trust what they’re seeing, and move on with confidence. When your photos do that job well, you spend less time chasing messages and more time moving inventory.
The smartest sellers keep the photo set lean, but complete. They start with the main shot, add the views that reduce doubt, and standardize their image process so each listing feels clear from the first glance. Then they use automation to handle the repetitive parts, resizing, background cleanup, cross-posting, and publishing, without losing consistency.
That combination is what turns photo quality into a workflow, not a one-off effort. If you’re building a resale business that depends on speed and trust, the key advantage comes from treating images as part of the operating system, not just the listing page.
If you want a way to connect sourcing, multichannel listing, and day-to-day resale operations in one place, visit Ruit and see how its workflow can support photo-first selling across your channels.