Create your first product in RUIT
Create a product by hand: upload the photos, describe the product, give it a price and stock, and create it so you can publish it later.
In this tutorial you create a product by hand in your RUIT inventory, ready to publish later on your marketplaces. It takes about five minutes. You need the product’s photos to hand, on your computer or on your phone.
If you would rather have RUIT write the title and the description from the photos, follow steps 1 and 2 and then jump to Fill in a product with AI.
1. Open the form
In Inventory, press Add products and, in the Add to Inventory window, Create Product (1). On a phone, the Create button takes you straight there.
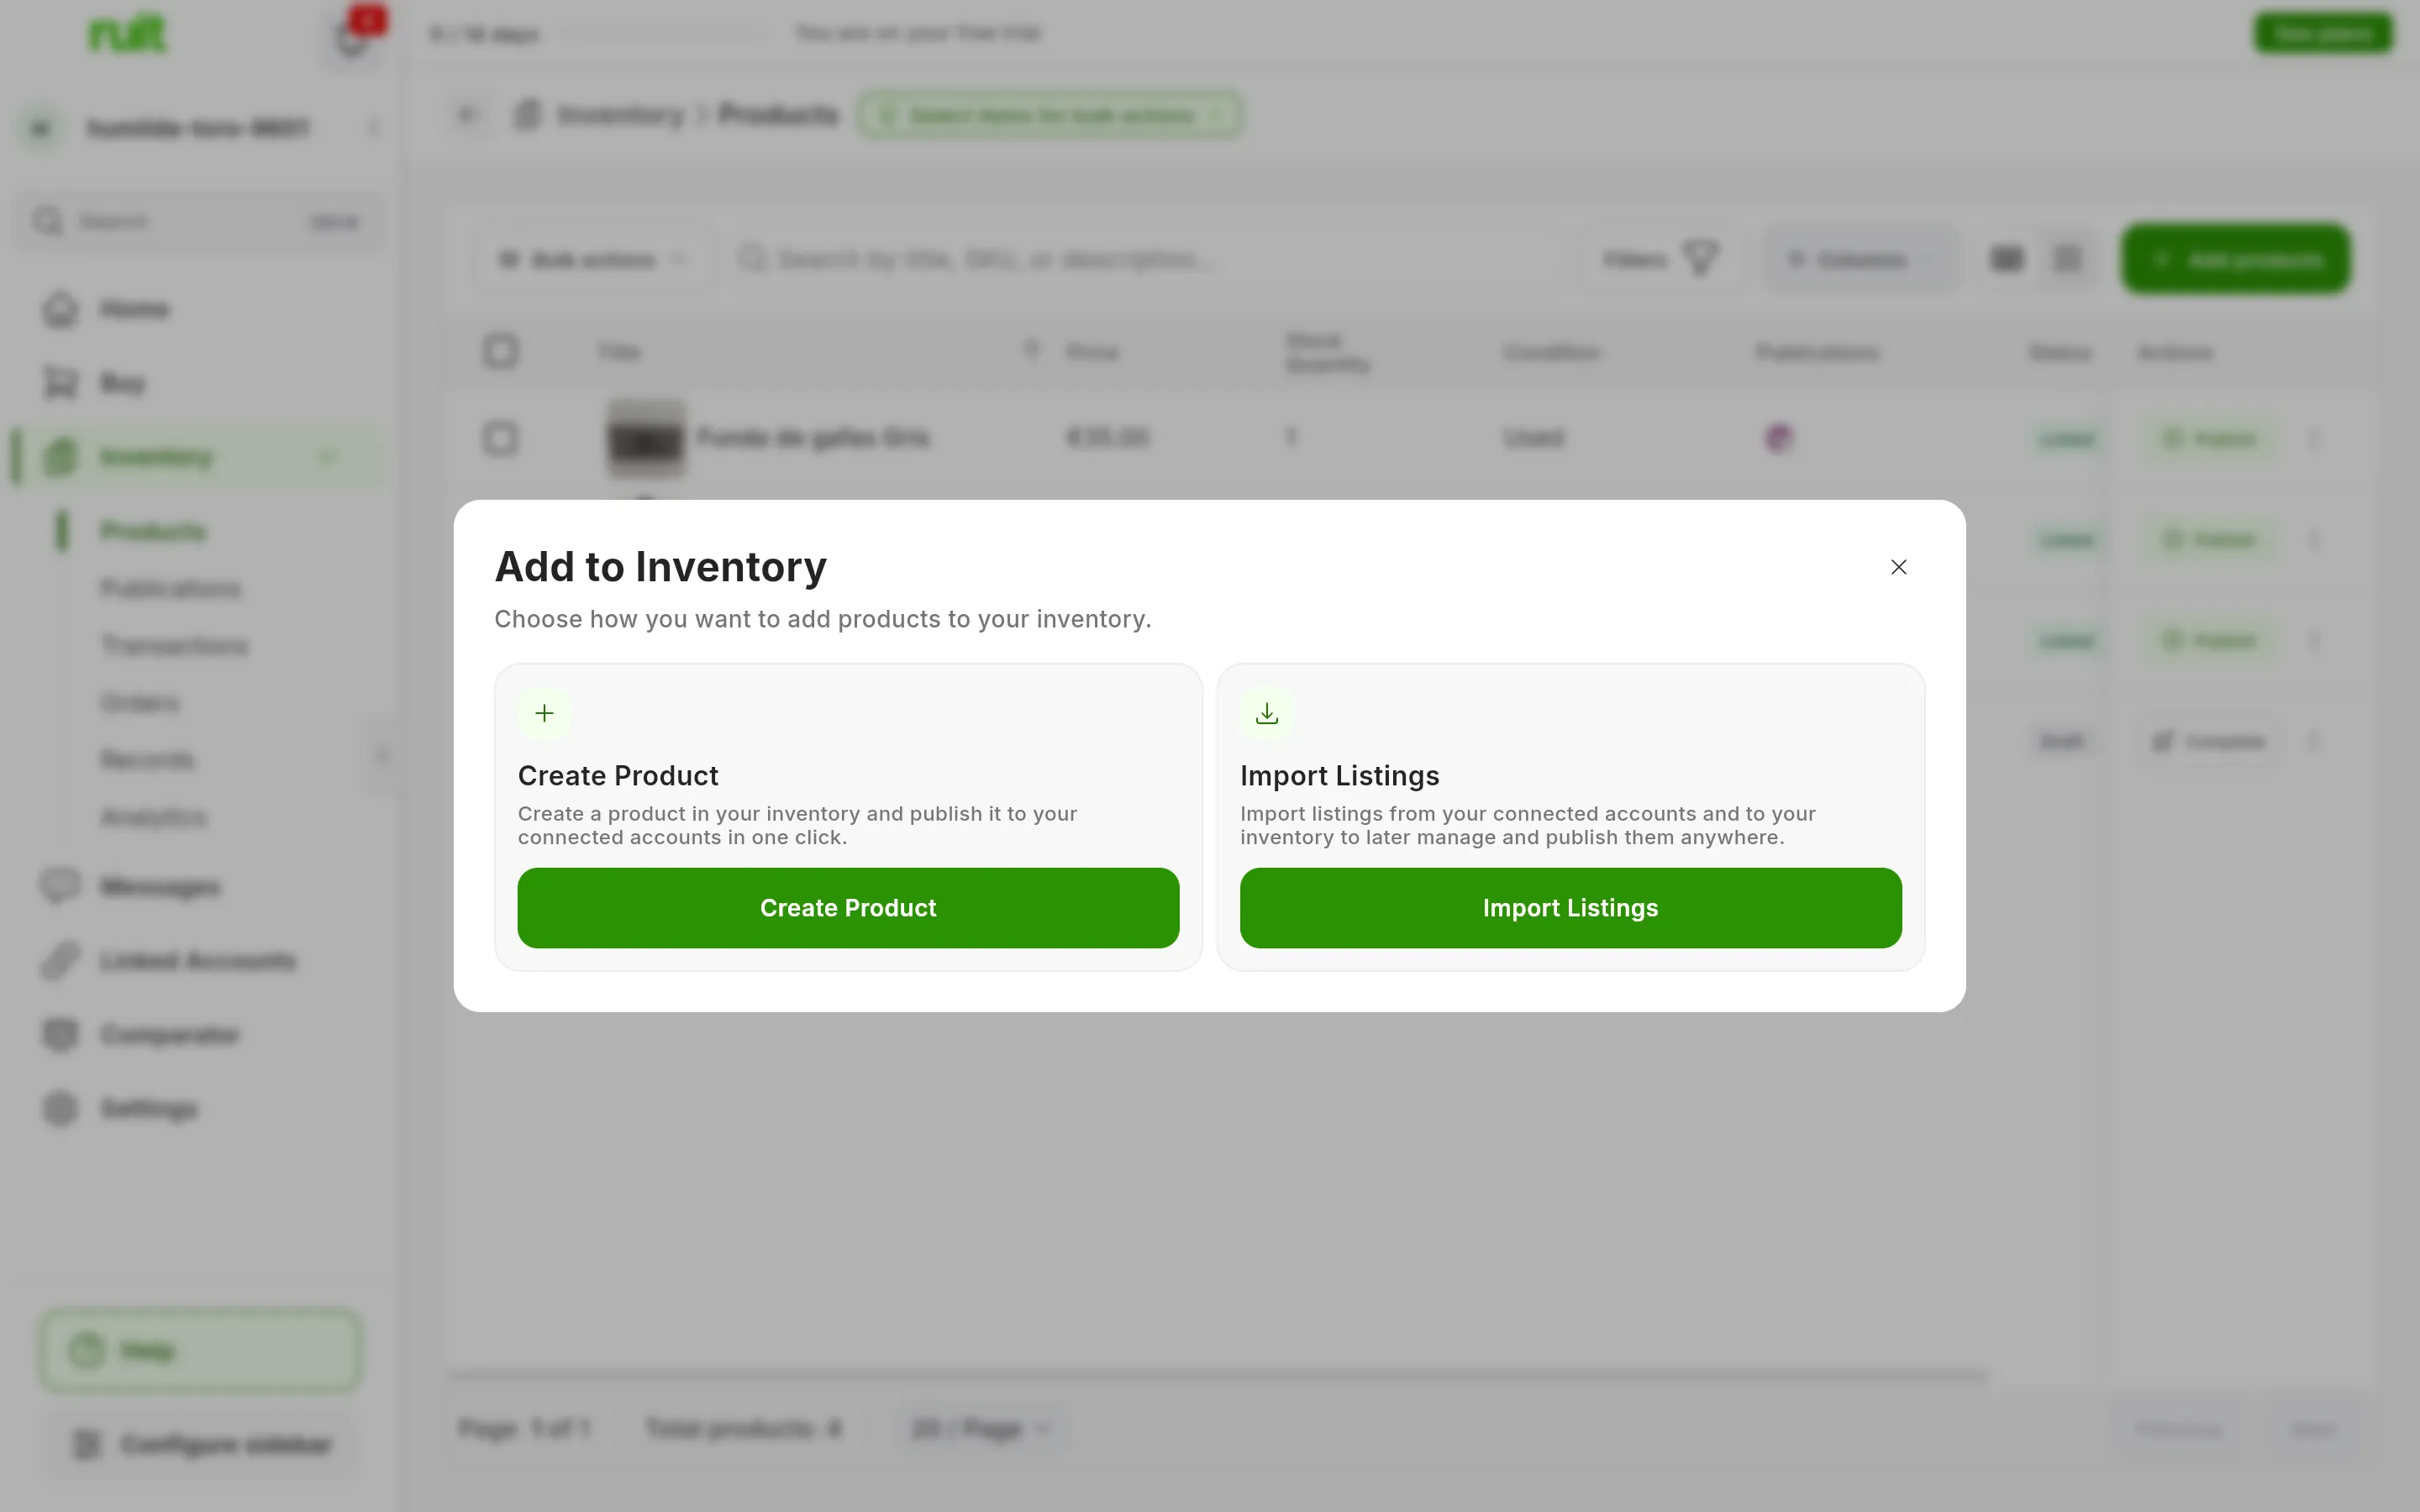
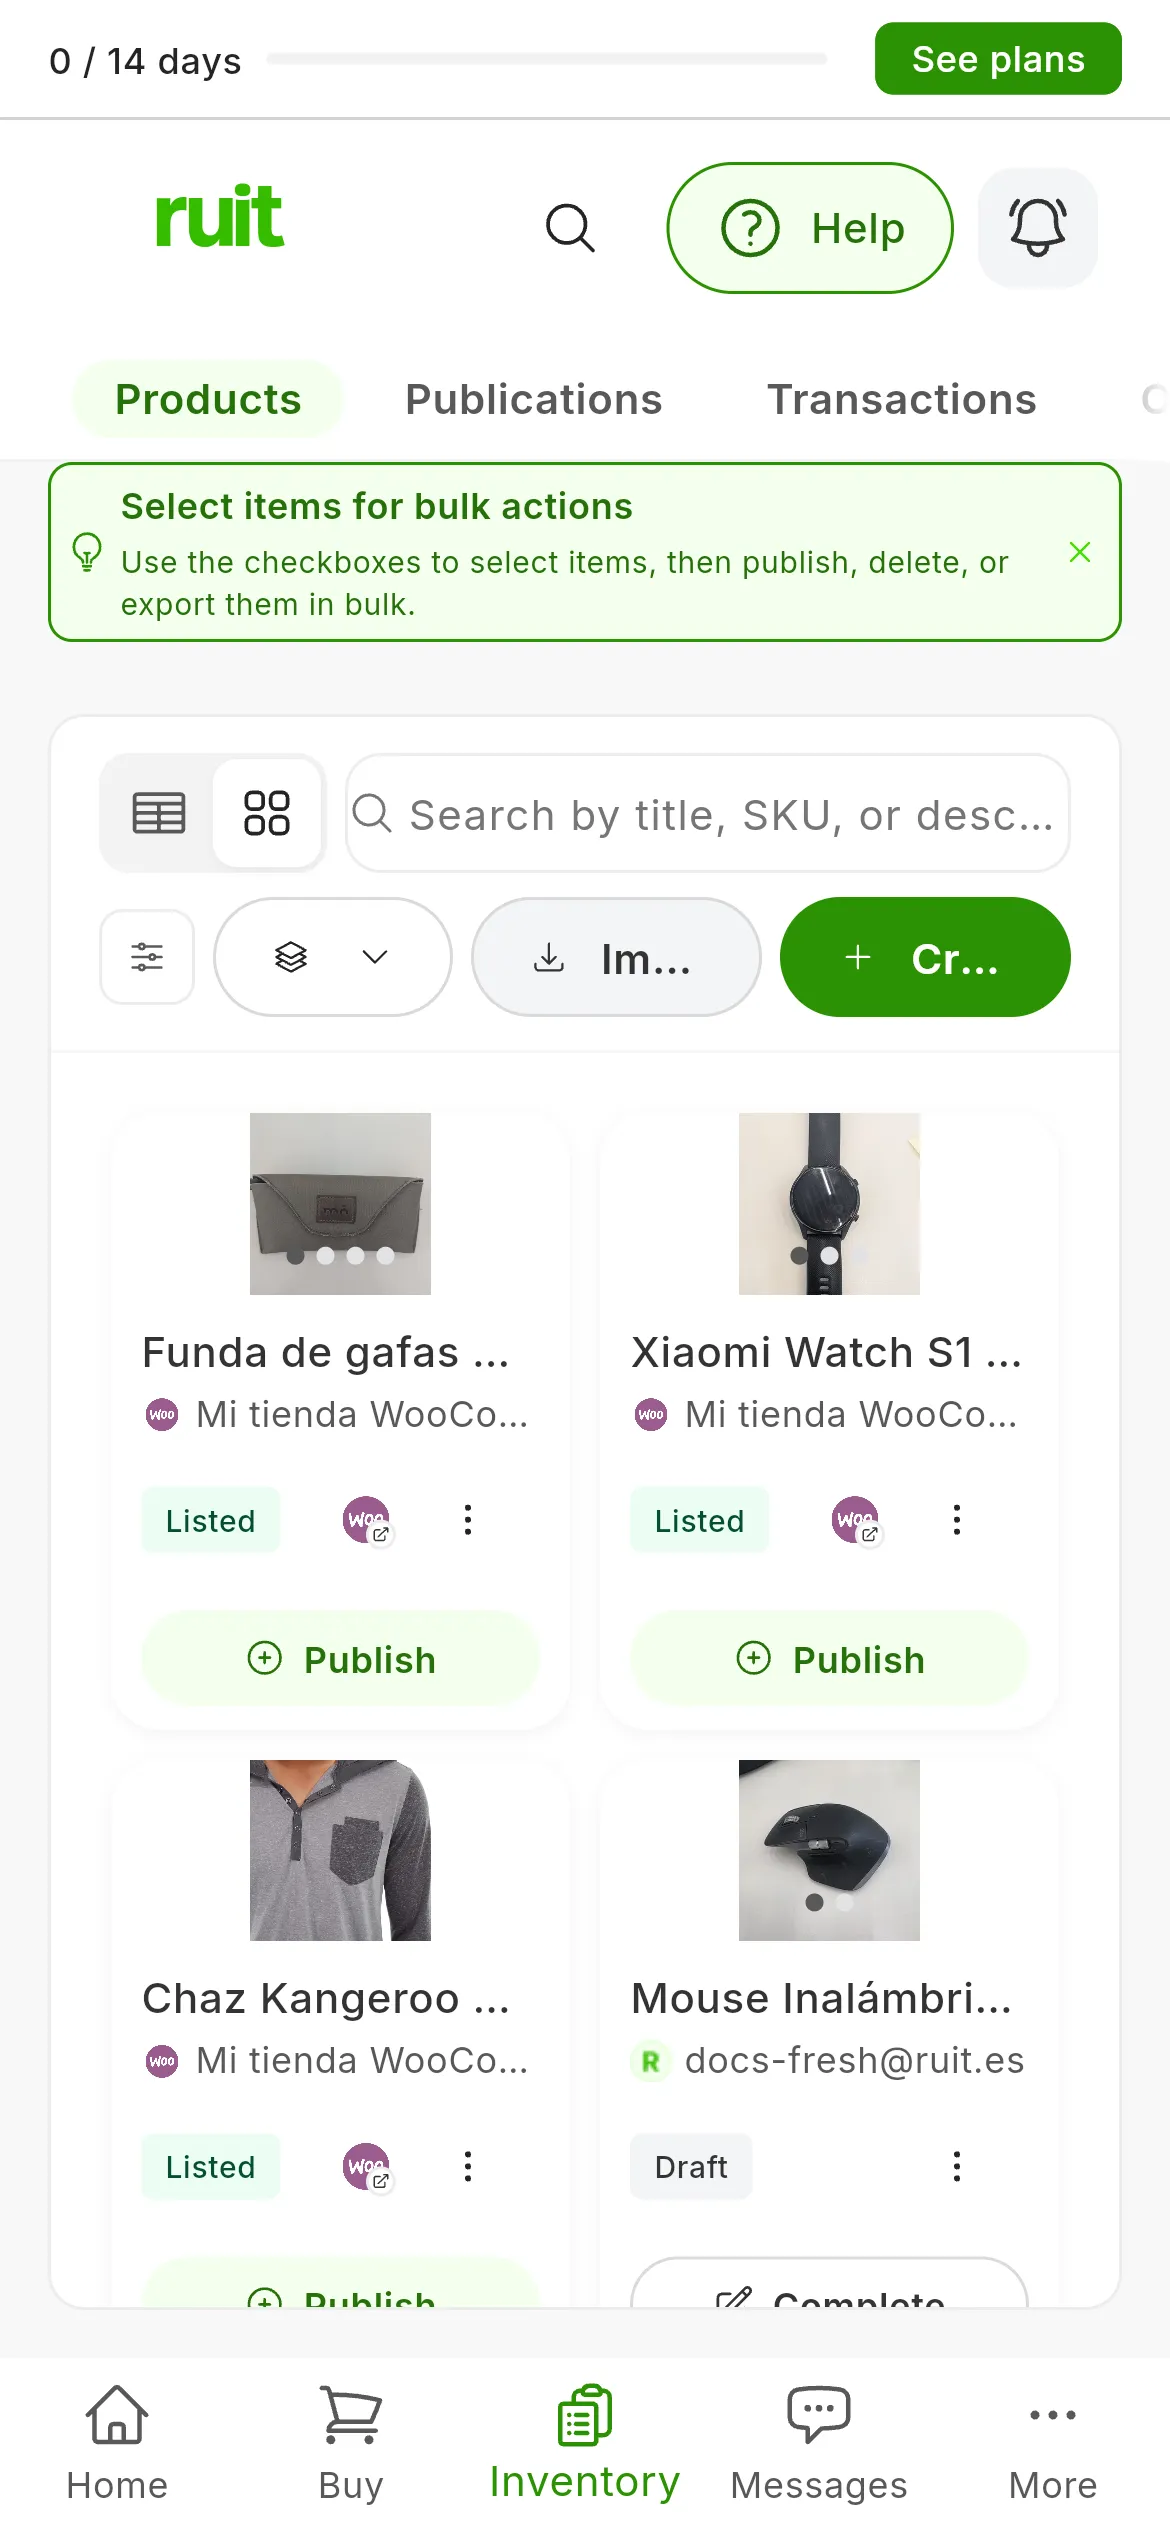
The two ways of filling your inventory: Create Product (1), the one in this tutorial, and Import Listings (2), which Import listings from a marketplace explains.
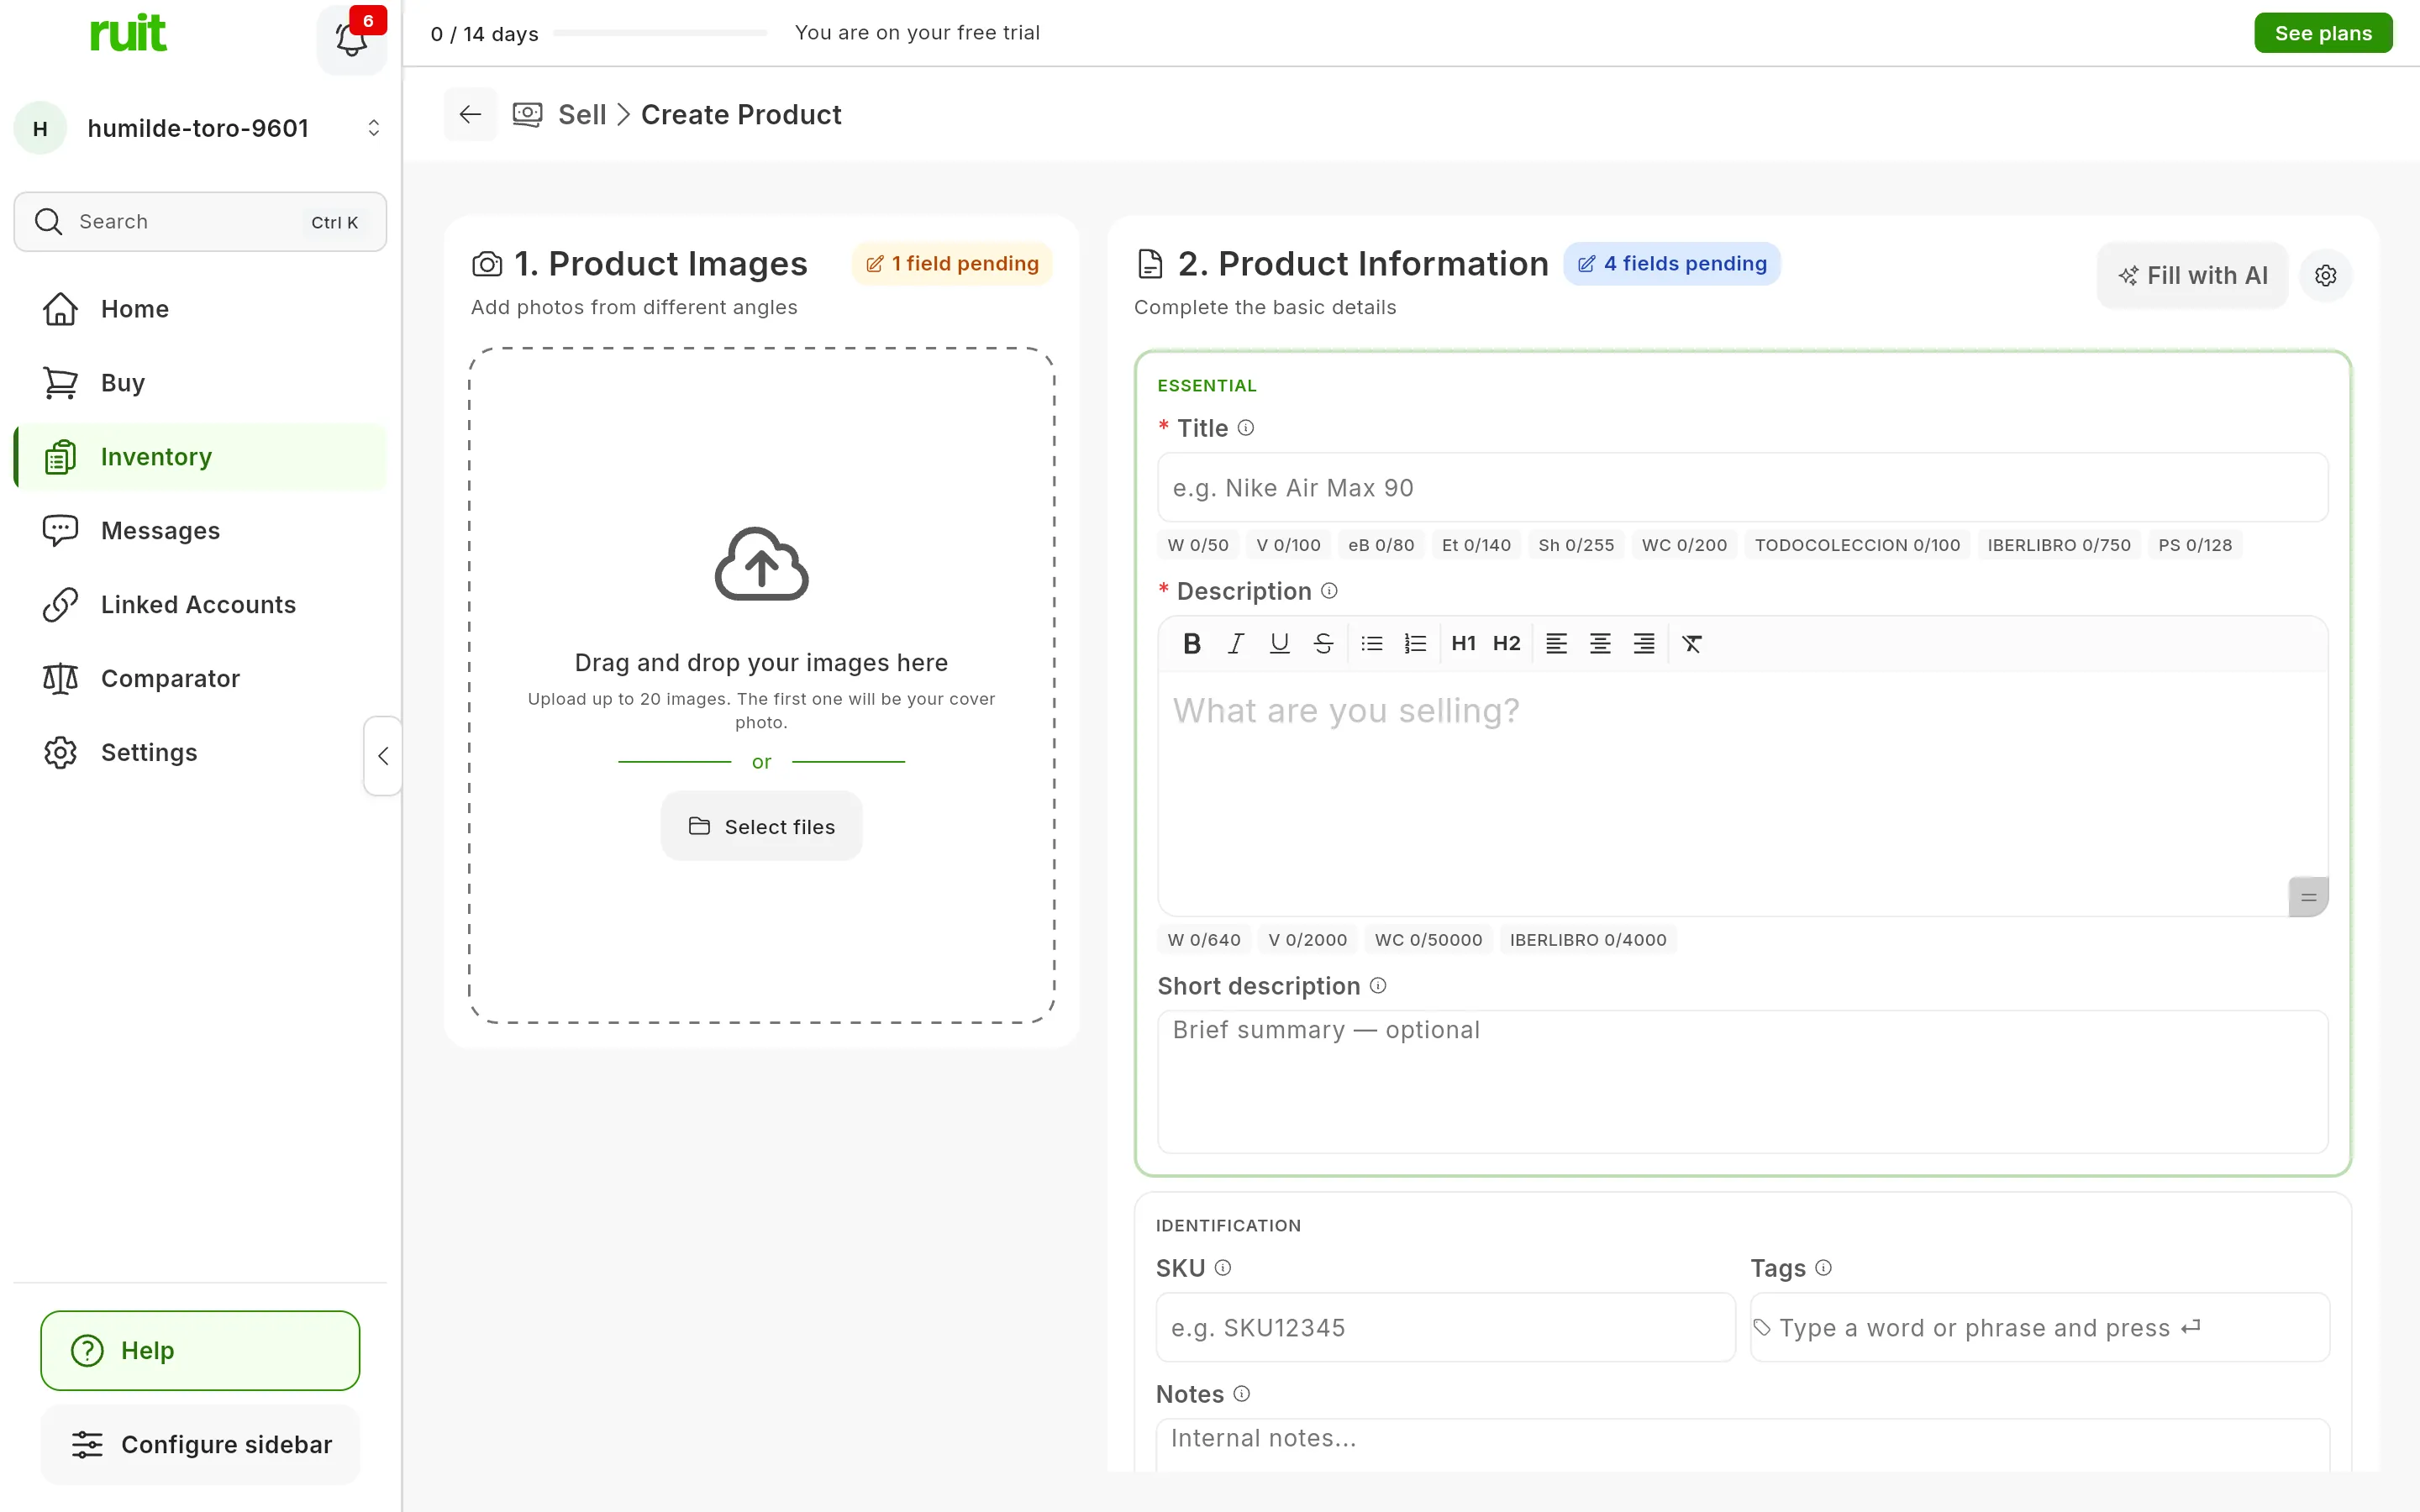
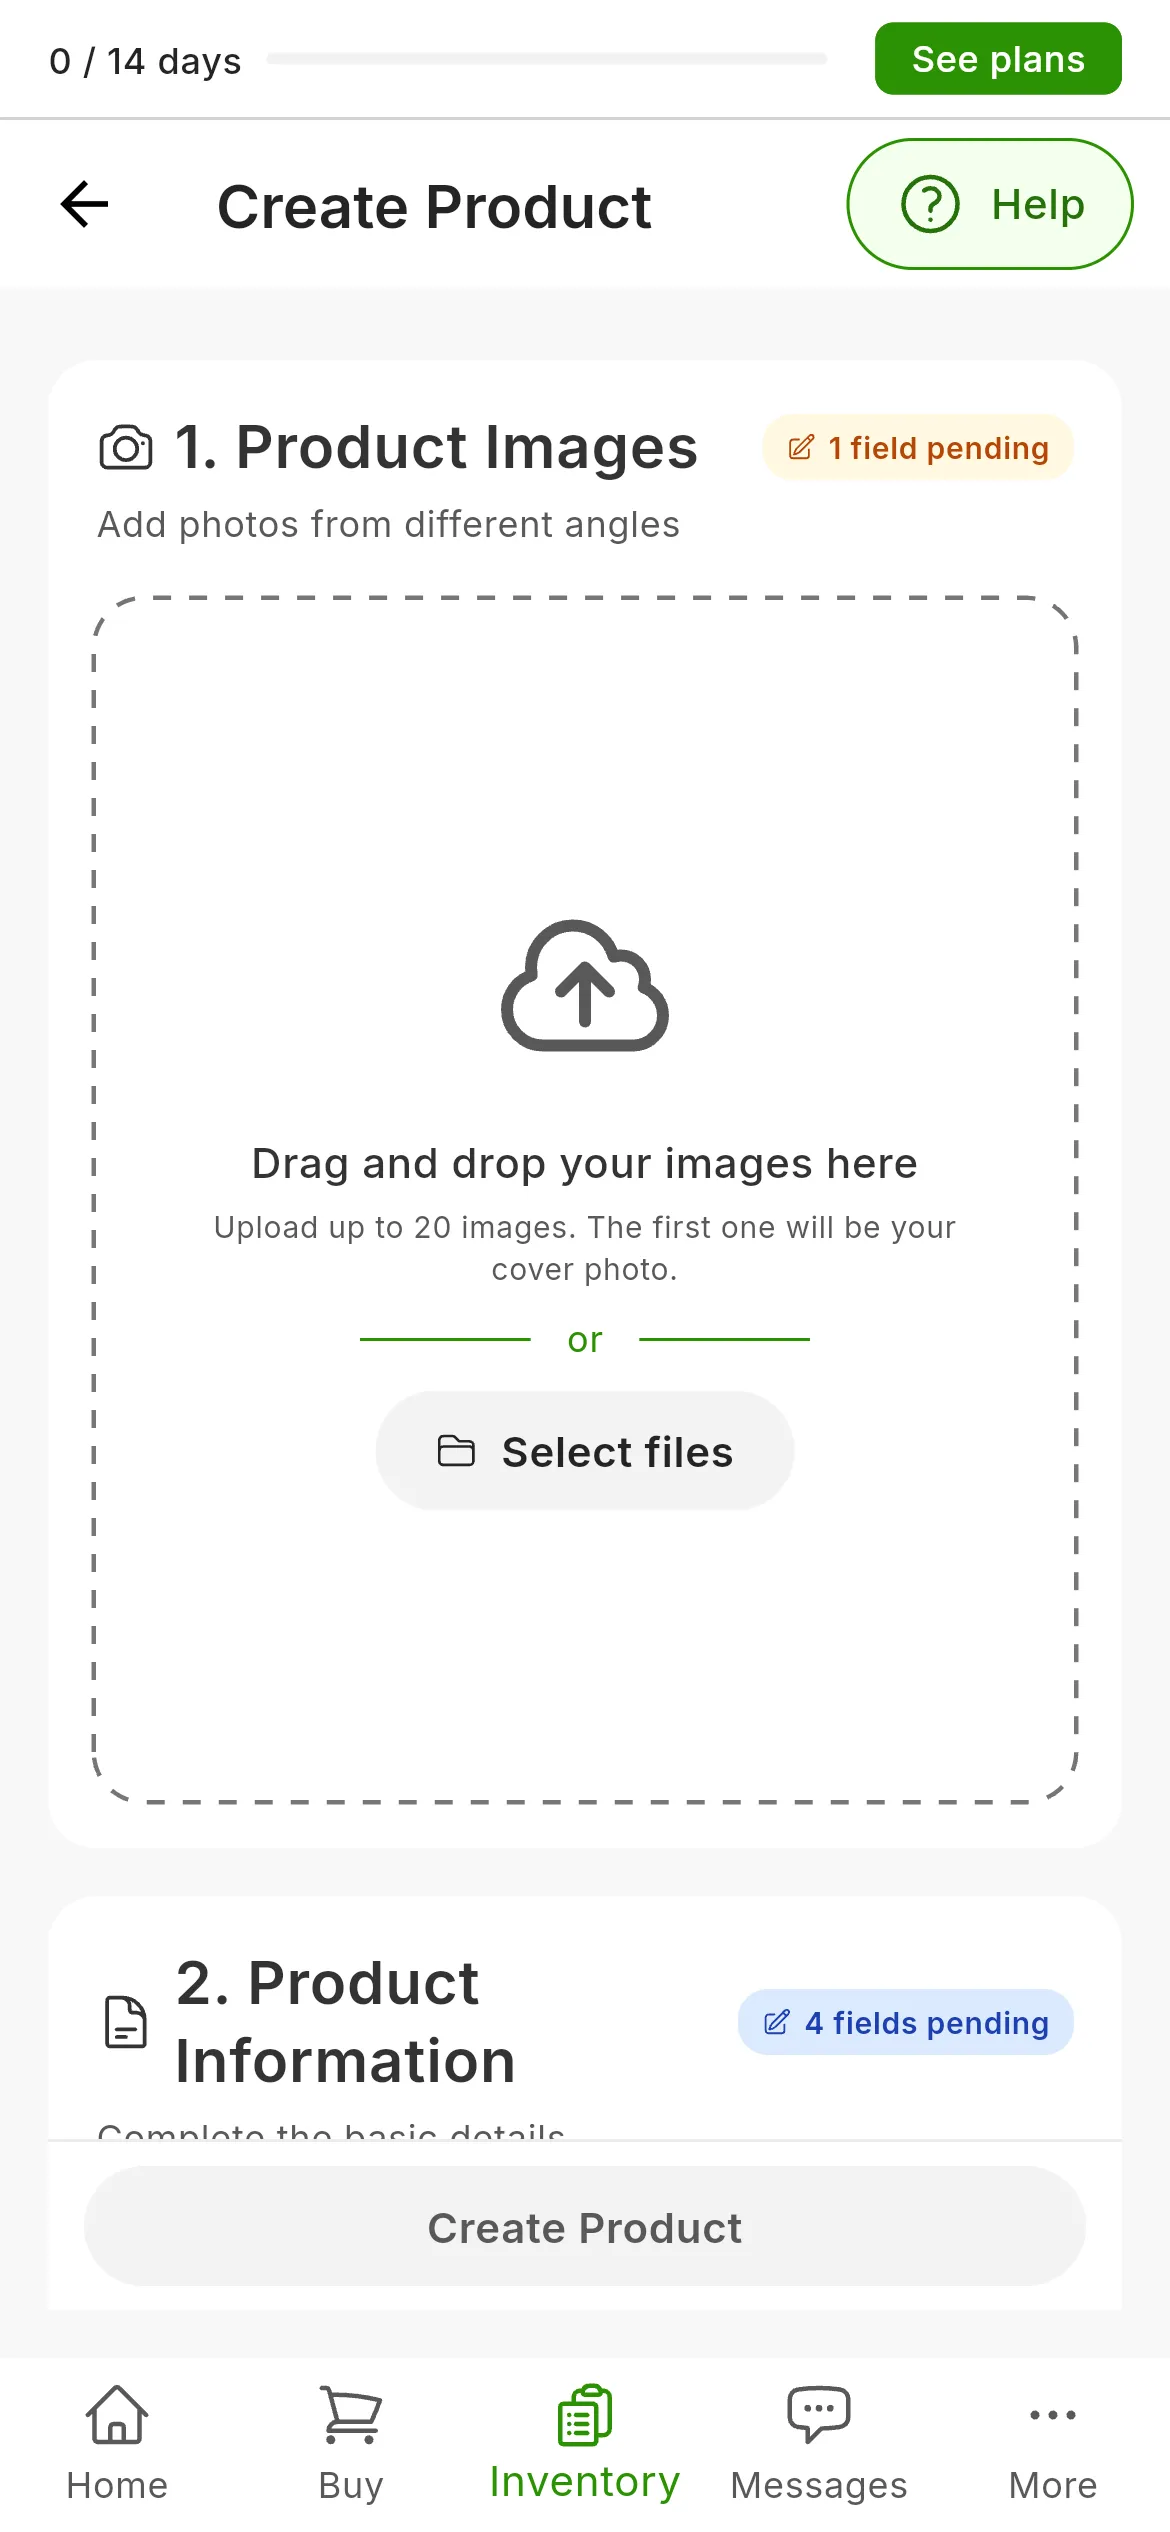
The empty form: Select files (1) for the photos, and the Title (2) and the Description (3). The badge on each section tells you how many required fields you still have to fill in. On a phone, the Title and the Description are further down.
2. Upload the photos
In 1. Product Images, drag the photos in or press Select files; in the phone app, Take photos or Choose from gallery. It holds up to 20 and the first one is the cover: drag the thumbnails to change the order.
The usual photo formats work, JPG, PNG, WEBP and HEIC among them, up to 25 MB each. RUIT
shrinks very large ones before uploading them.
3. Describe the product
In 2. Product Information, fill in the required fields, which are marked with an asterisk:
- Title, at least 3 characters long.
- Description, at least 10.
- Condition: Brand New, Like New, Used, Fair or Poor.
- Shipping: By hand, Shipping or Pickup, whichever one you offer.
The rest is optional: the Short description, which only WooCommerce and PrestaShop use; the SKU, your internal code, which RUIT generates if you leave it empty; the Tags; and the Notes, which are just for you. The brand, the size, the color or the material go under PRODUCT ATTRIBUTES, with Add attribute (1).
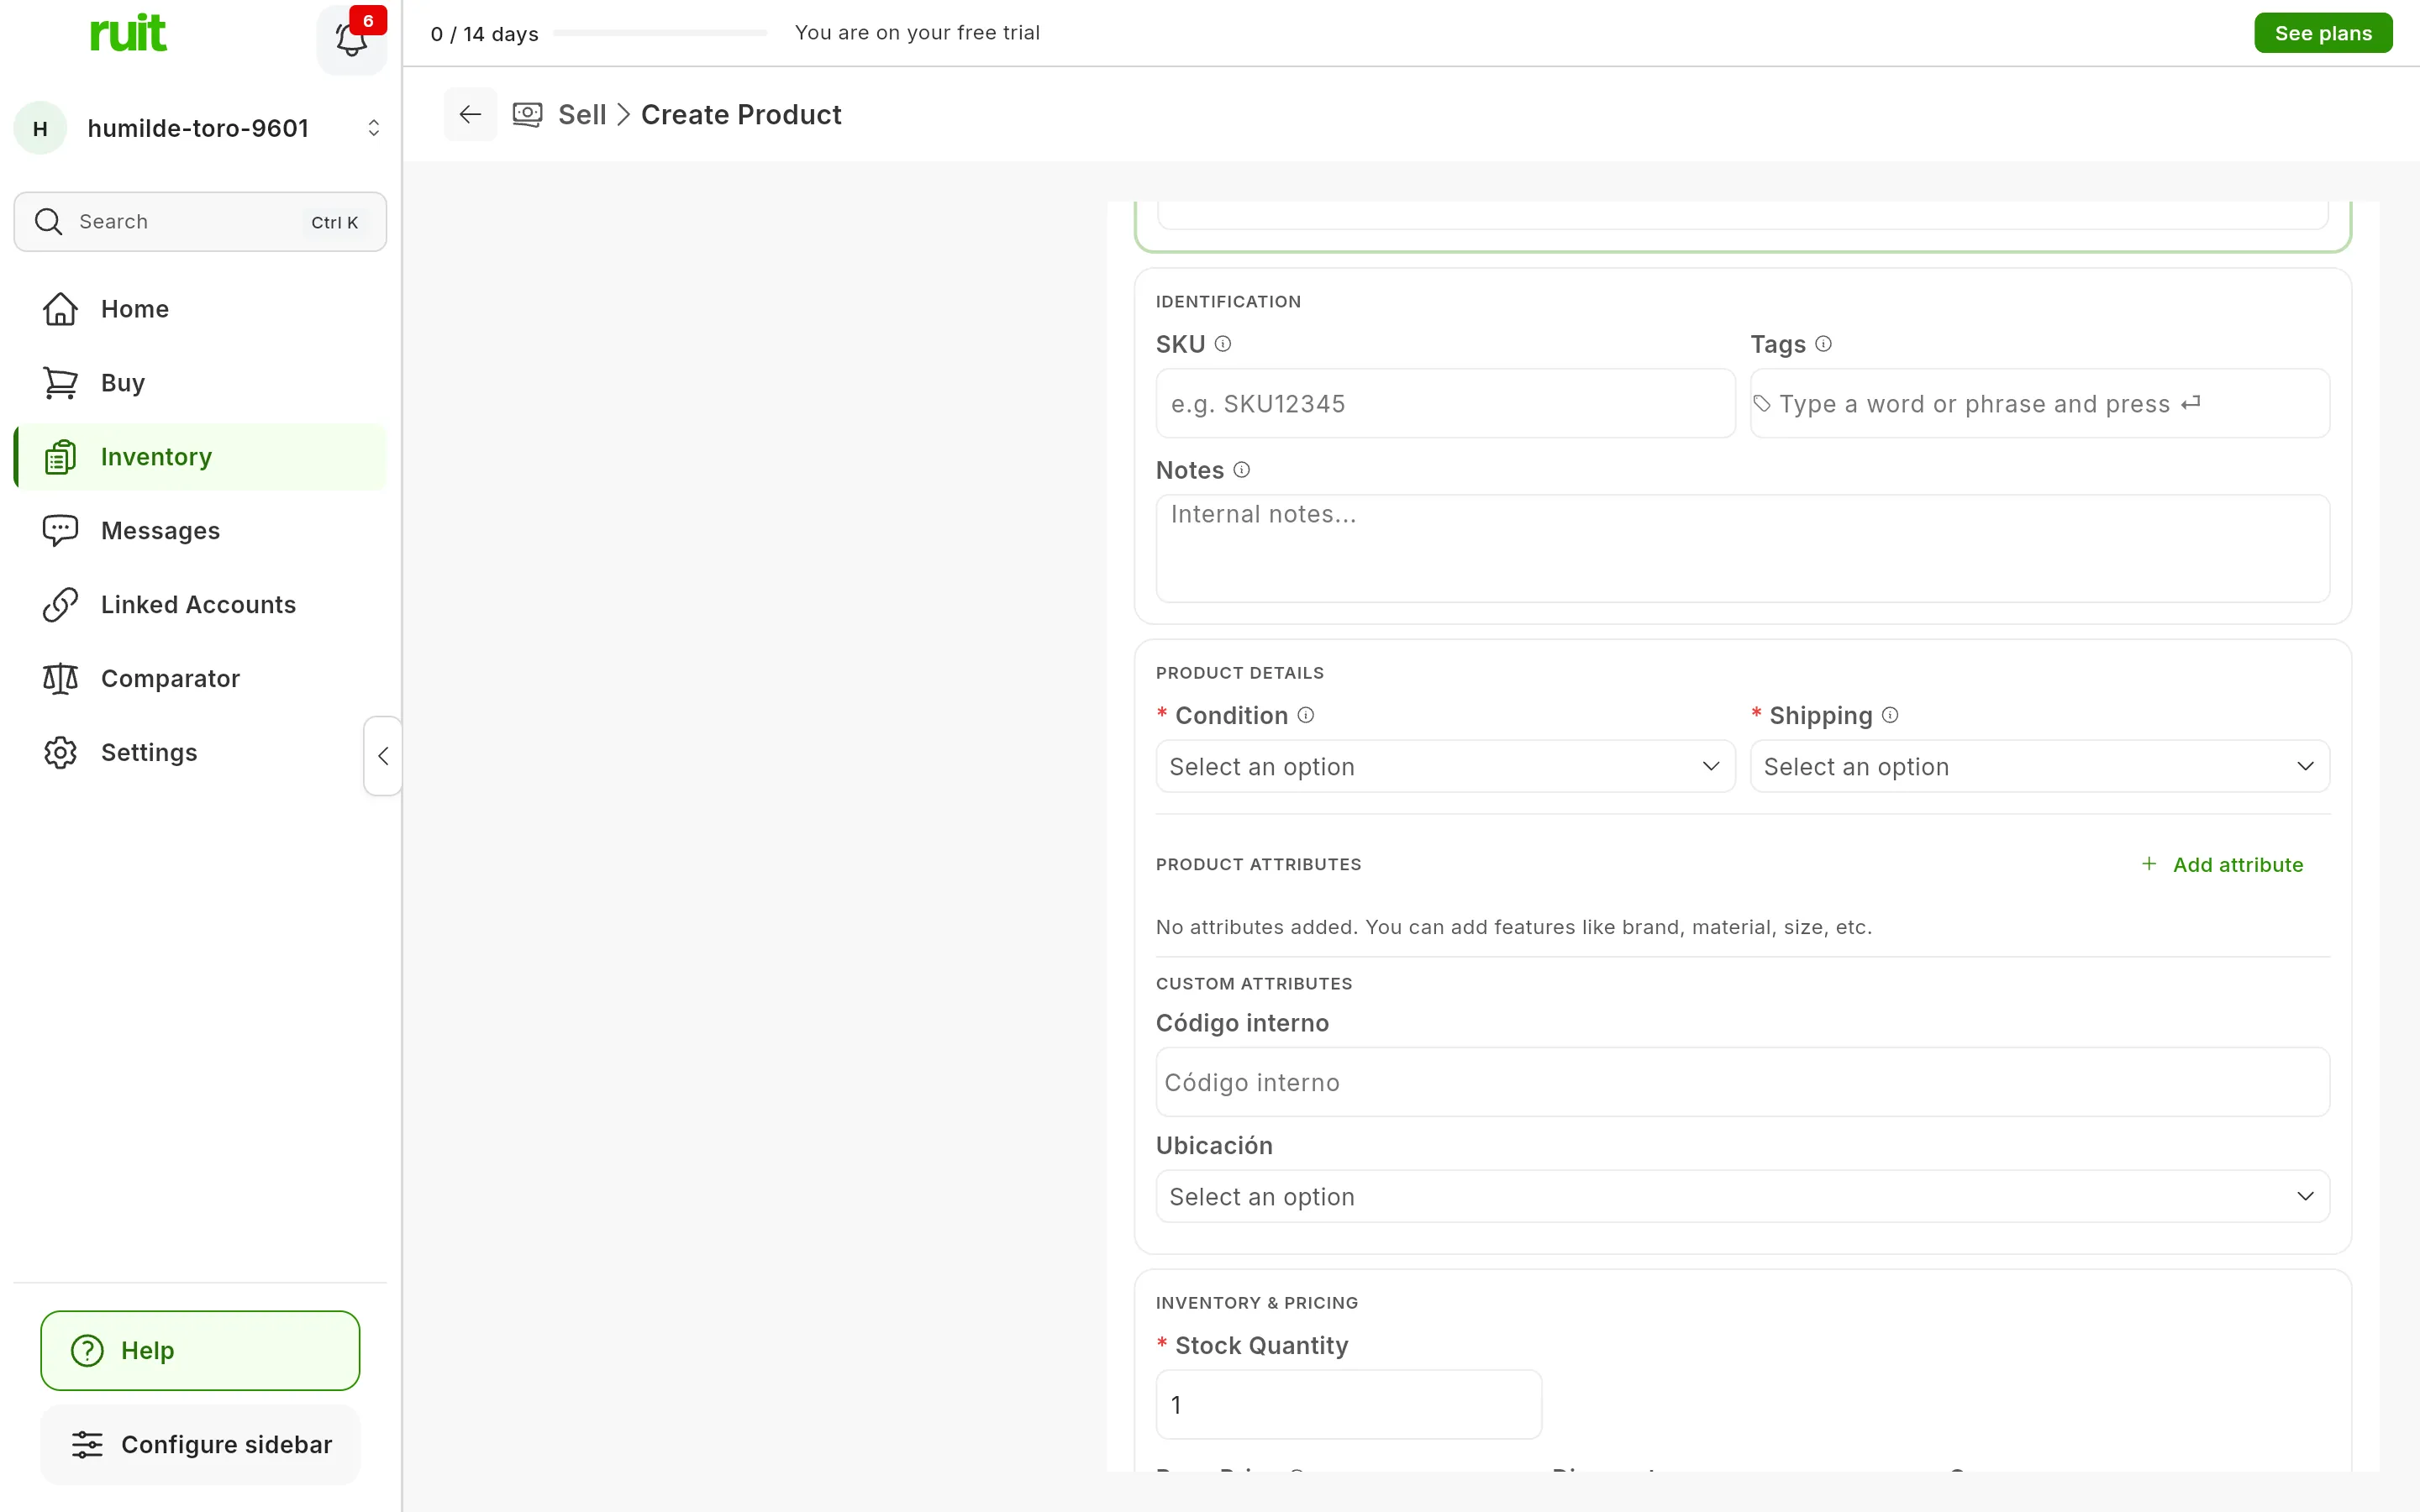
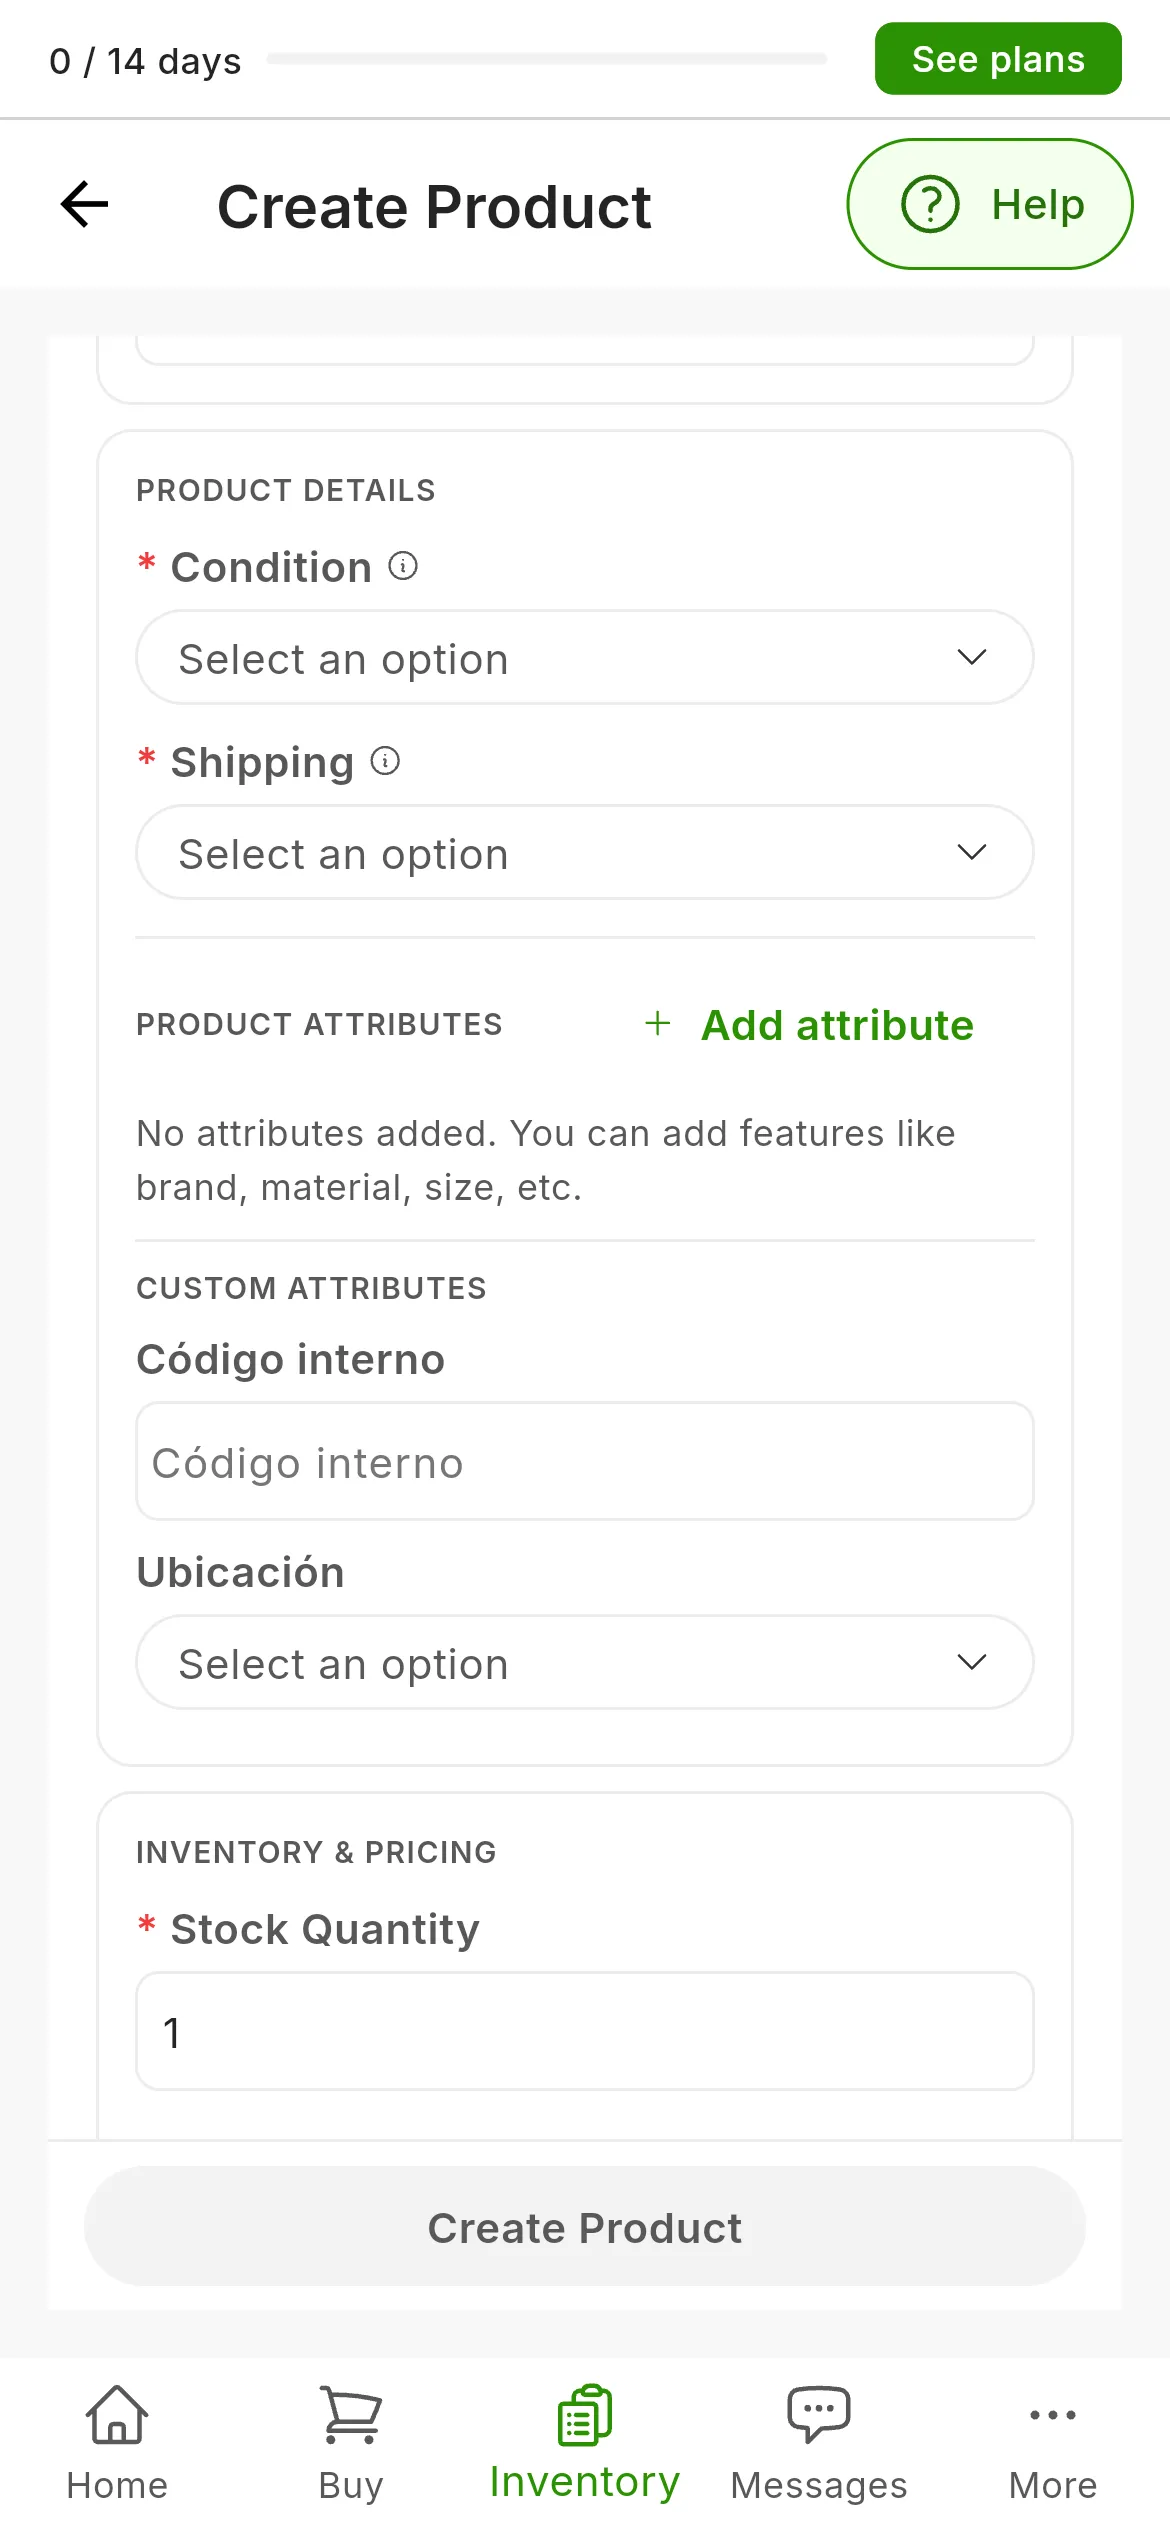
Further down, the Condition and the Shipping, and Add attribute (1). CUSTOM
ATTRIBUTES only appears if your organization has created some, like Código interno and
Ubicación here.
The category is not here: you choose it when you publish, on each marketplace.
4. Set the price and the stock
In INVENTORY & PRICING, type the Stock Quantity, which starts at 1, and the Base Price.
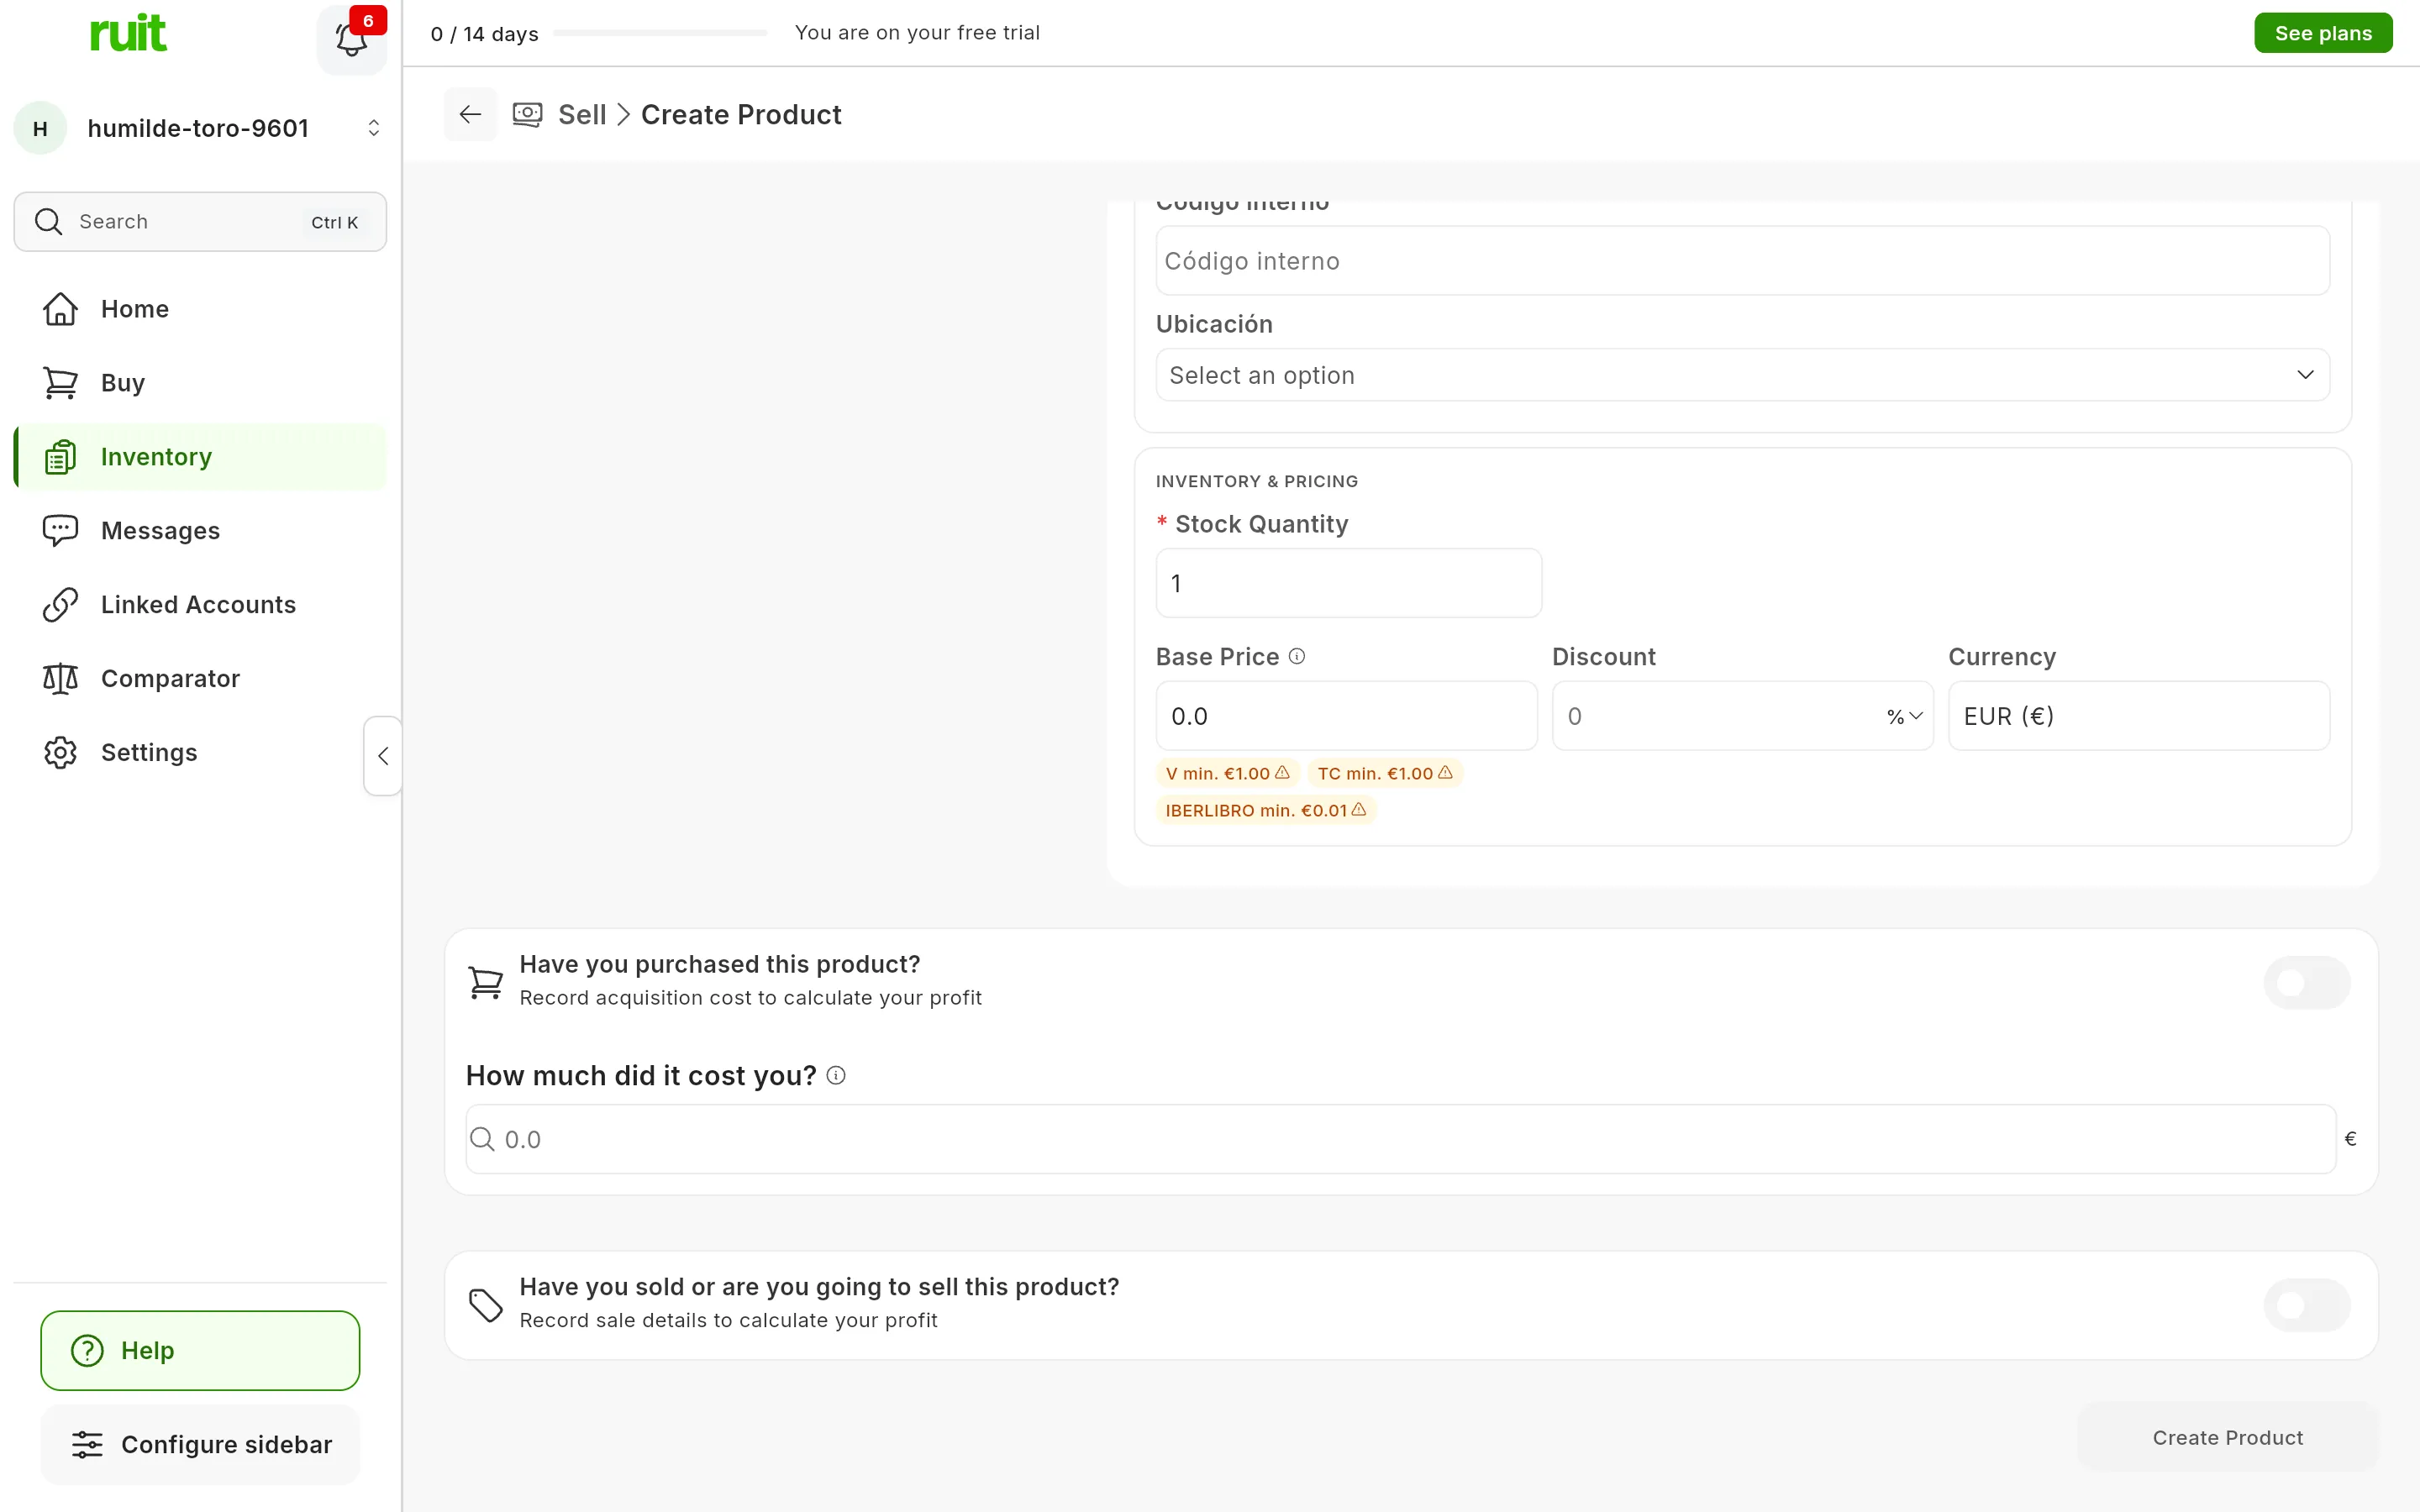
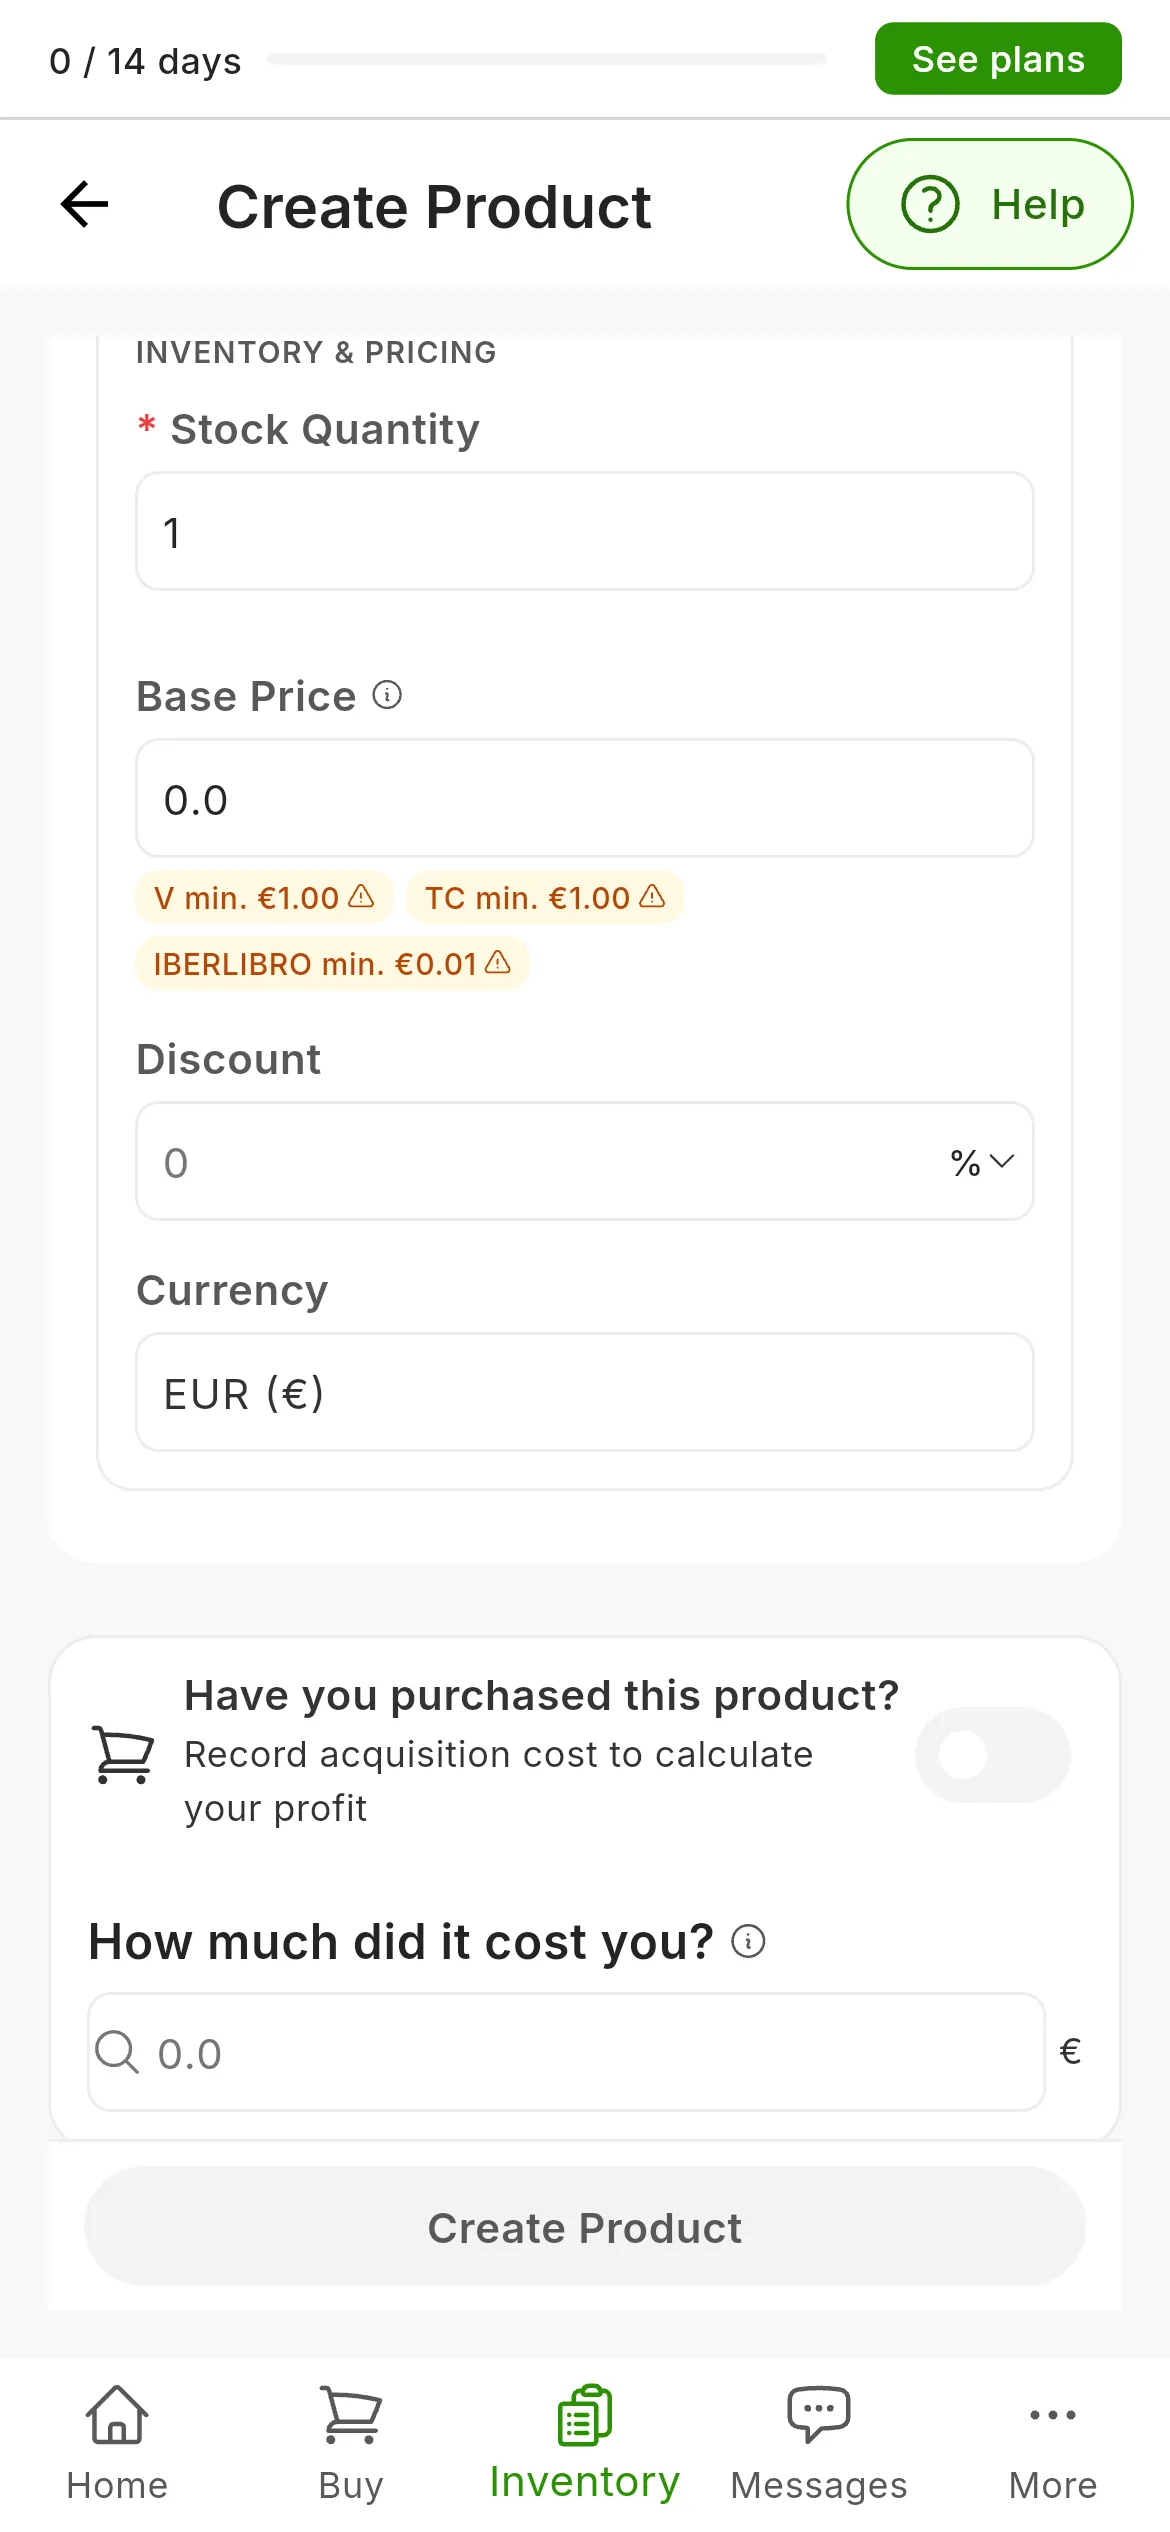
Below the price, the minimum that some marketplaces ask for; in amber, the ones your price does not reach.
If you are selling it at a reduced price, set the Discount. The Currency is your account’s: you change it in Settings, not here. Further down there are two optional sections, Have you purchased this product?, for noting down what it cost you, and Have you sold or are you going to sell this product?.
5. Create the product
Press Create Product. If something is missing, the button is grayed out; hover over it, or press it, and it tells you exactly what is missing and in which section.
The screen moves on to Publish to marketplaces: choose right away where to publish it and press Confirm, or press Finish to leave it in your inventory and publish it later.
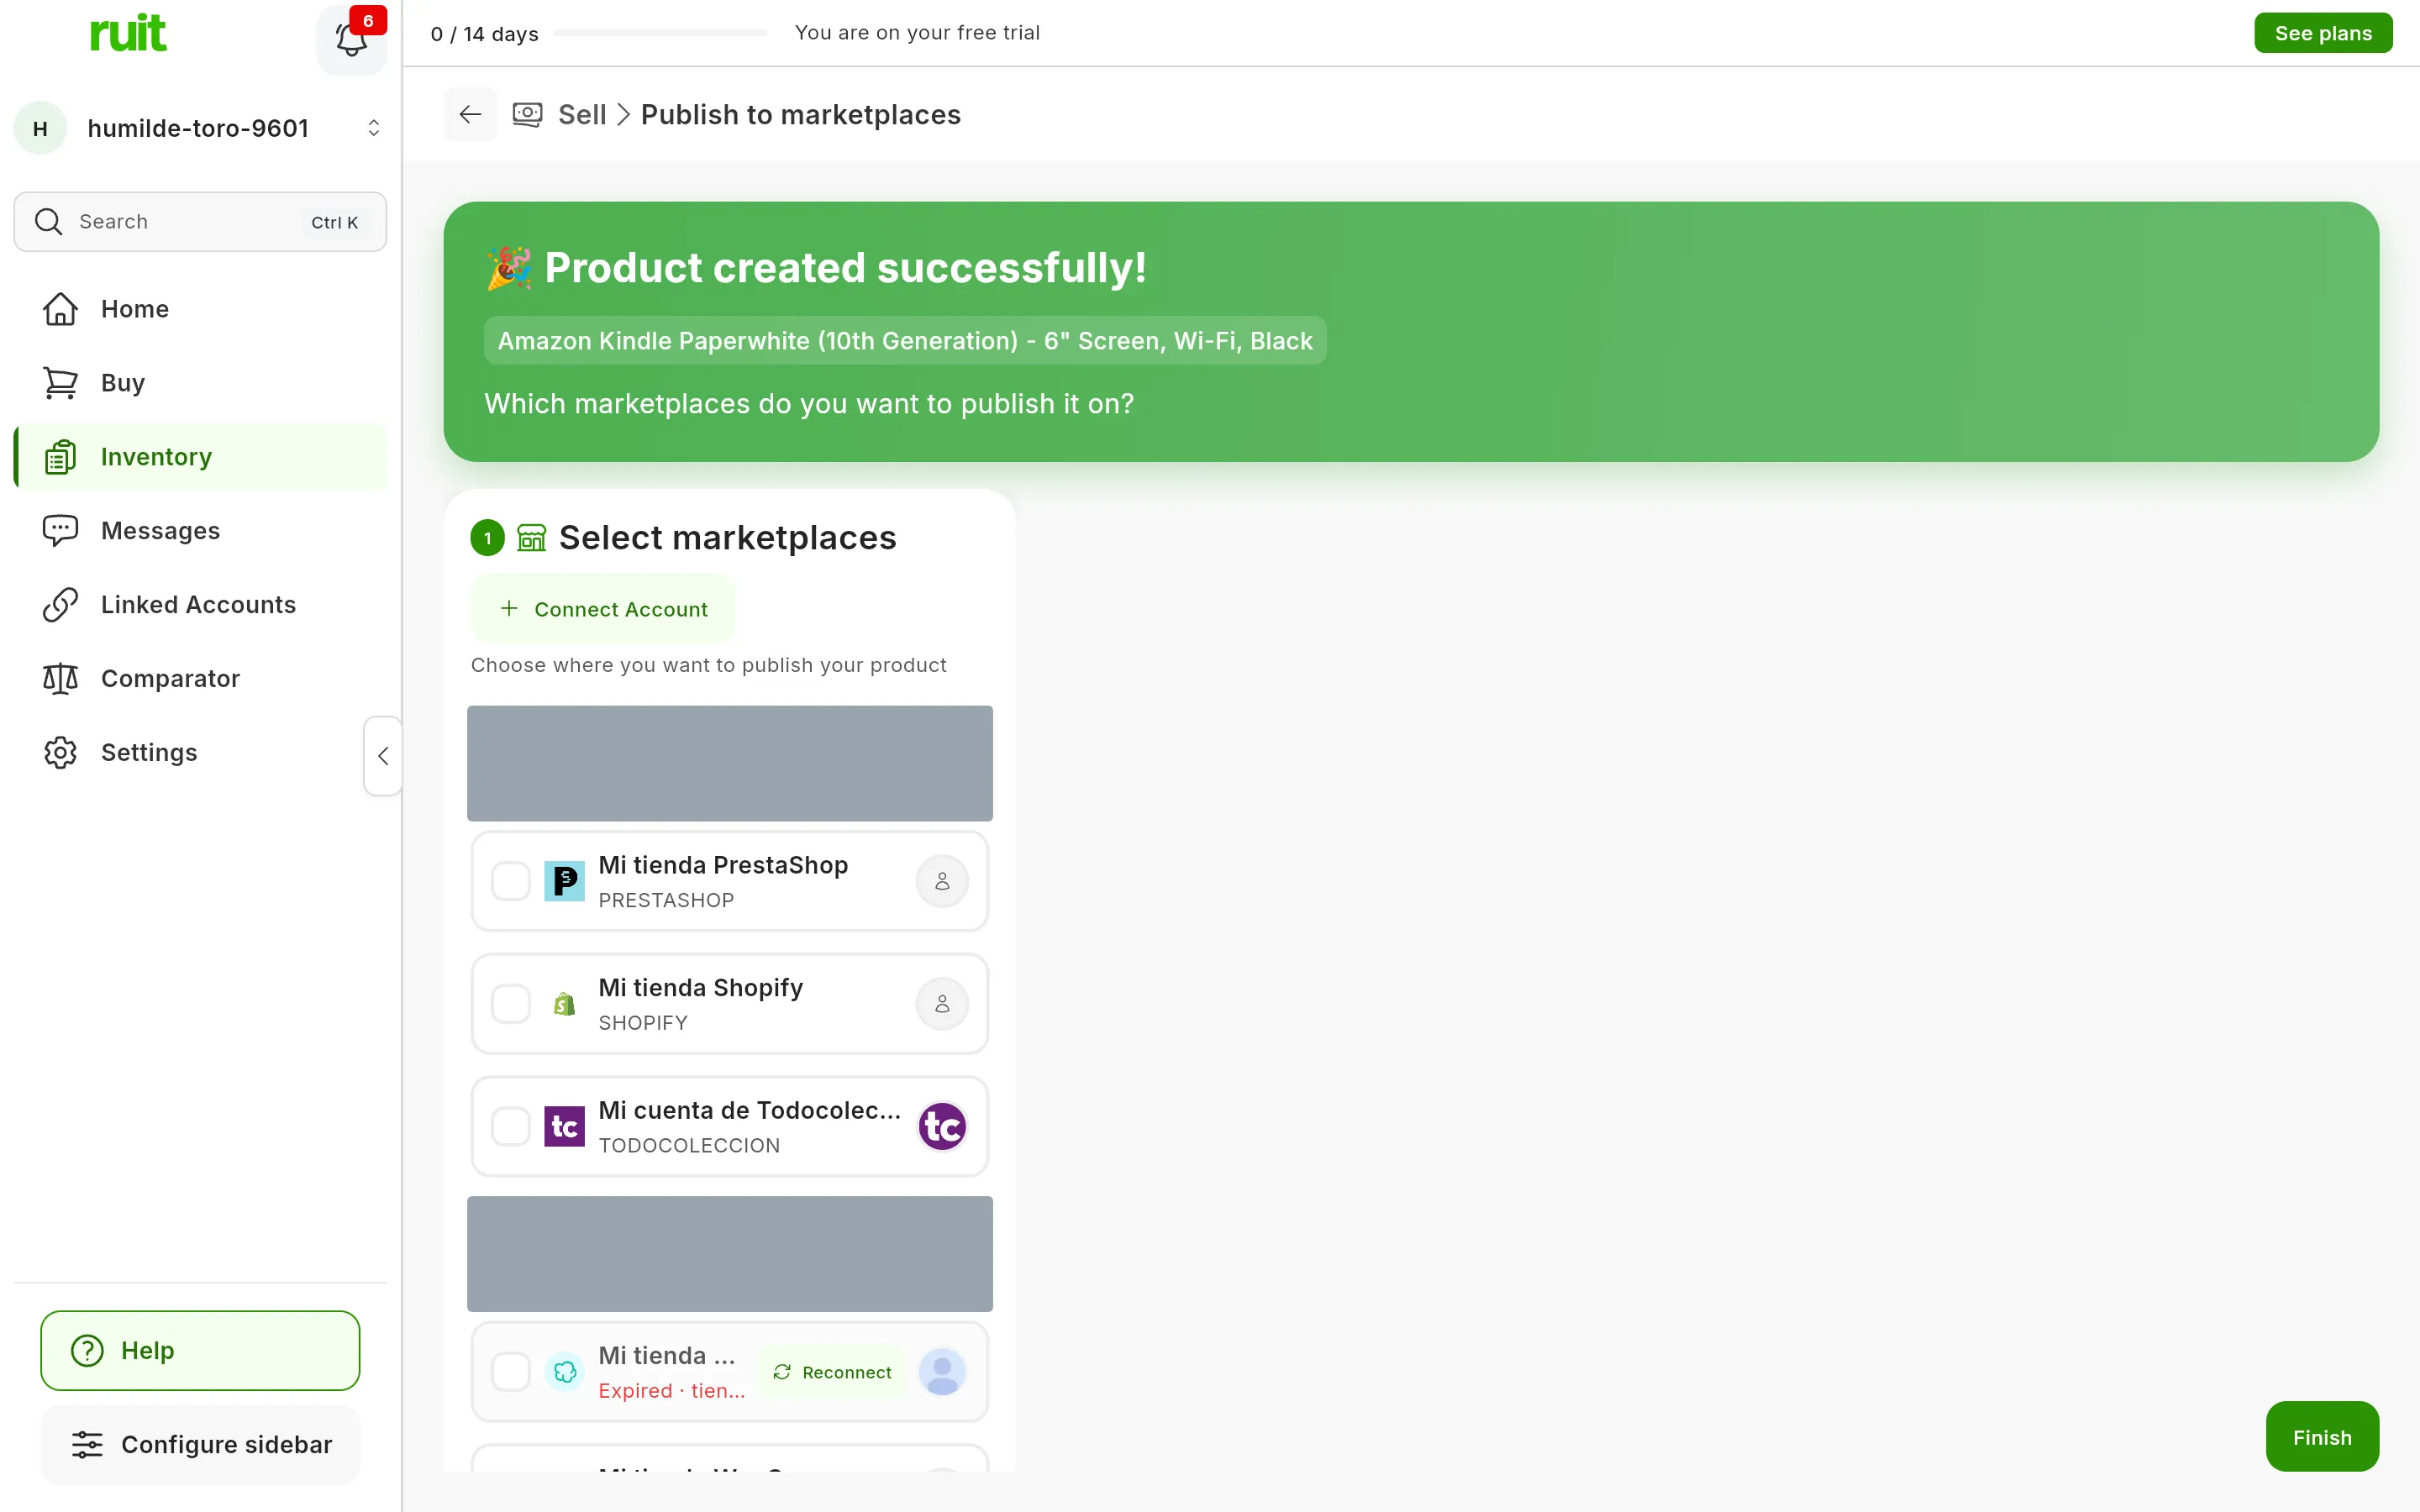
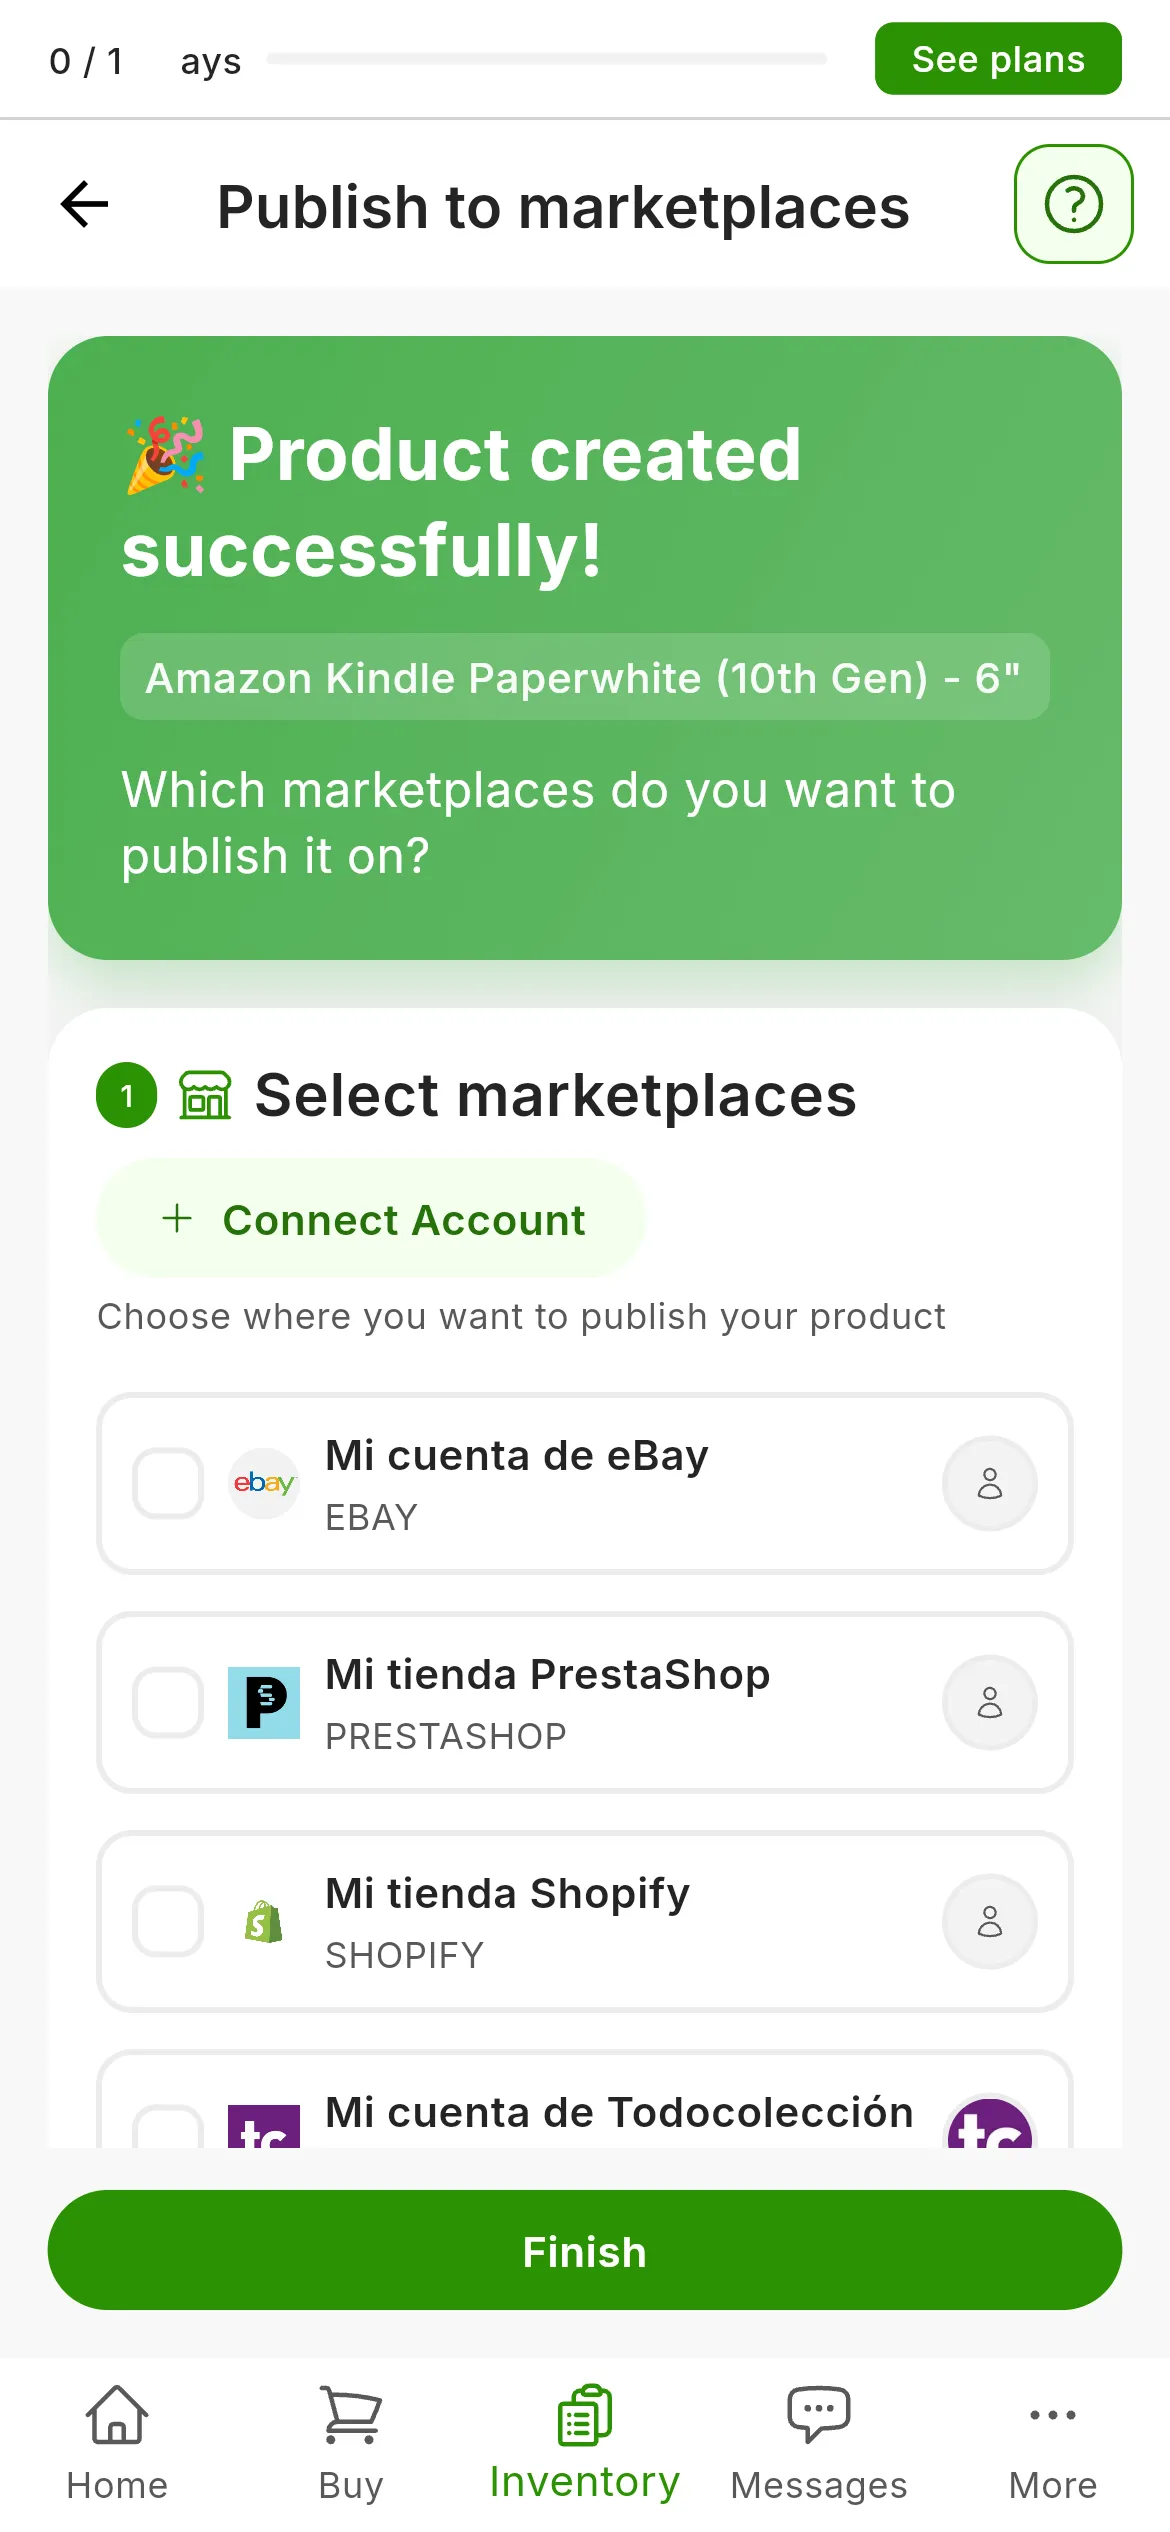
The product is already in your inventory. Below, your connected accounts, so you can choose where to publish it.
What you have achieved
Your product is in the inventory. If it has a photo, a title, a price, a condition and a shipping method, it shows as Ready to list; if something is missing, as Draft, and its Complete button takes you back to this form.
Nothing is lost if you close the form halfway: RUIT saves by itself, a second after each change, and you will see Saved as draft at the top.
Next step: publishing your first listing.
If something is off
- The product shows as Draft even though I pressed Create Product. It is missing something that decides whether it can be published, almost always the price. It is all in Product and listing statuses.
- “That SKU is already used by…” Another product in your organization has that SKU. RUIT saves the product with the SKU it generates itself; choose a different one if you want your own.
- A photo will not upload. It is over 25 MB or in a format that is not a photo format. Save it
as
JPGand try again. - An attribute or the discount was not saved. Those changes are saved with the next change you make or when you press Create Product: do not close the form right after touching them.
- You turned on the purchase or the sale and the button has locked. Those sections ask for their price and their date. Fill them in or turn them off.
Video
Video not recorded yet: Filling in a new product's details
Did this article help?
Thanks for telling us.