Fill in a product with AI
Let RUIT's AI write a product's title, description, condition and attributes from its photos, and learn how to adjust the way it writes.
In this tutorial you let RUIT’s AI write a product’s details from its photos: the title, the description, the condition and the attributes. It takes a couple of minutes and it is included in every plan. You need the create-product form open, as in Create your first product, and the product’s photos.
1. Upload the photos
Upload the photos in 1. Product Images and wait for them to finish uploading. The AI only looks at the photos: it does not read anything you have typed in the form. It analyzes the first three, so put first the ones that best show the product, the brand or the label.
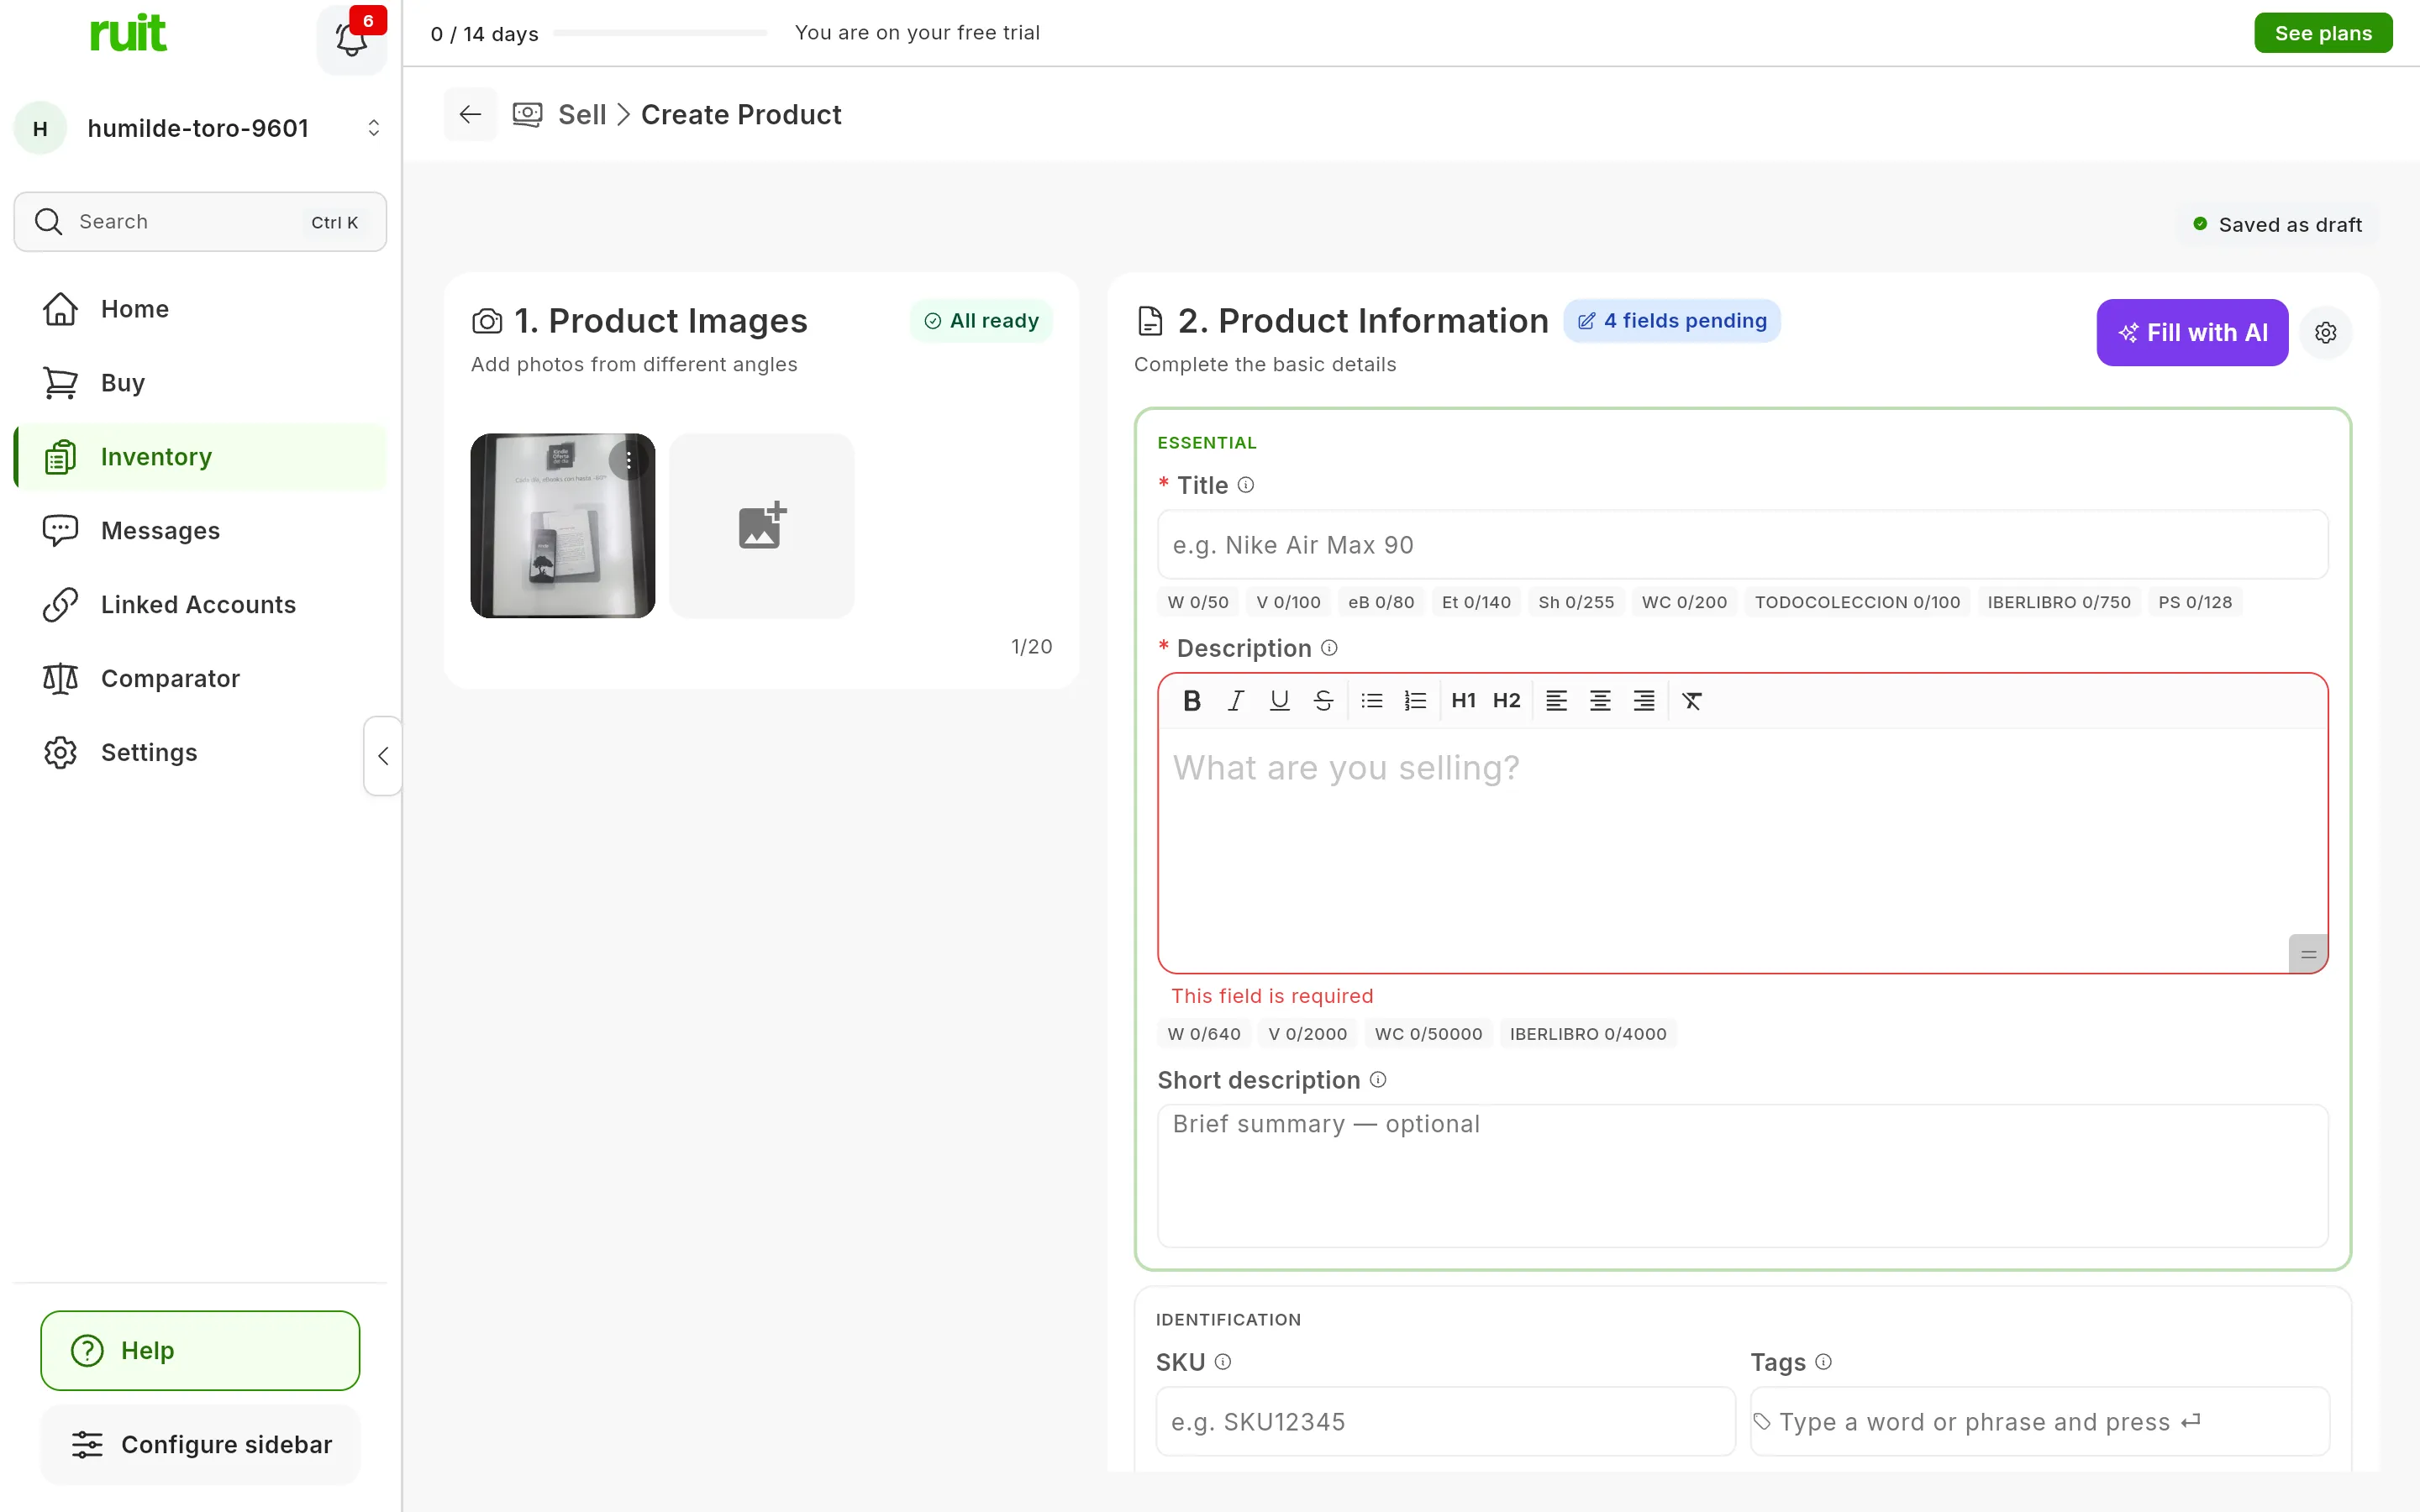
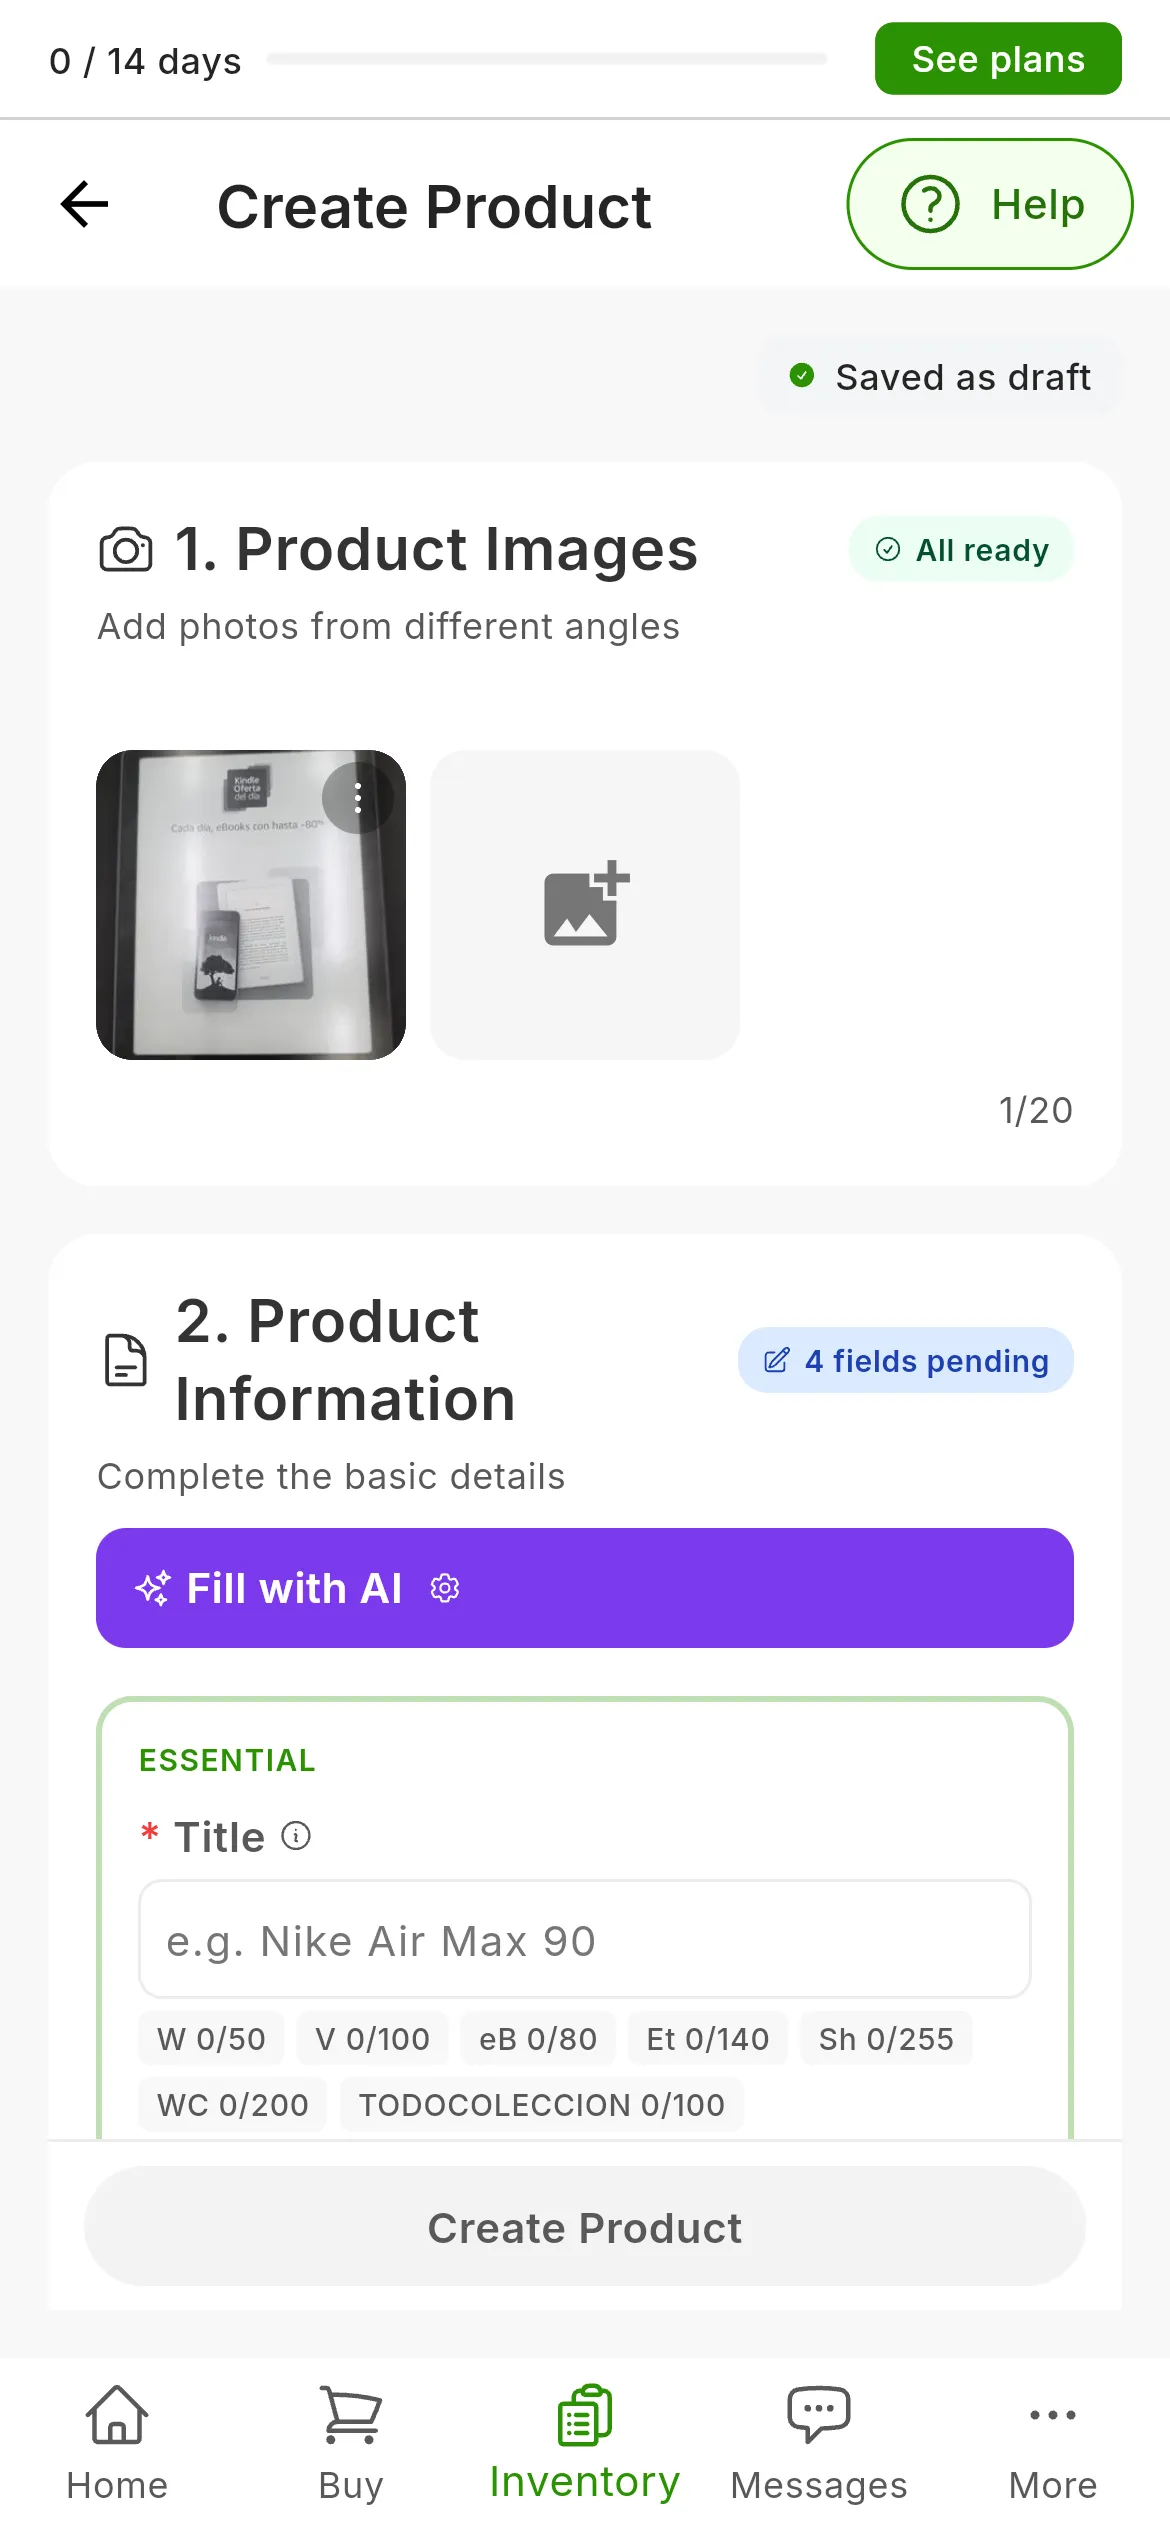
With the photo uploaded, at the top of 2. Product Information you have Fill with AI (1) and its AI Settings (2).
2. Choose how it writes
Next to the Fill with AI button there is a gear, AI Settings. Open it:
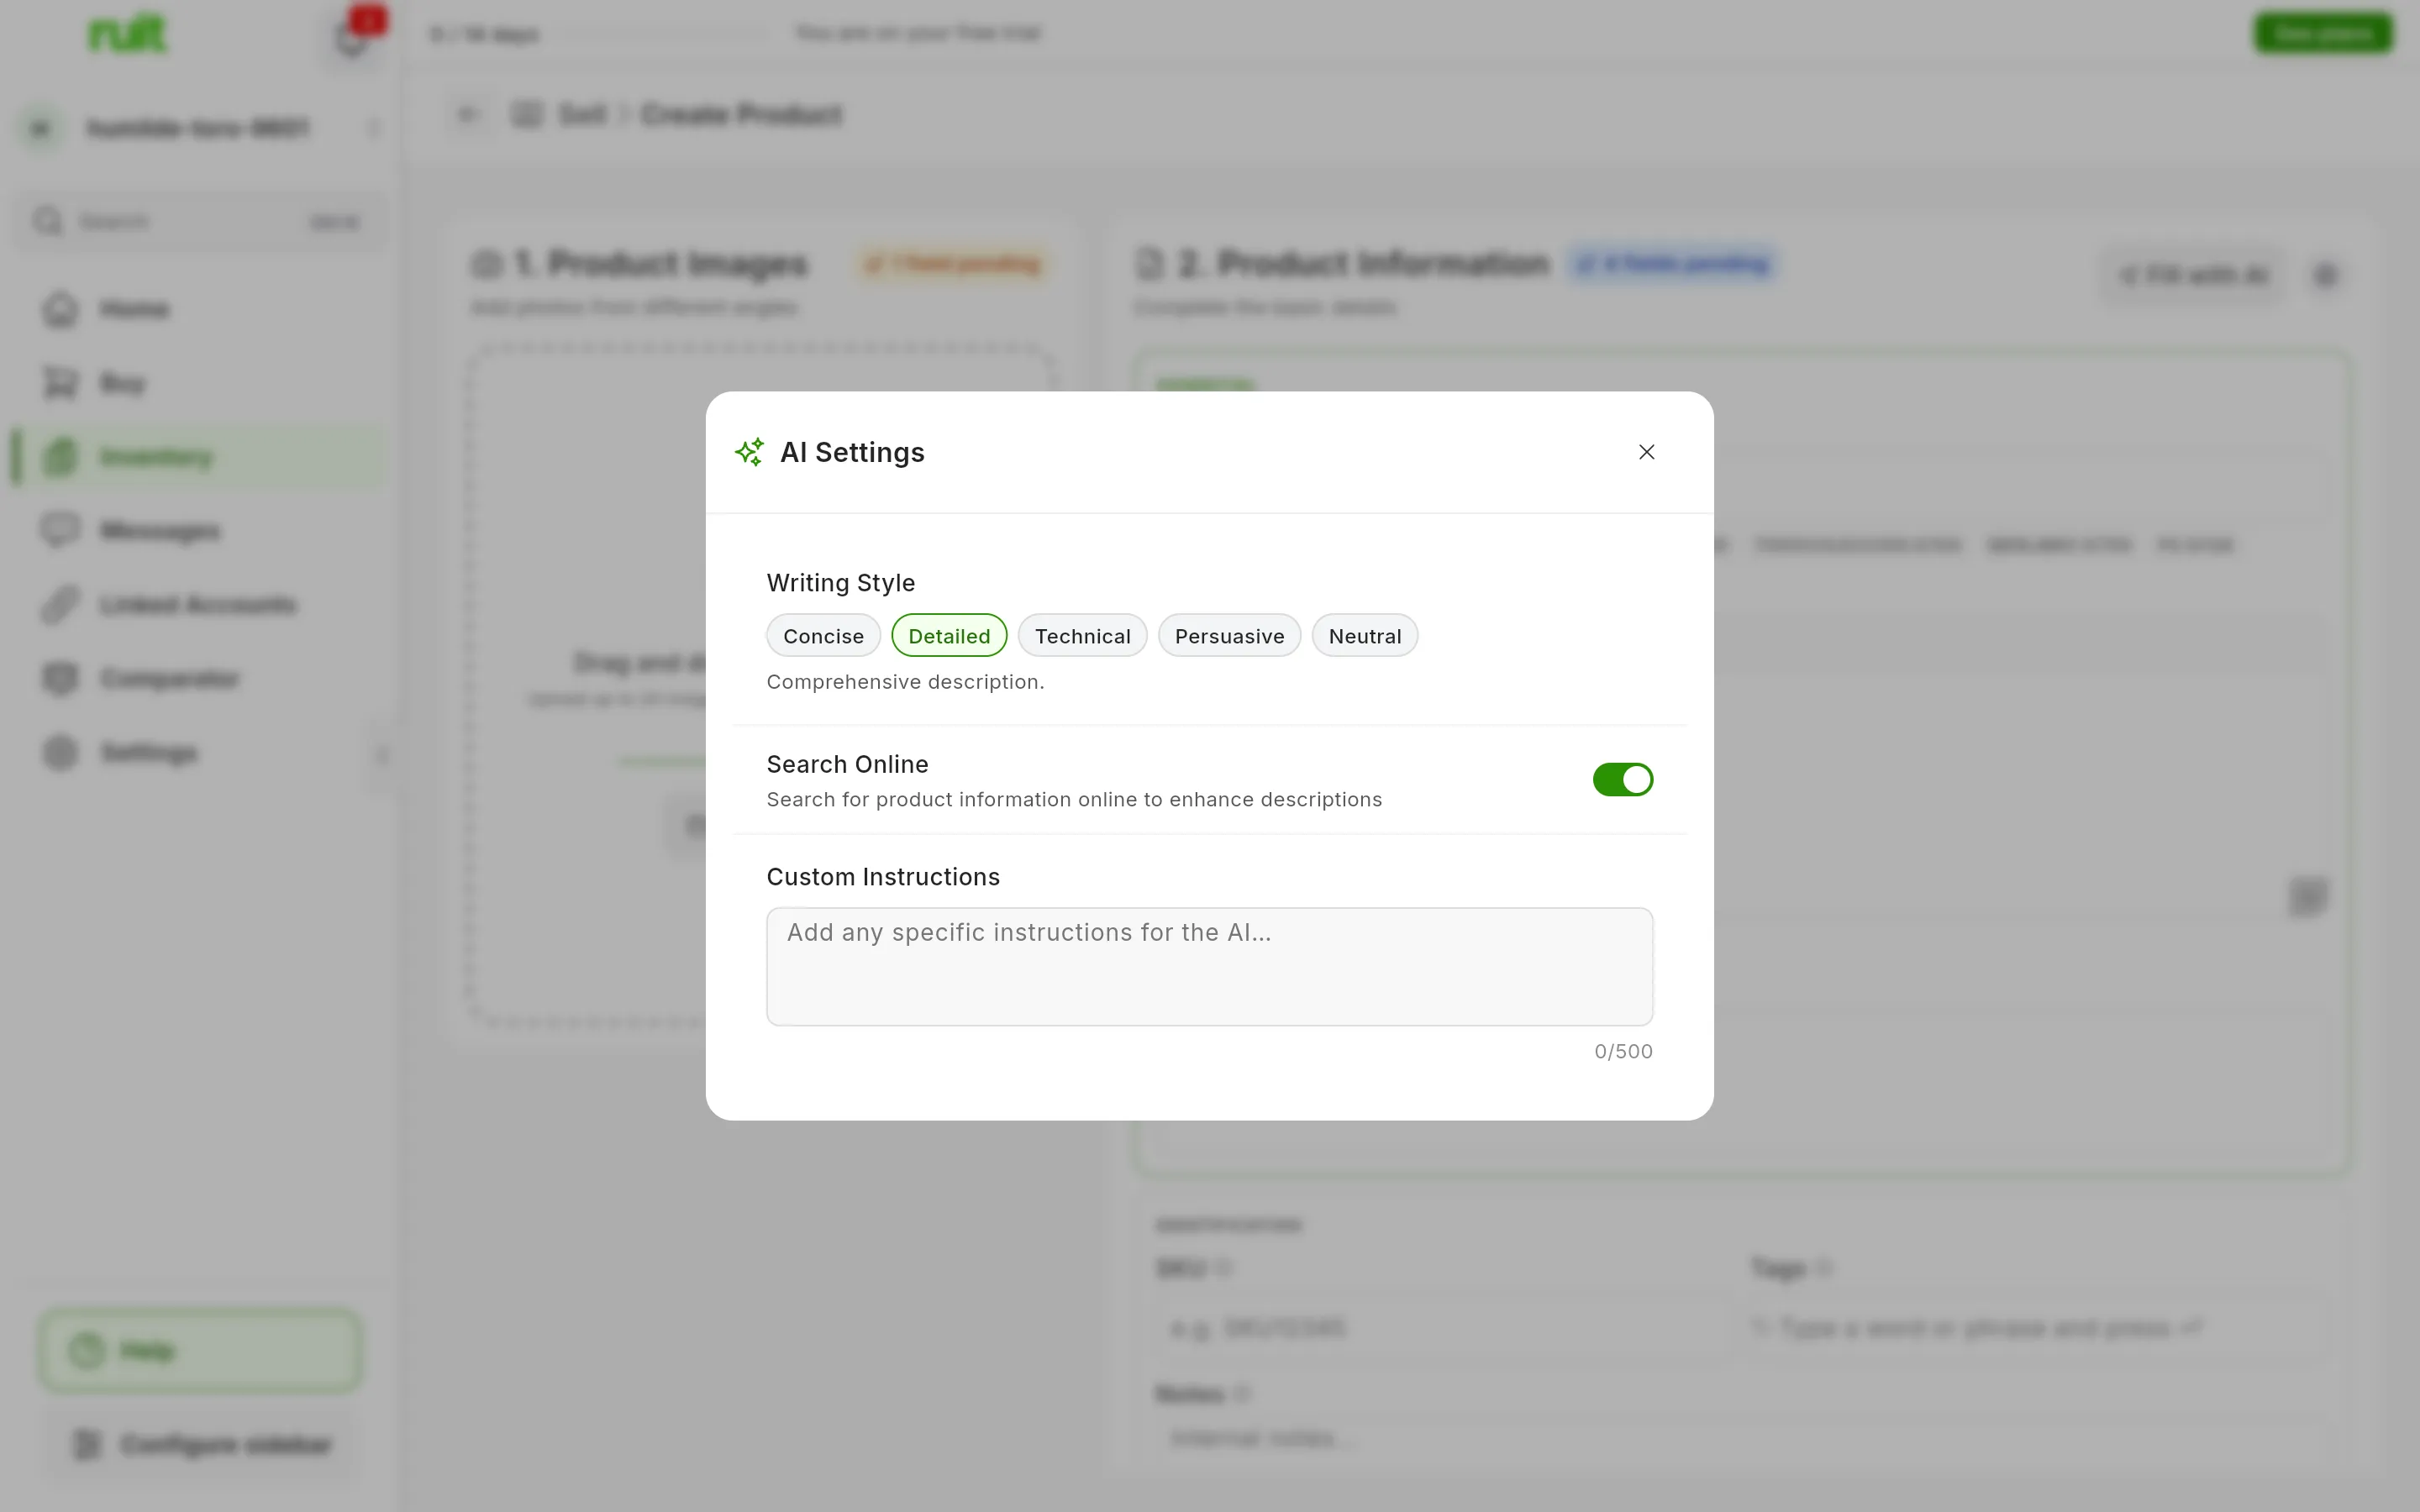
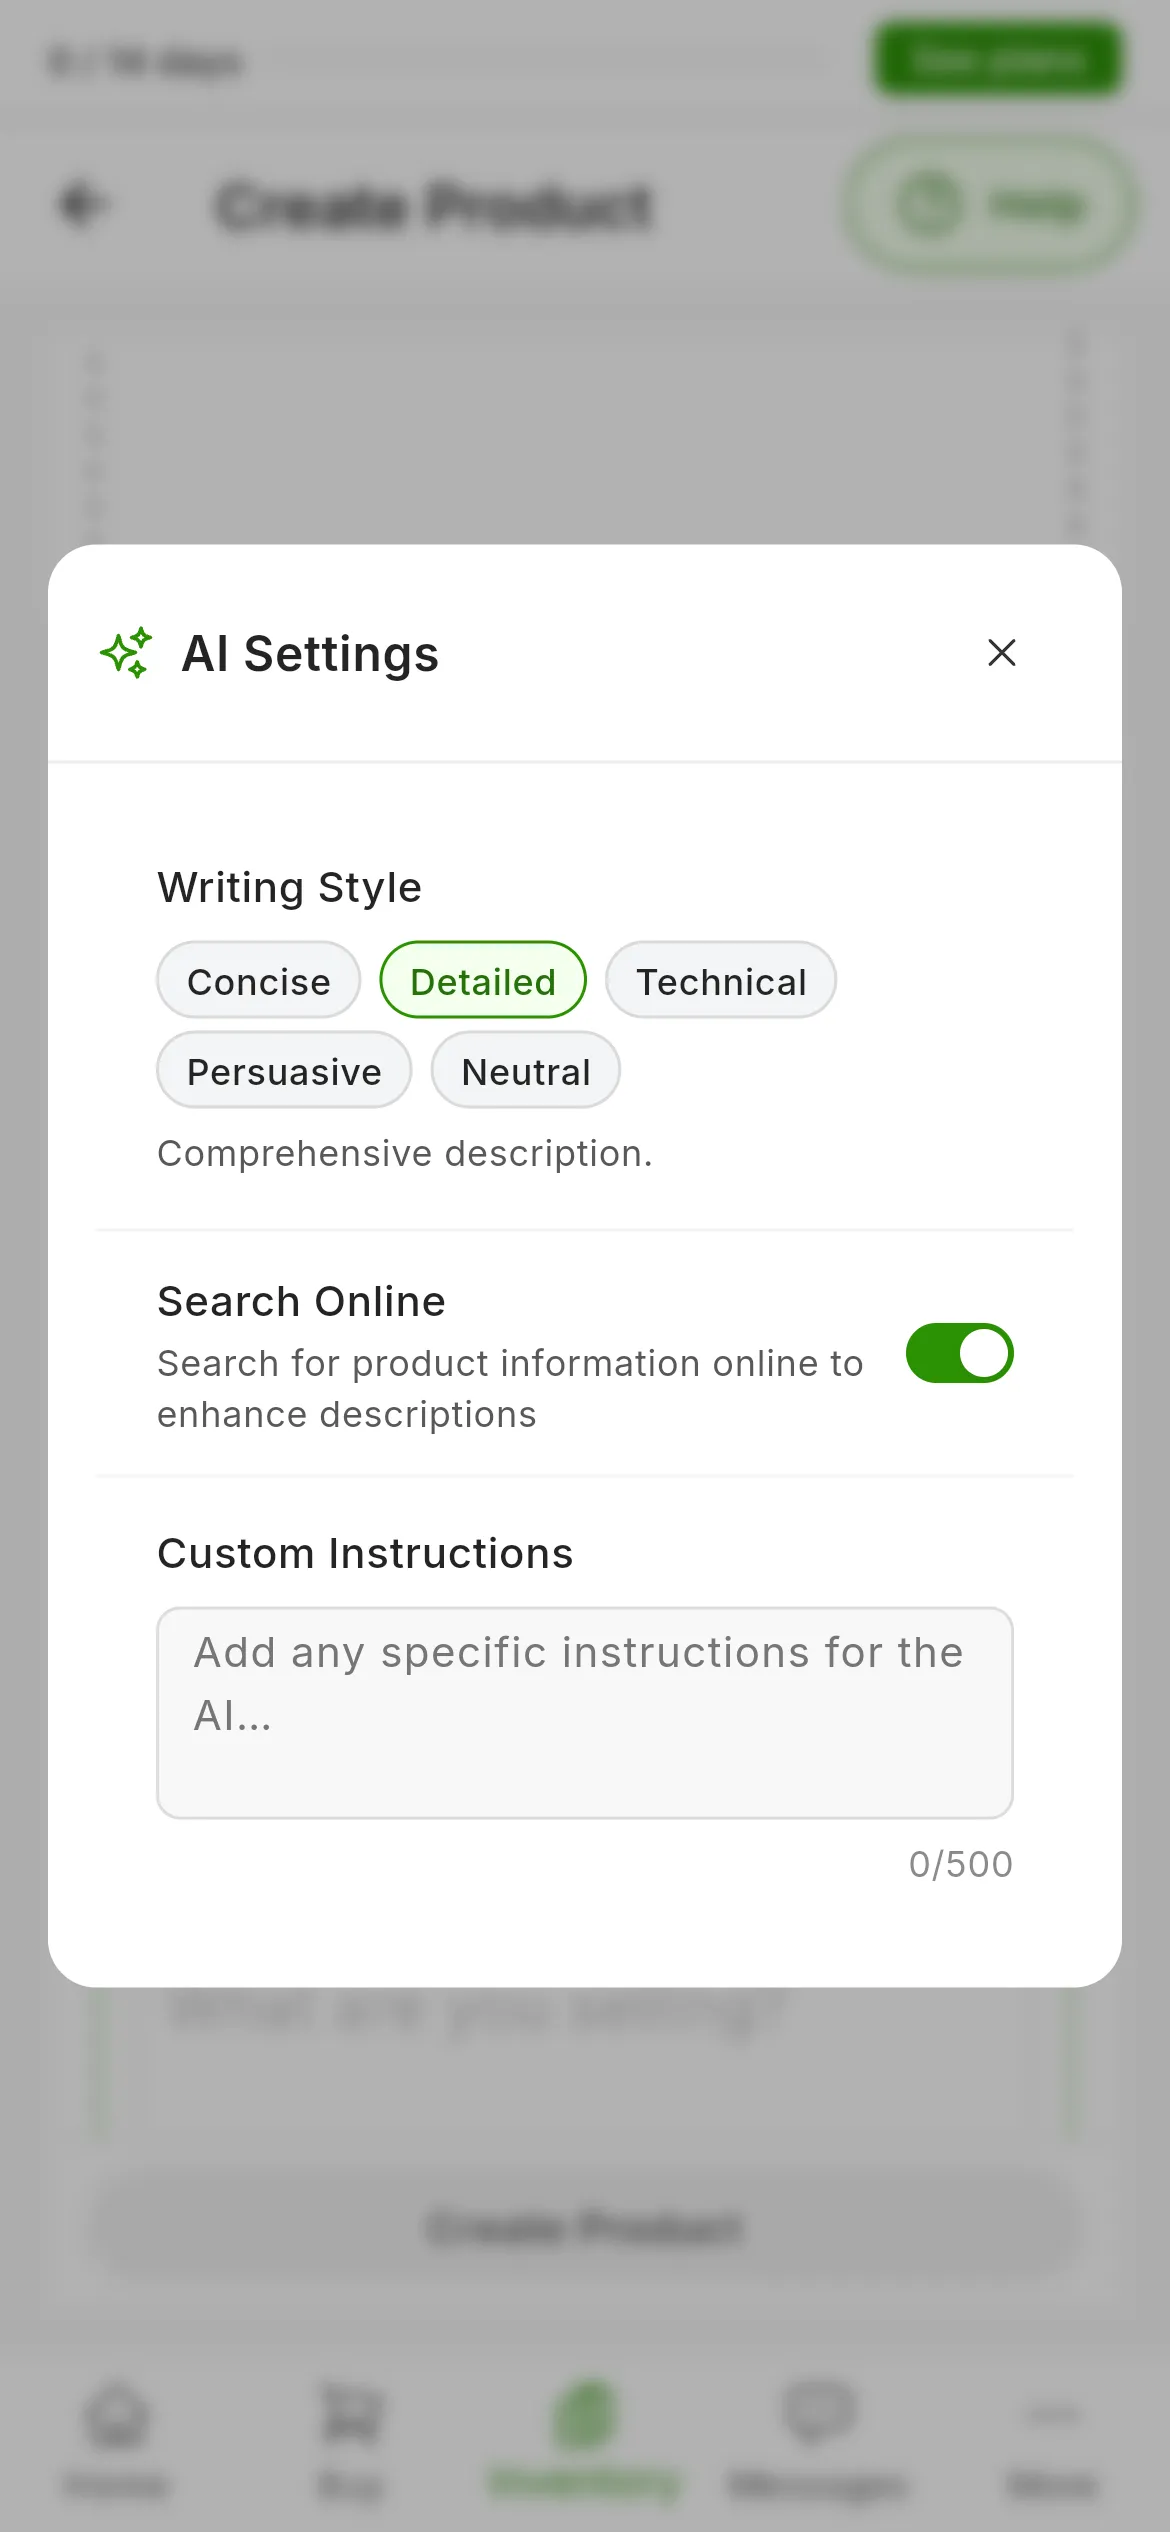
The AI settings. They are saved to your user for next time.
- Writing Style: Concise, short and clear; Detailed, the default, a complete description; Technical, focused on the specifications; Persuasive, geared towards selling; or Neutral, just the facts.
- Search Online, on by default: if the AI recognizes the brand or the model in the photos, it looks up information about the product on the internet to complete the details.
- Custom Instructions: whatever you want it to always keep in mind, in up to 500 characters. For example, “Always mention that shipping takes 24 hours”.
The same settings are in Settings → Automations & AI, under AI writing.
3. Press Fill with AI
Press Fill with AI in the header of 2. Product Information. You will see it go through Analyzing images…, Generating description… and Finalizing content…; within a few seconds, the form has a title, a description, a condition and attributes.
4. Check what it has written
Read the result before you carry on. The AI can get things wrong: in one test it described an item as “completely new” after giving it the condition Fair itself. Check above all the condition, the measurements and any detail that cannot be seen in the photos. Also look at the counters under the title and the description: each marketplace has its own character limit, and the ones you go over show in red.
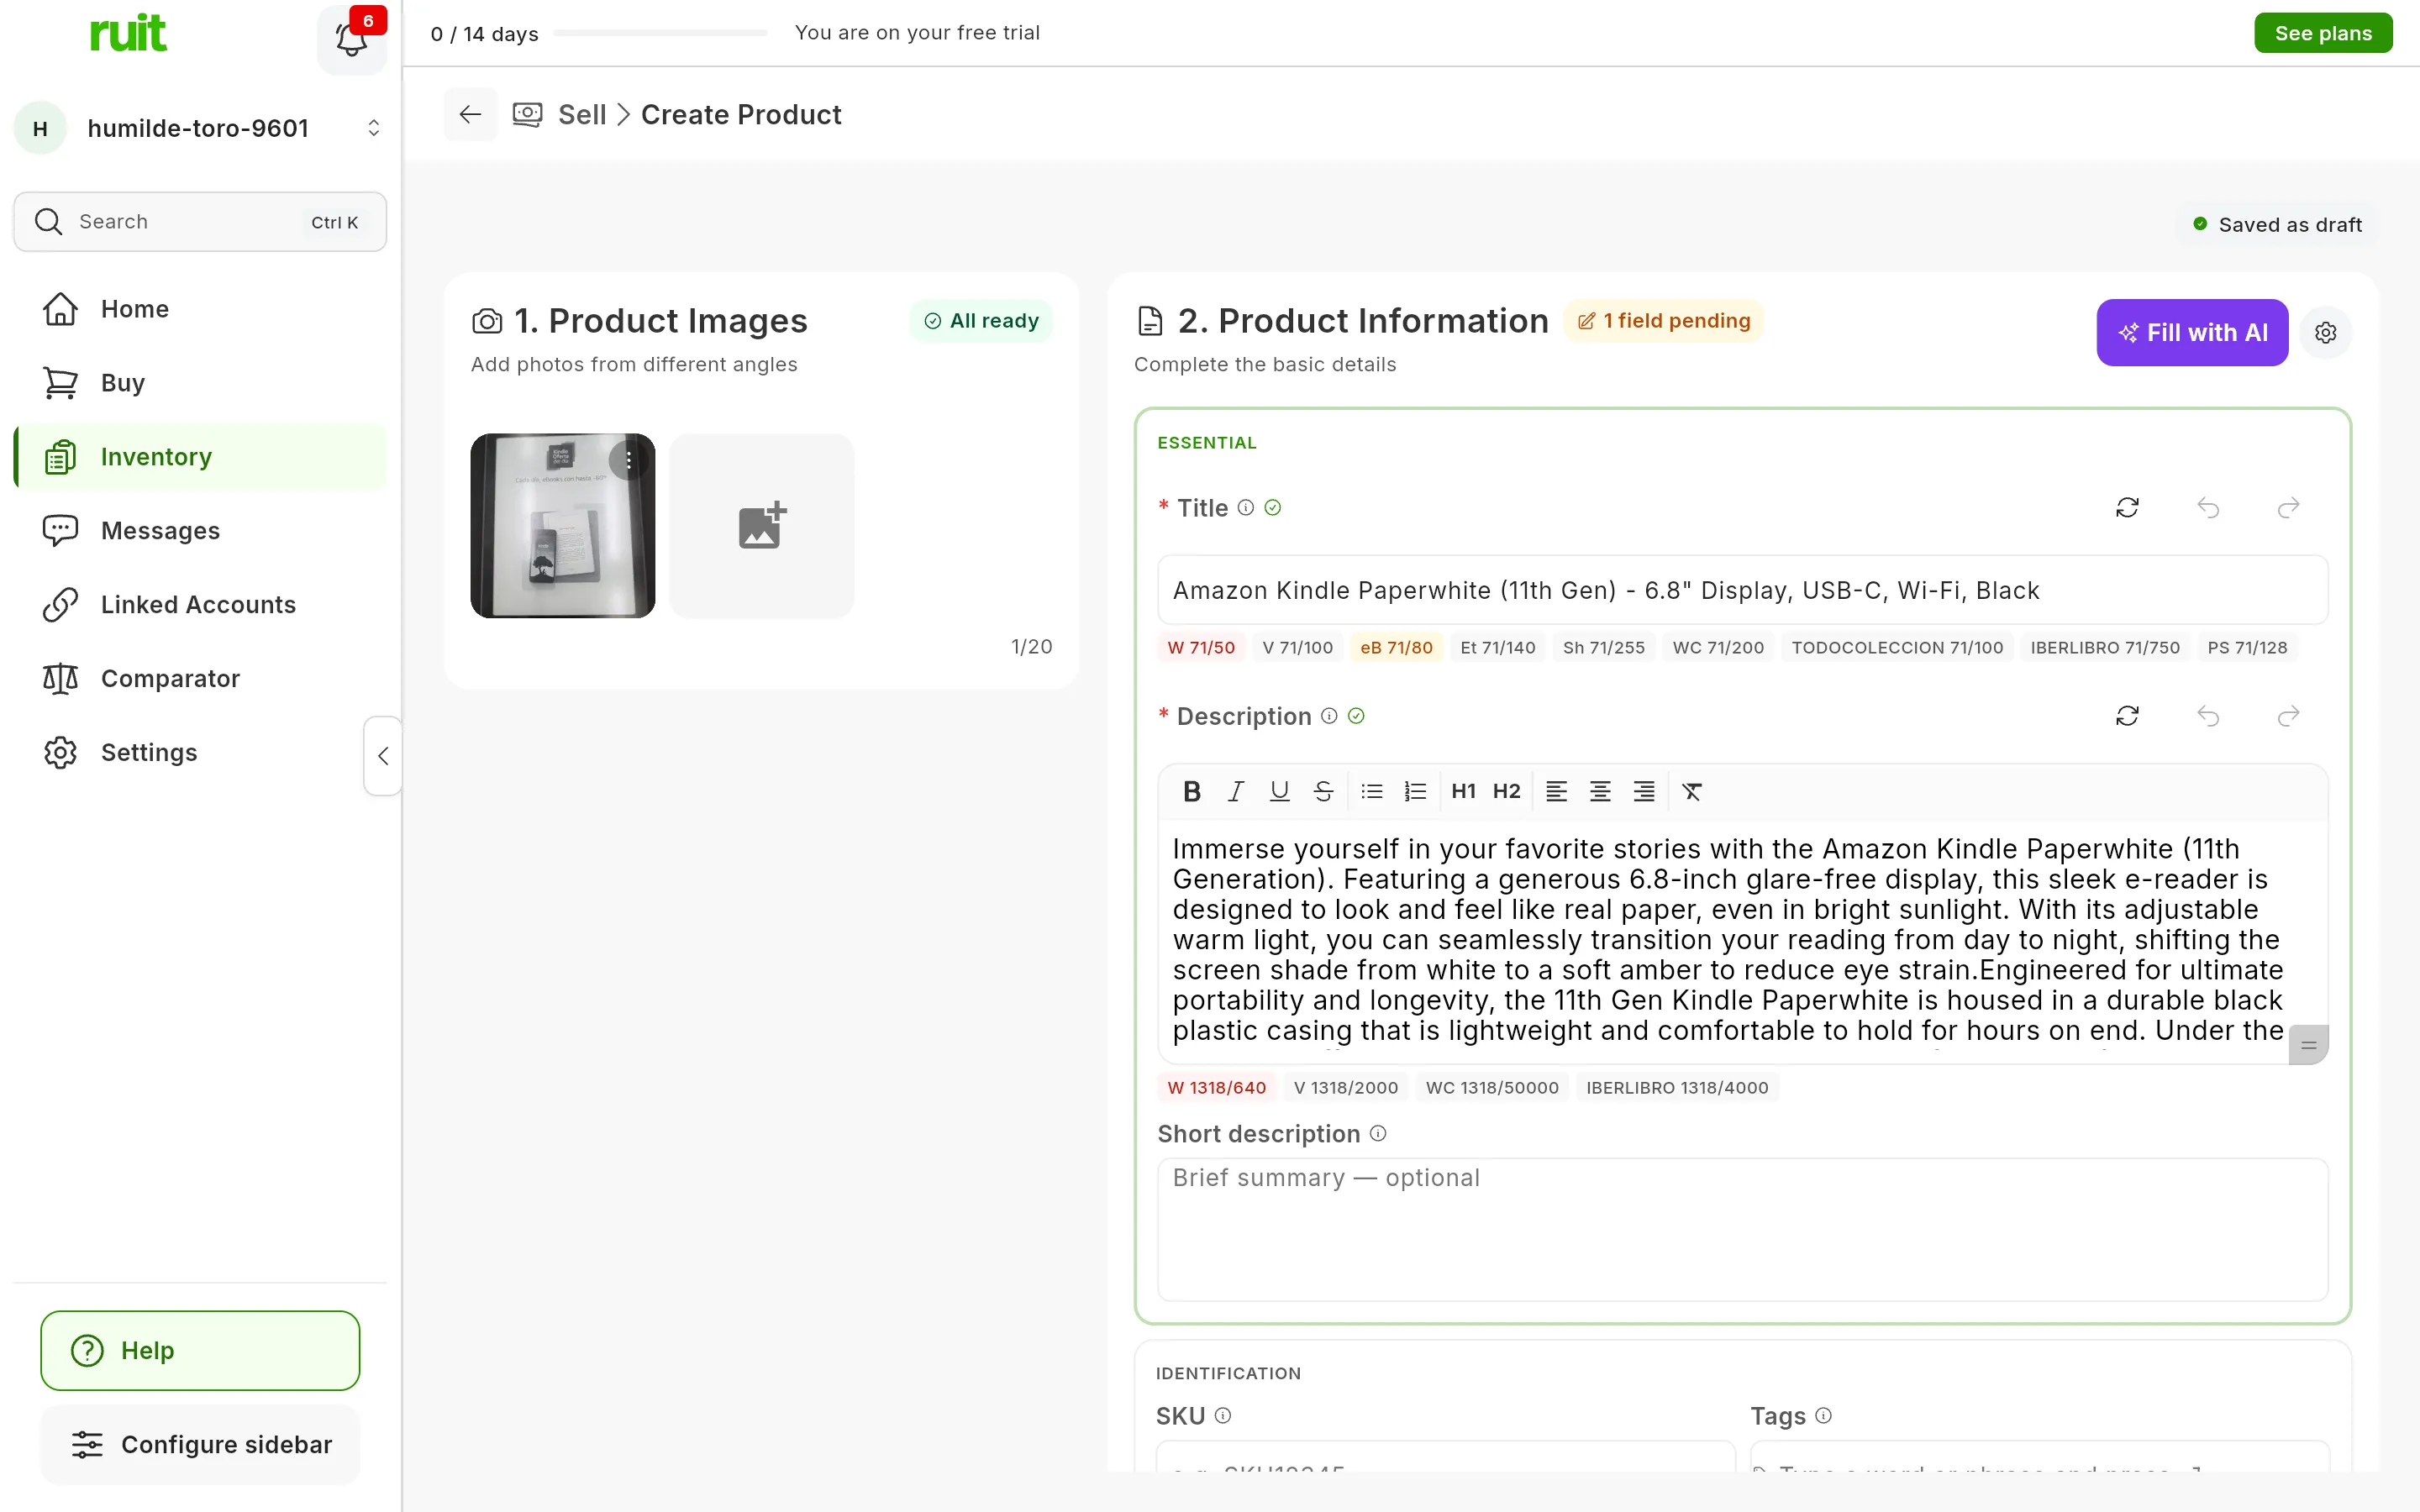
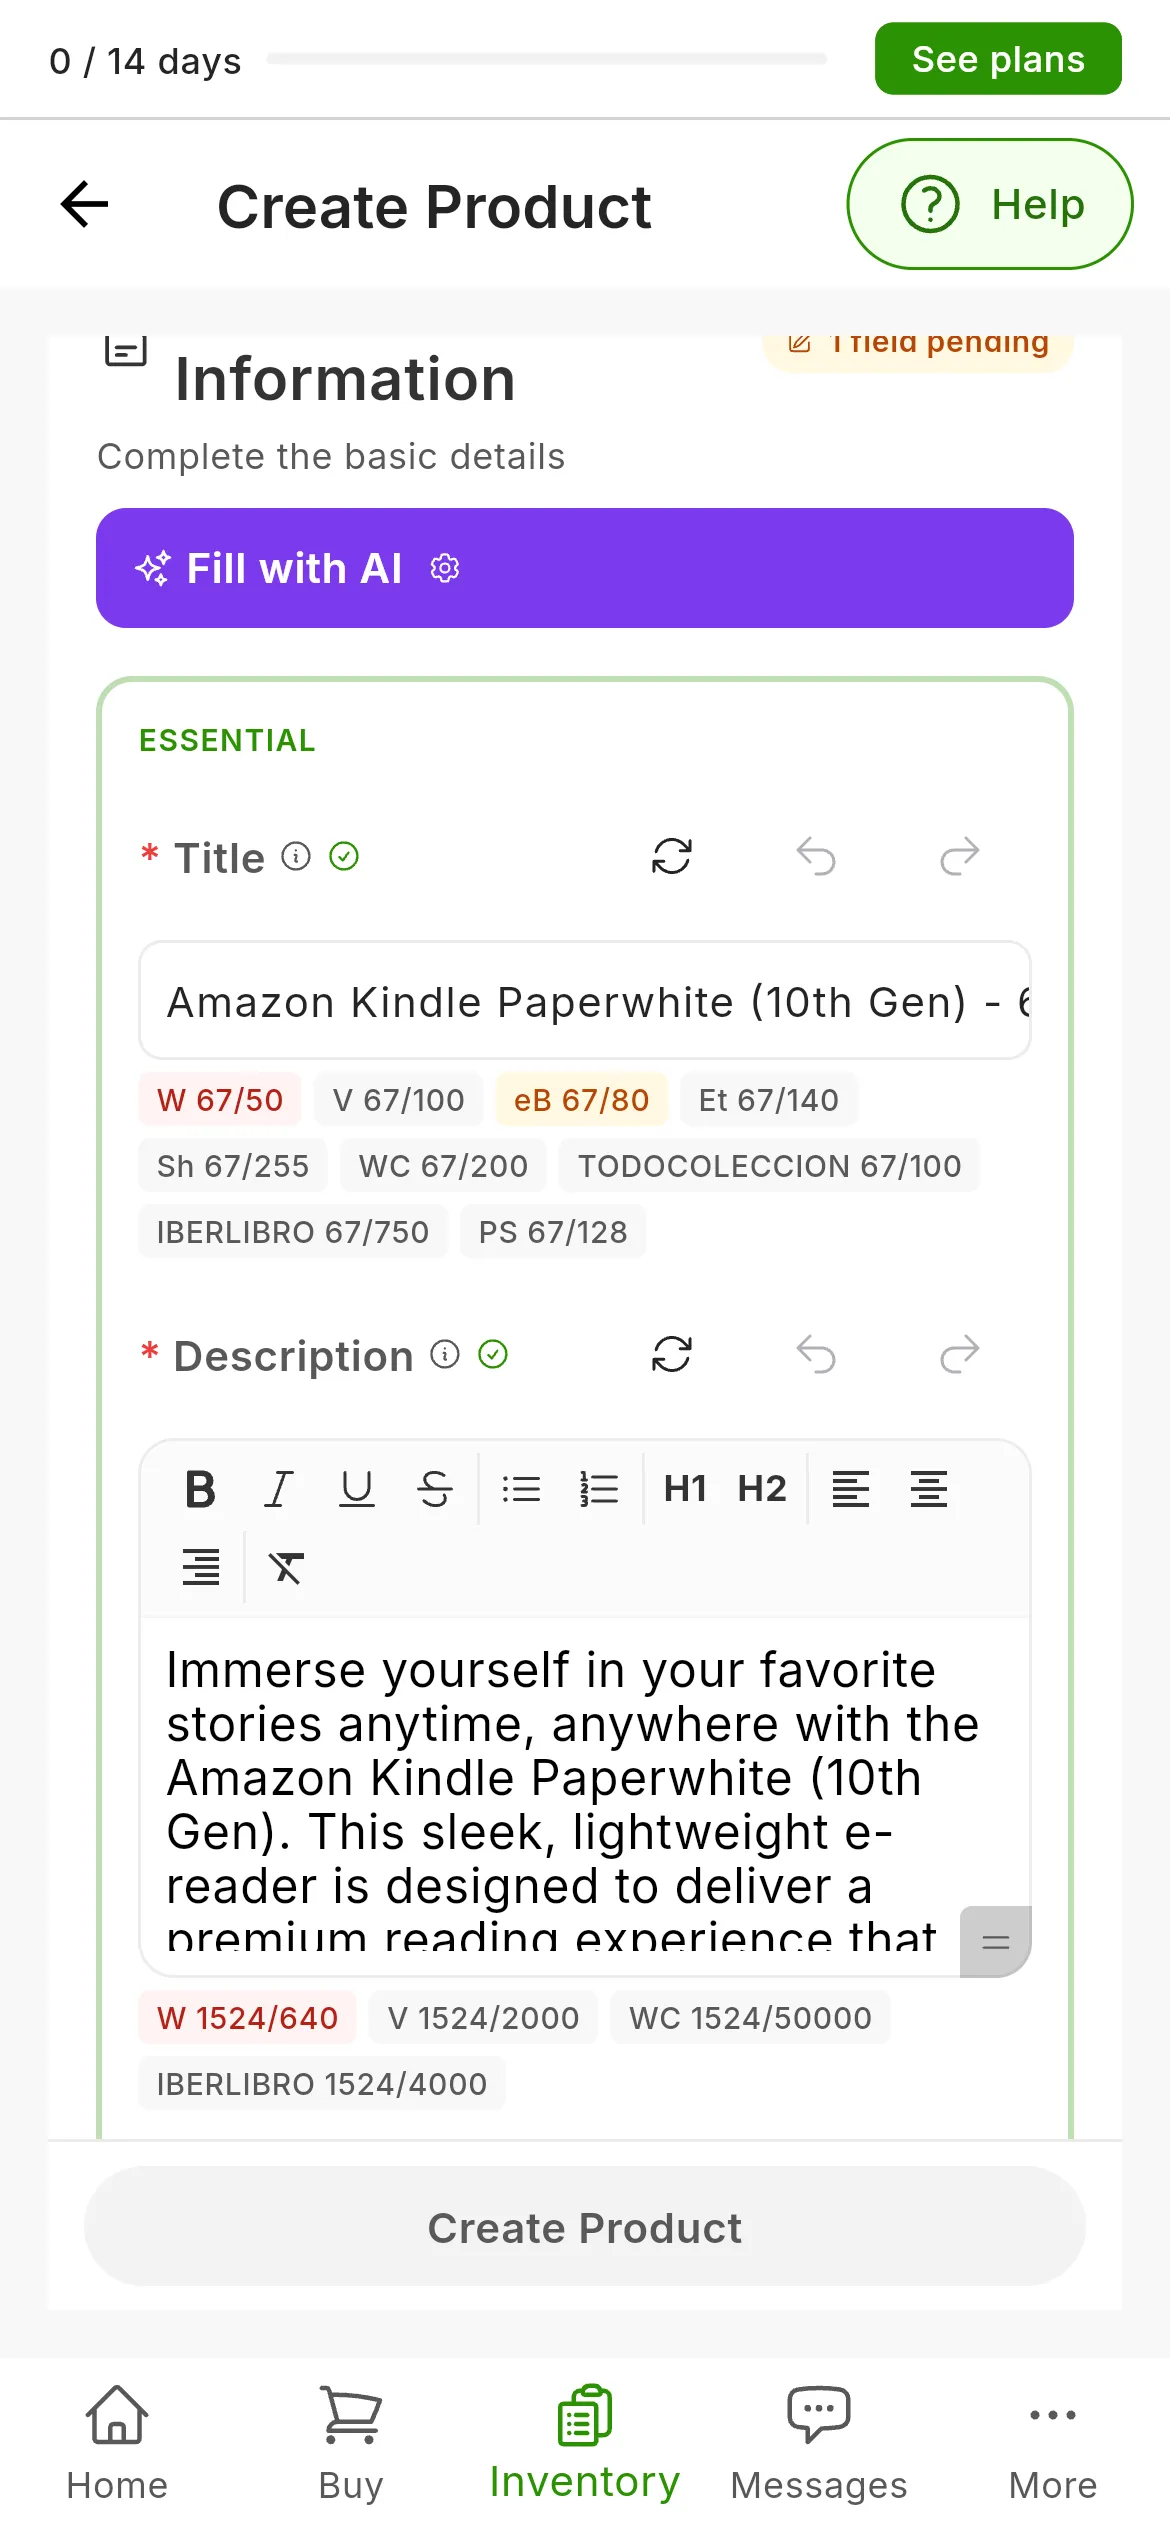
The details the AI wrote from one photo. Next to Title and Description, Regenerate (1) and Undo (2).
If you are not convinced, next to Title and Description you have Regenerate, which writes another version with your style and your instructions, without looking at the photos again, and Undo and Redo, which step through the versions the AI has written.
5. Fill in what the AI leaves out
The AI does not set the Base Price, the Shipping, the Stock Quantity or the SKU. Fill them in yourself, as in steps 3 and 4 of Create your first product, and press Create Product.
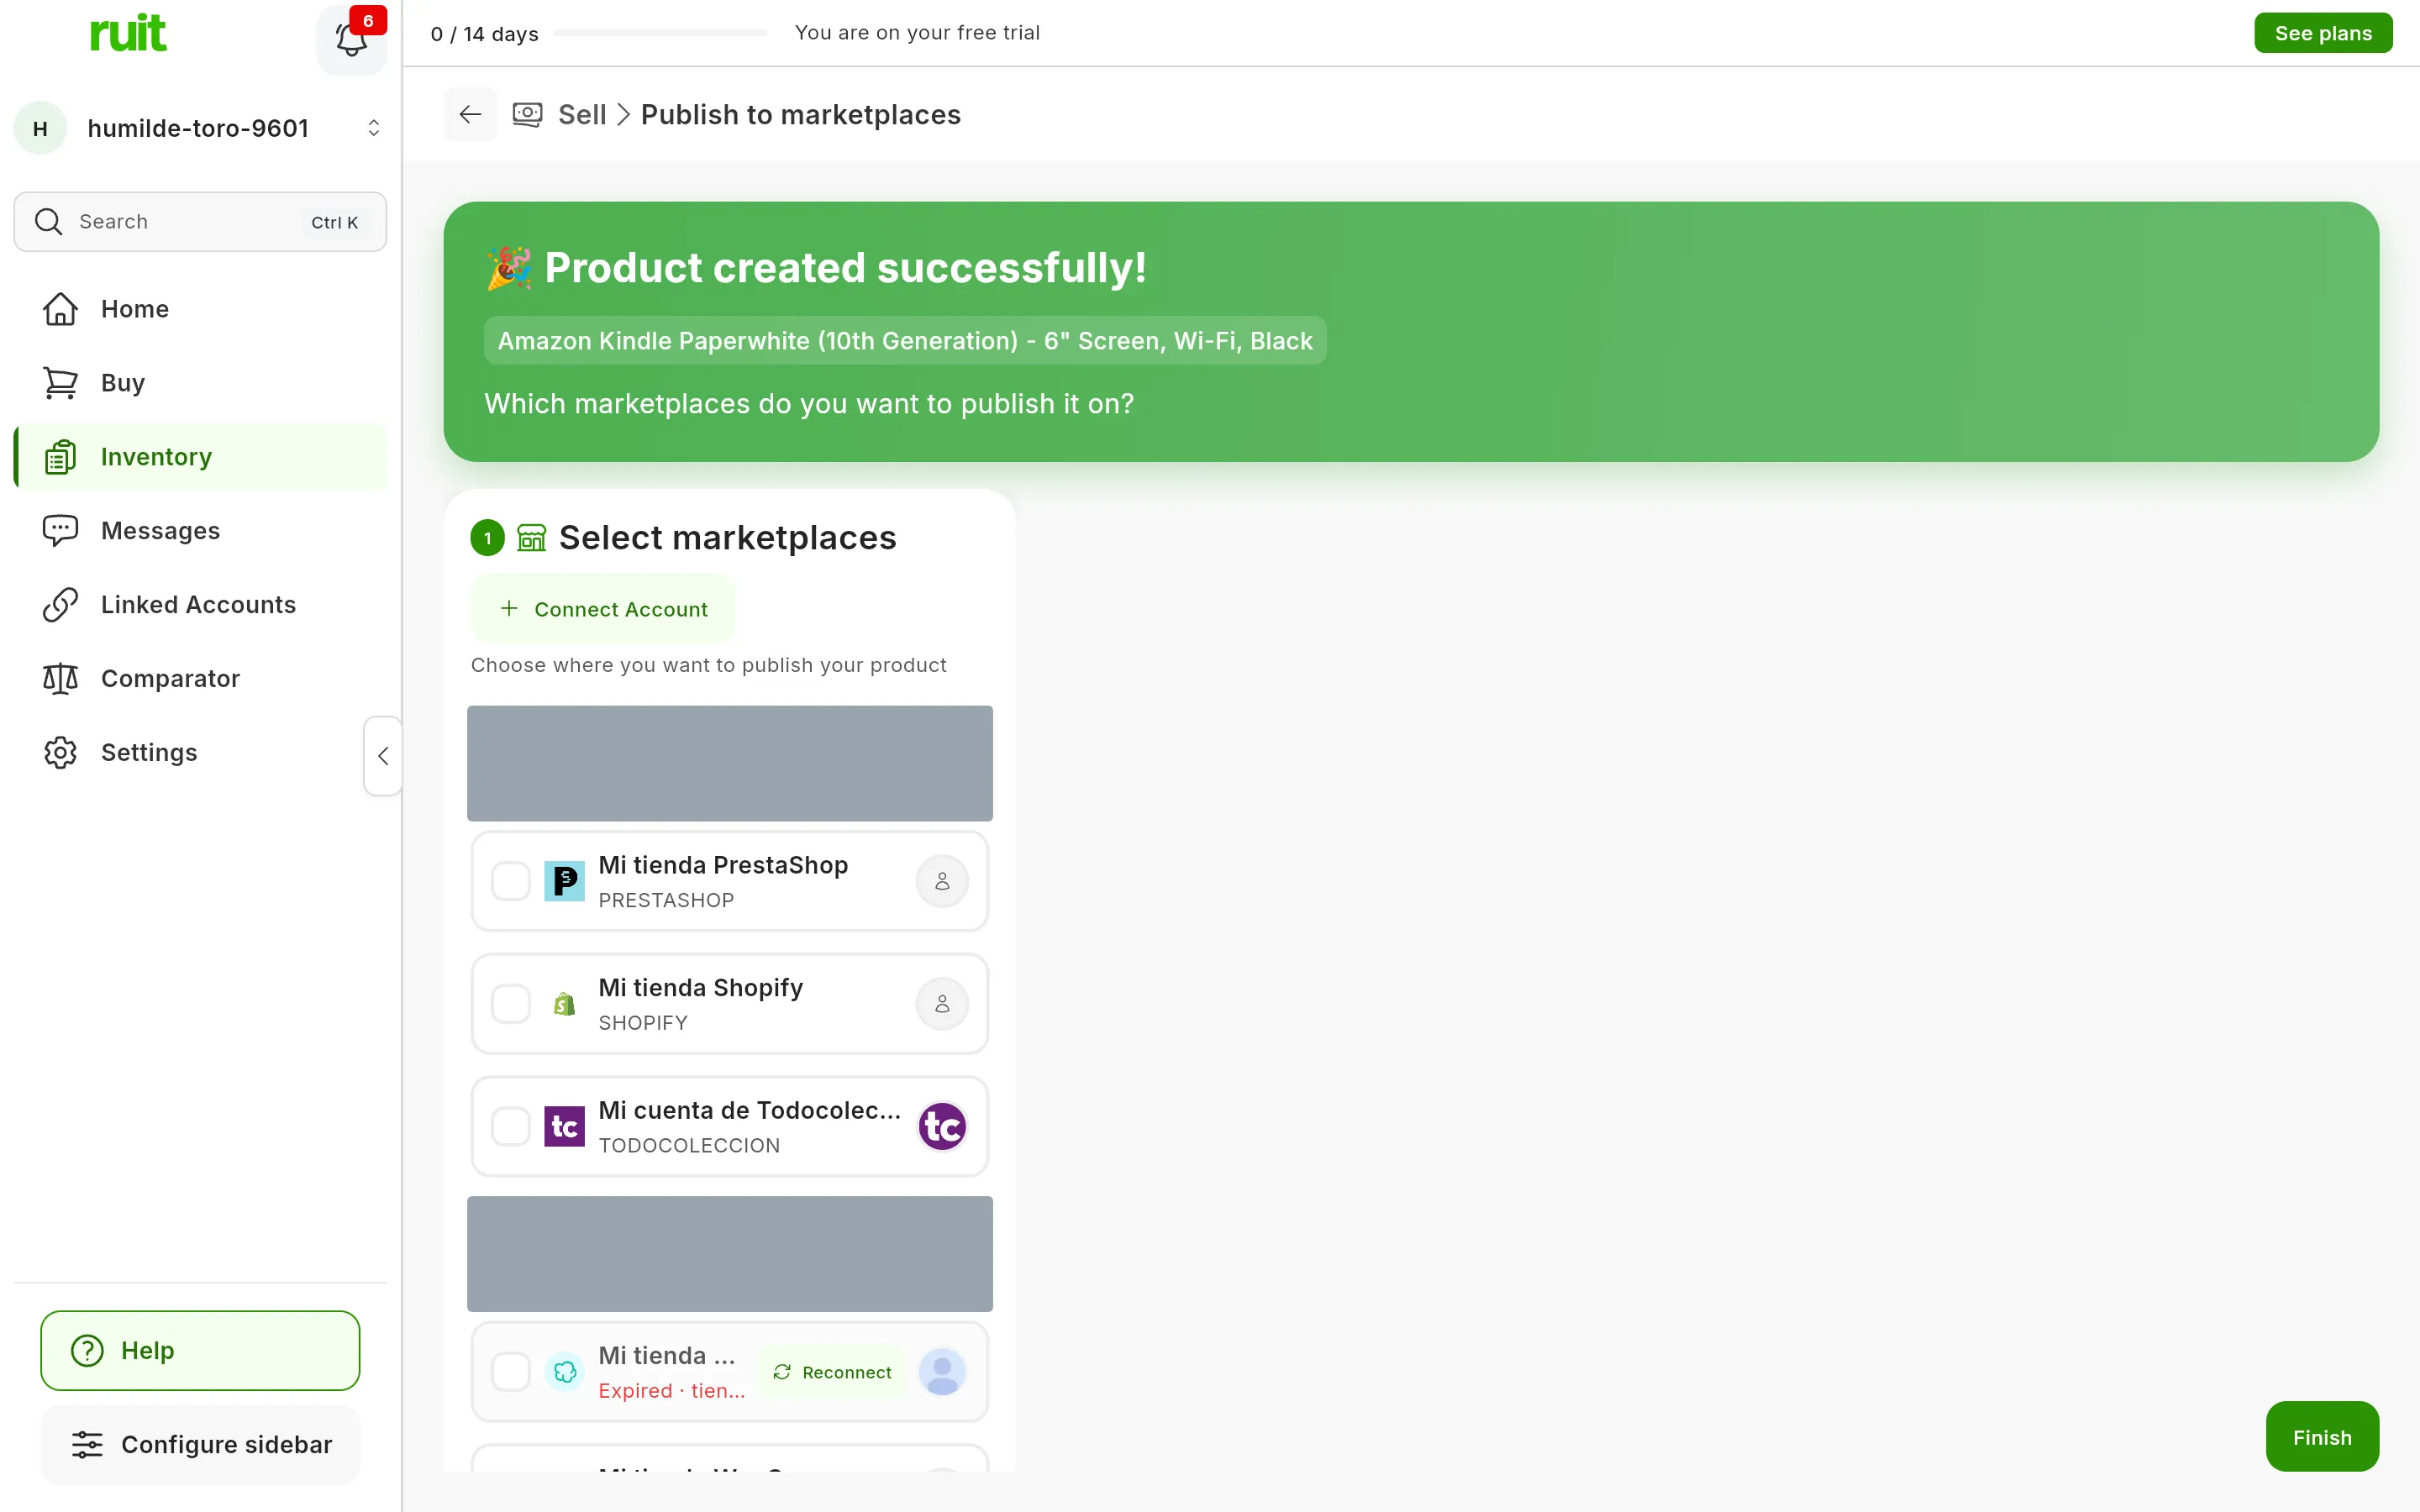
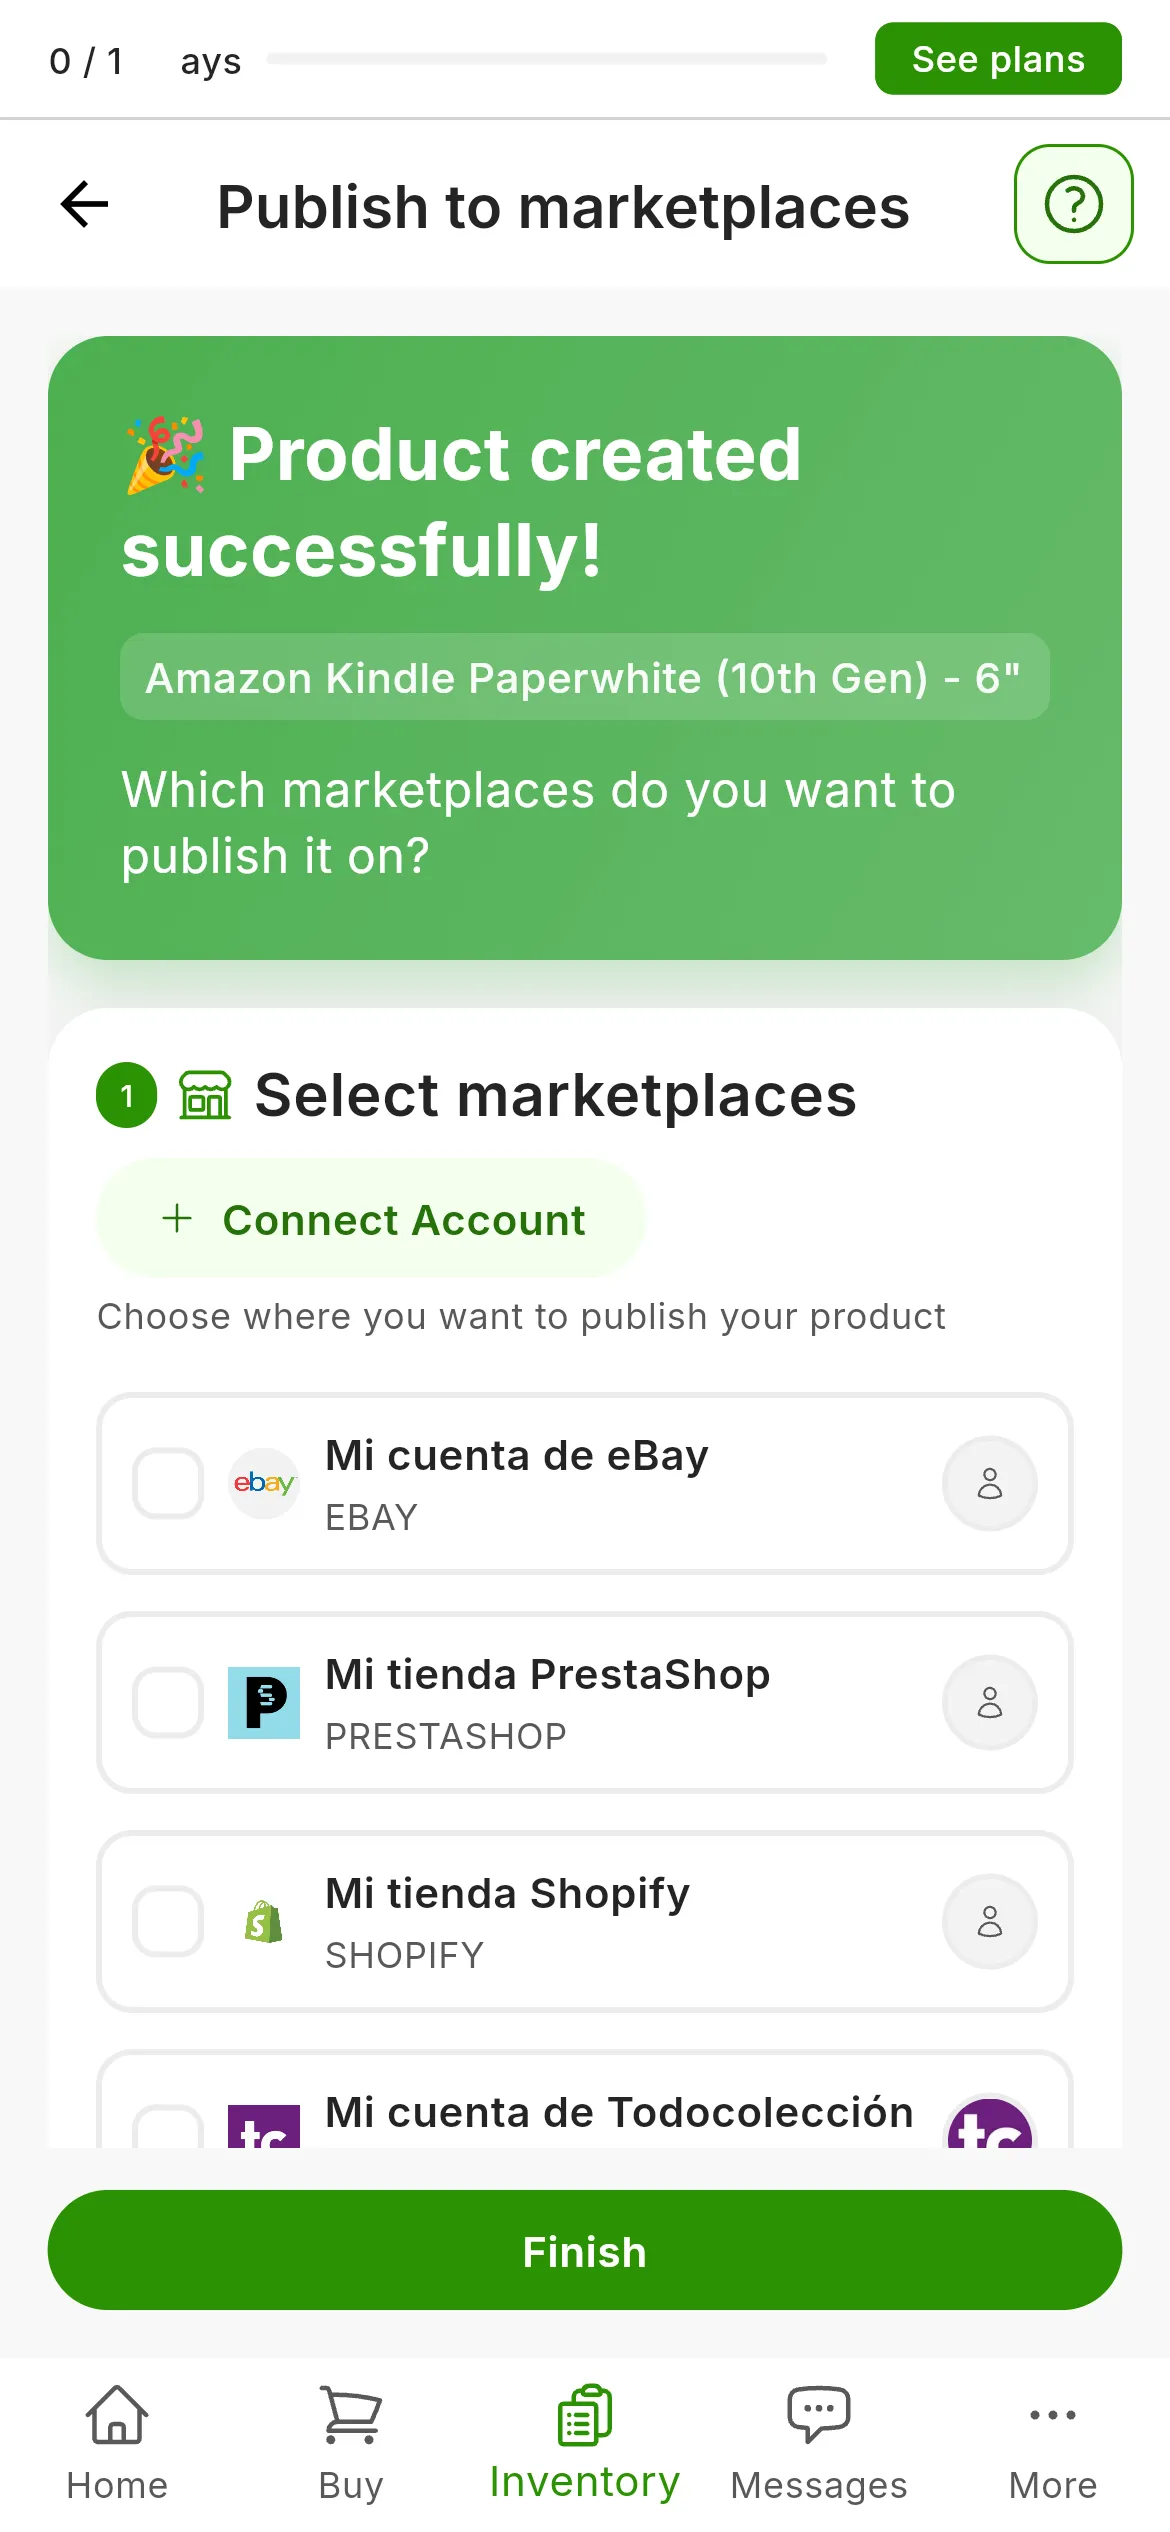
The product created with the AI’s details, ready for you to choose where to publish it.
What you have achieved
You have a product whose details were written by the AI and checked by you, ready to publish on your marketplaces.
Next step: publishing your first listing.
If something is off
- “Please add at least one image to generate product information.” The AI needs at least one uploaded photo.
- “Some photos are still uploading…” Wait for them to finish, or upload again the ones that failed, and press the button again.
- “Only the first 3 of the … photos sent will be analysed.” It is a warning, not an error: with more than three photos, the AI looks at the first three.
- “Couldn’t generate the product information.” It has failed or taken longer than a minute. Press Fill with AI again.
- The description mentions a market price. With Search Online, the AI can quote what it has found on the internet, but it never touches the Base Price: that one is your decision.
Did this article help?
Thanks for telling us.