Schedule and space out a bulk publishing job
How to choose the delay between publications and the activity hours of a bulk publishing job, in Madrid time, and save them as a preset.
This guide explains the Schedule step of the bulk publishing wizard: how often a listing goes out and at what hours. It also explains how to save that schedule as a preset, so you can load it with one tap next time. Bulk publishing is a feature from the Plus plan up, and the whole walkthrough, from ticking the products to following the job, is in Publish many products at once.
RUIT does not publish a job all at once: it spaces the listings out with a delay and only publishes within your activity hours.
The delay between publications
It is the time that passes between two listings on the same marketplace, because each marketplace keeps its own clock:
- A product going to three marketplaces goes out on all three at once.
- The next product goes out, on each marketplace, once the delay has passed since the previous one.
- Two accounts on the same marketplace share a clock. They go out one after the other: first one account’s products and then the other’s.
So how long a job lasts depends on how many listings go to the same marketplace. Twenty products on two Wallapop accounts take twice as long as on just one; on Wallapop and Vinted at the same time, the same as on one.
You choose the delay in Delay between publications:
| Option | Delay |
|---|---|
| Auto · 2 min | Two minutes. It is the one selected by default |
| 3 min, 4 min and 5 min | The one each of them says |
| Custom | Whatever you choose with the minus and plus buttons, in min or in h, from 1 minute to 30 days |
| Random | Each delay is drawn at random between a Minimum wait and a Maximum wait |
Fixed delays are approximate, and the control says so: RUIT adds a random extra of up to 30% to them, so that the pace is not regular. With Auto · 2 min, each listing goes out between 2 and 2.6 minutes after the previous one on that marketplace.
With Custom, the buttons stop at the limits, which are shown below them: min 1min · max 30d. With Random, the maximum starts at twice the minimum and can never go below it. No extra is added there: the delay is already random.
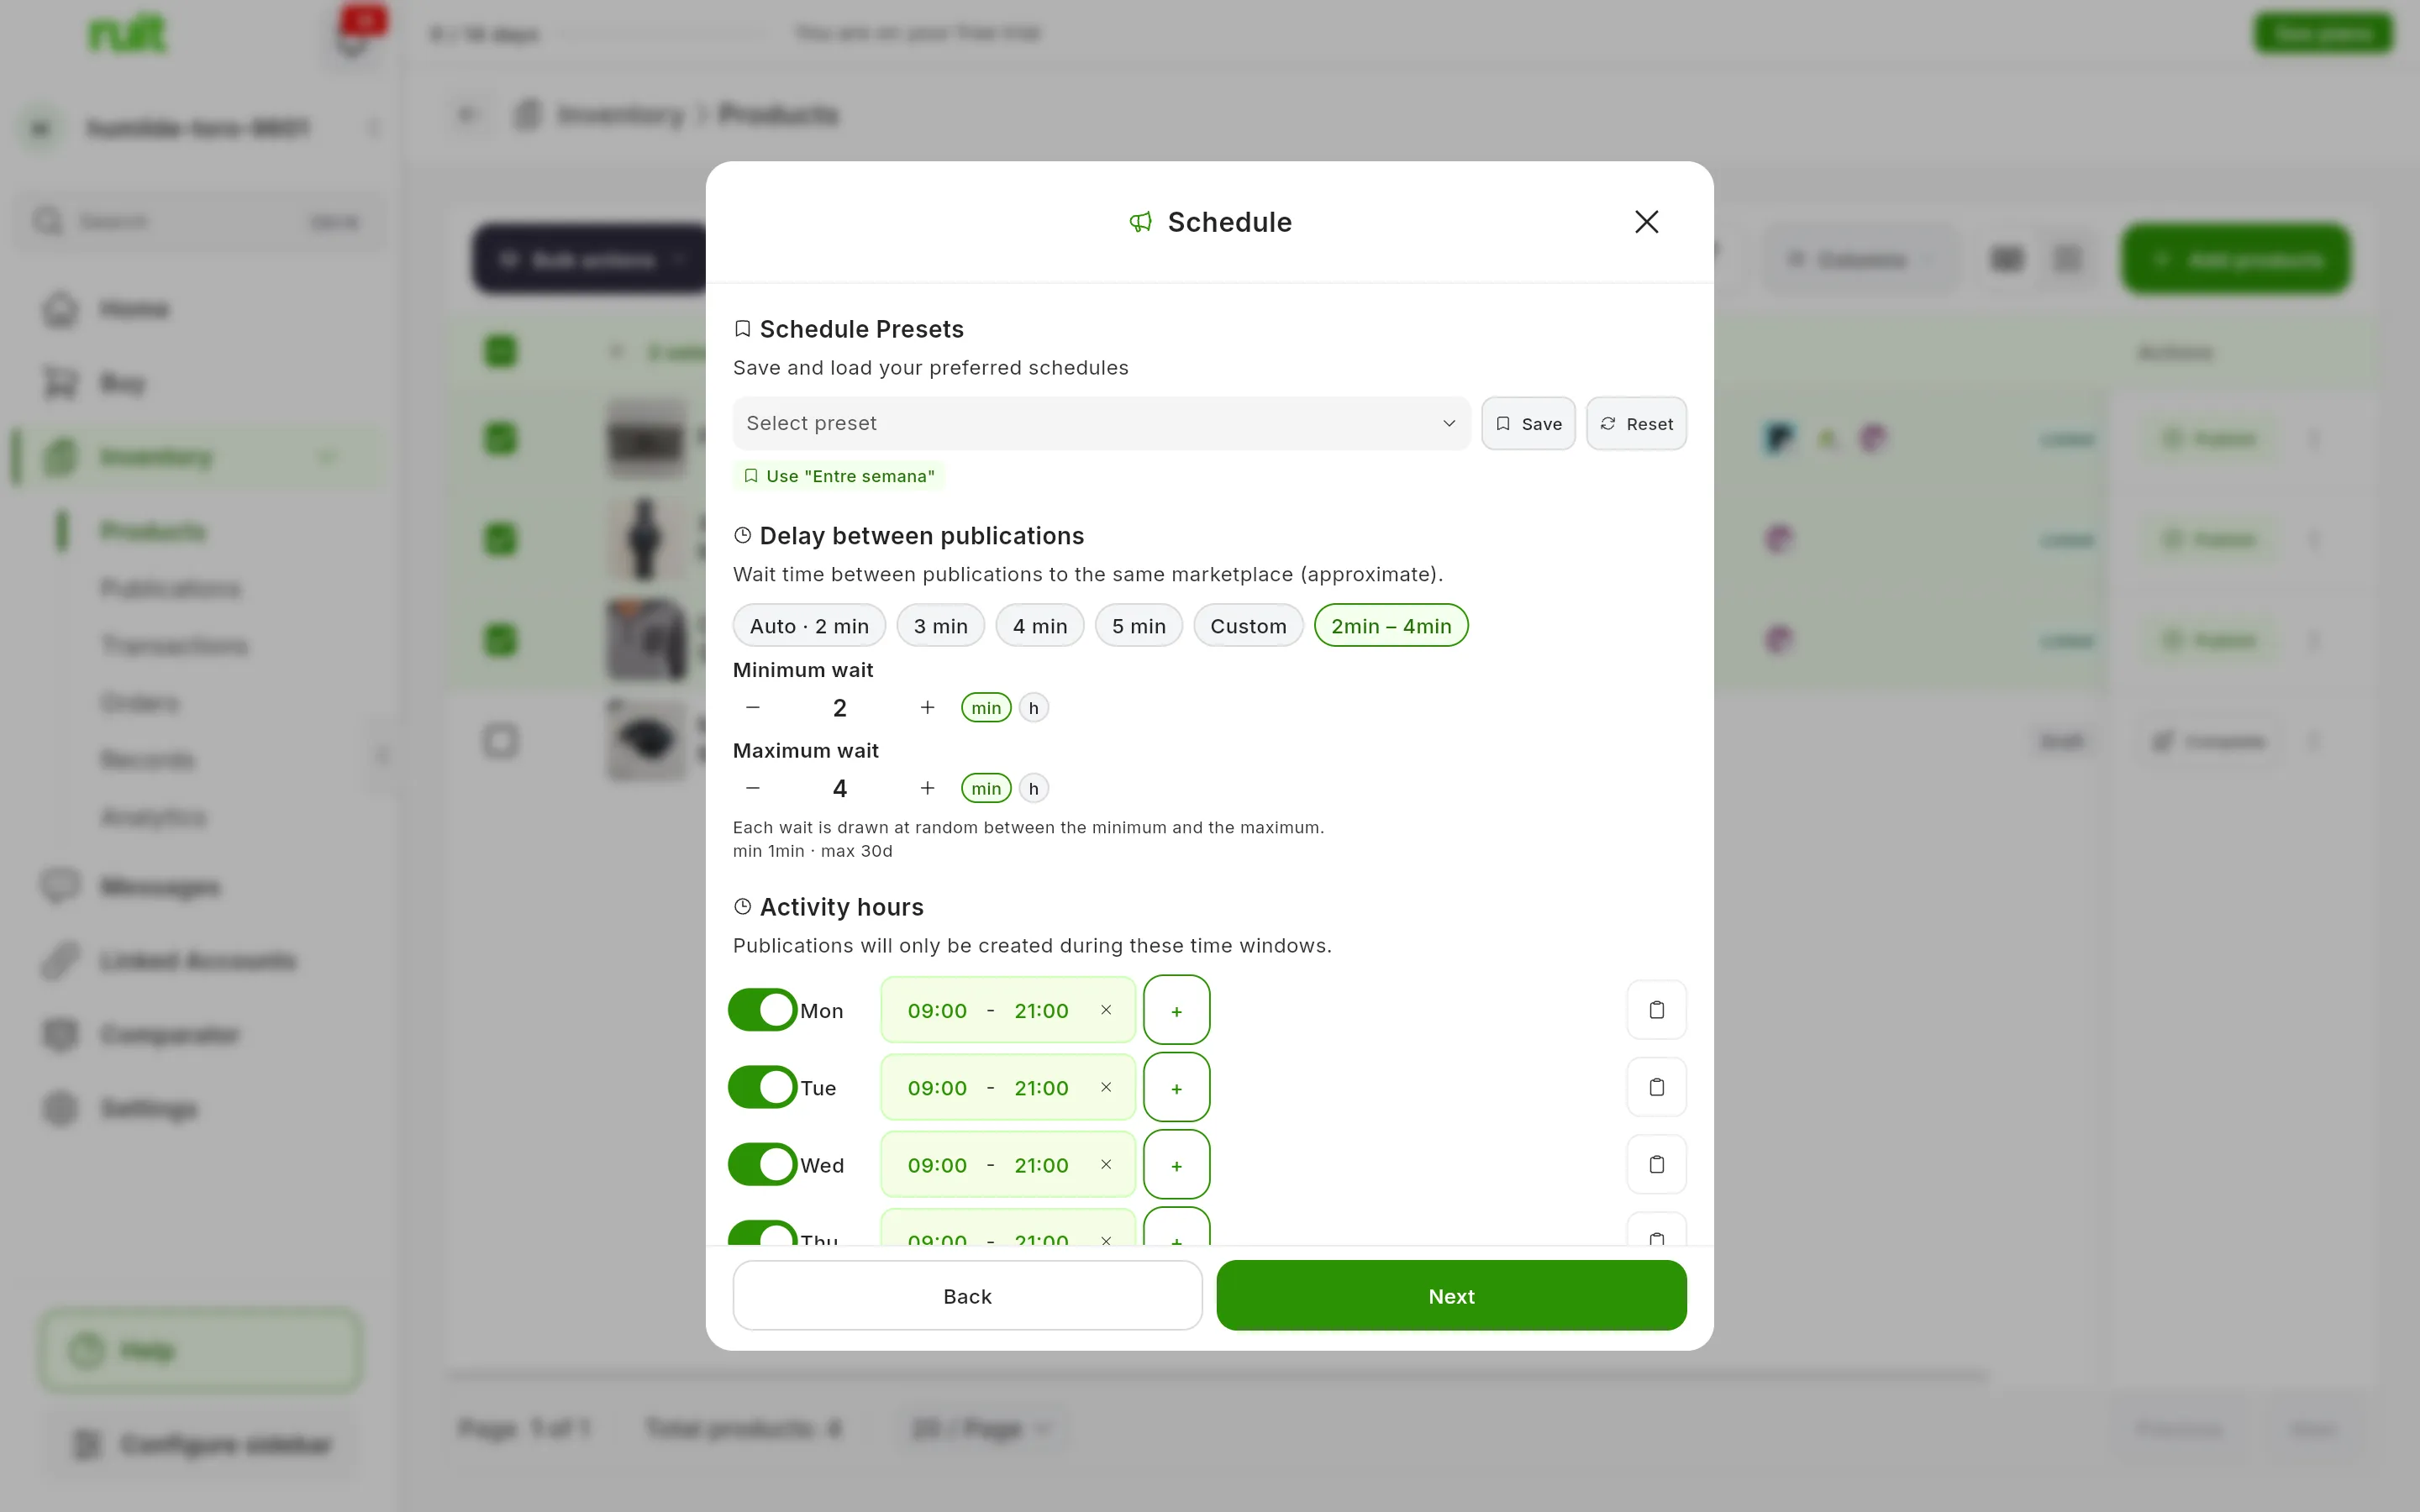
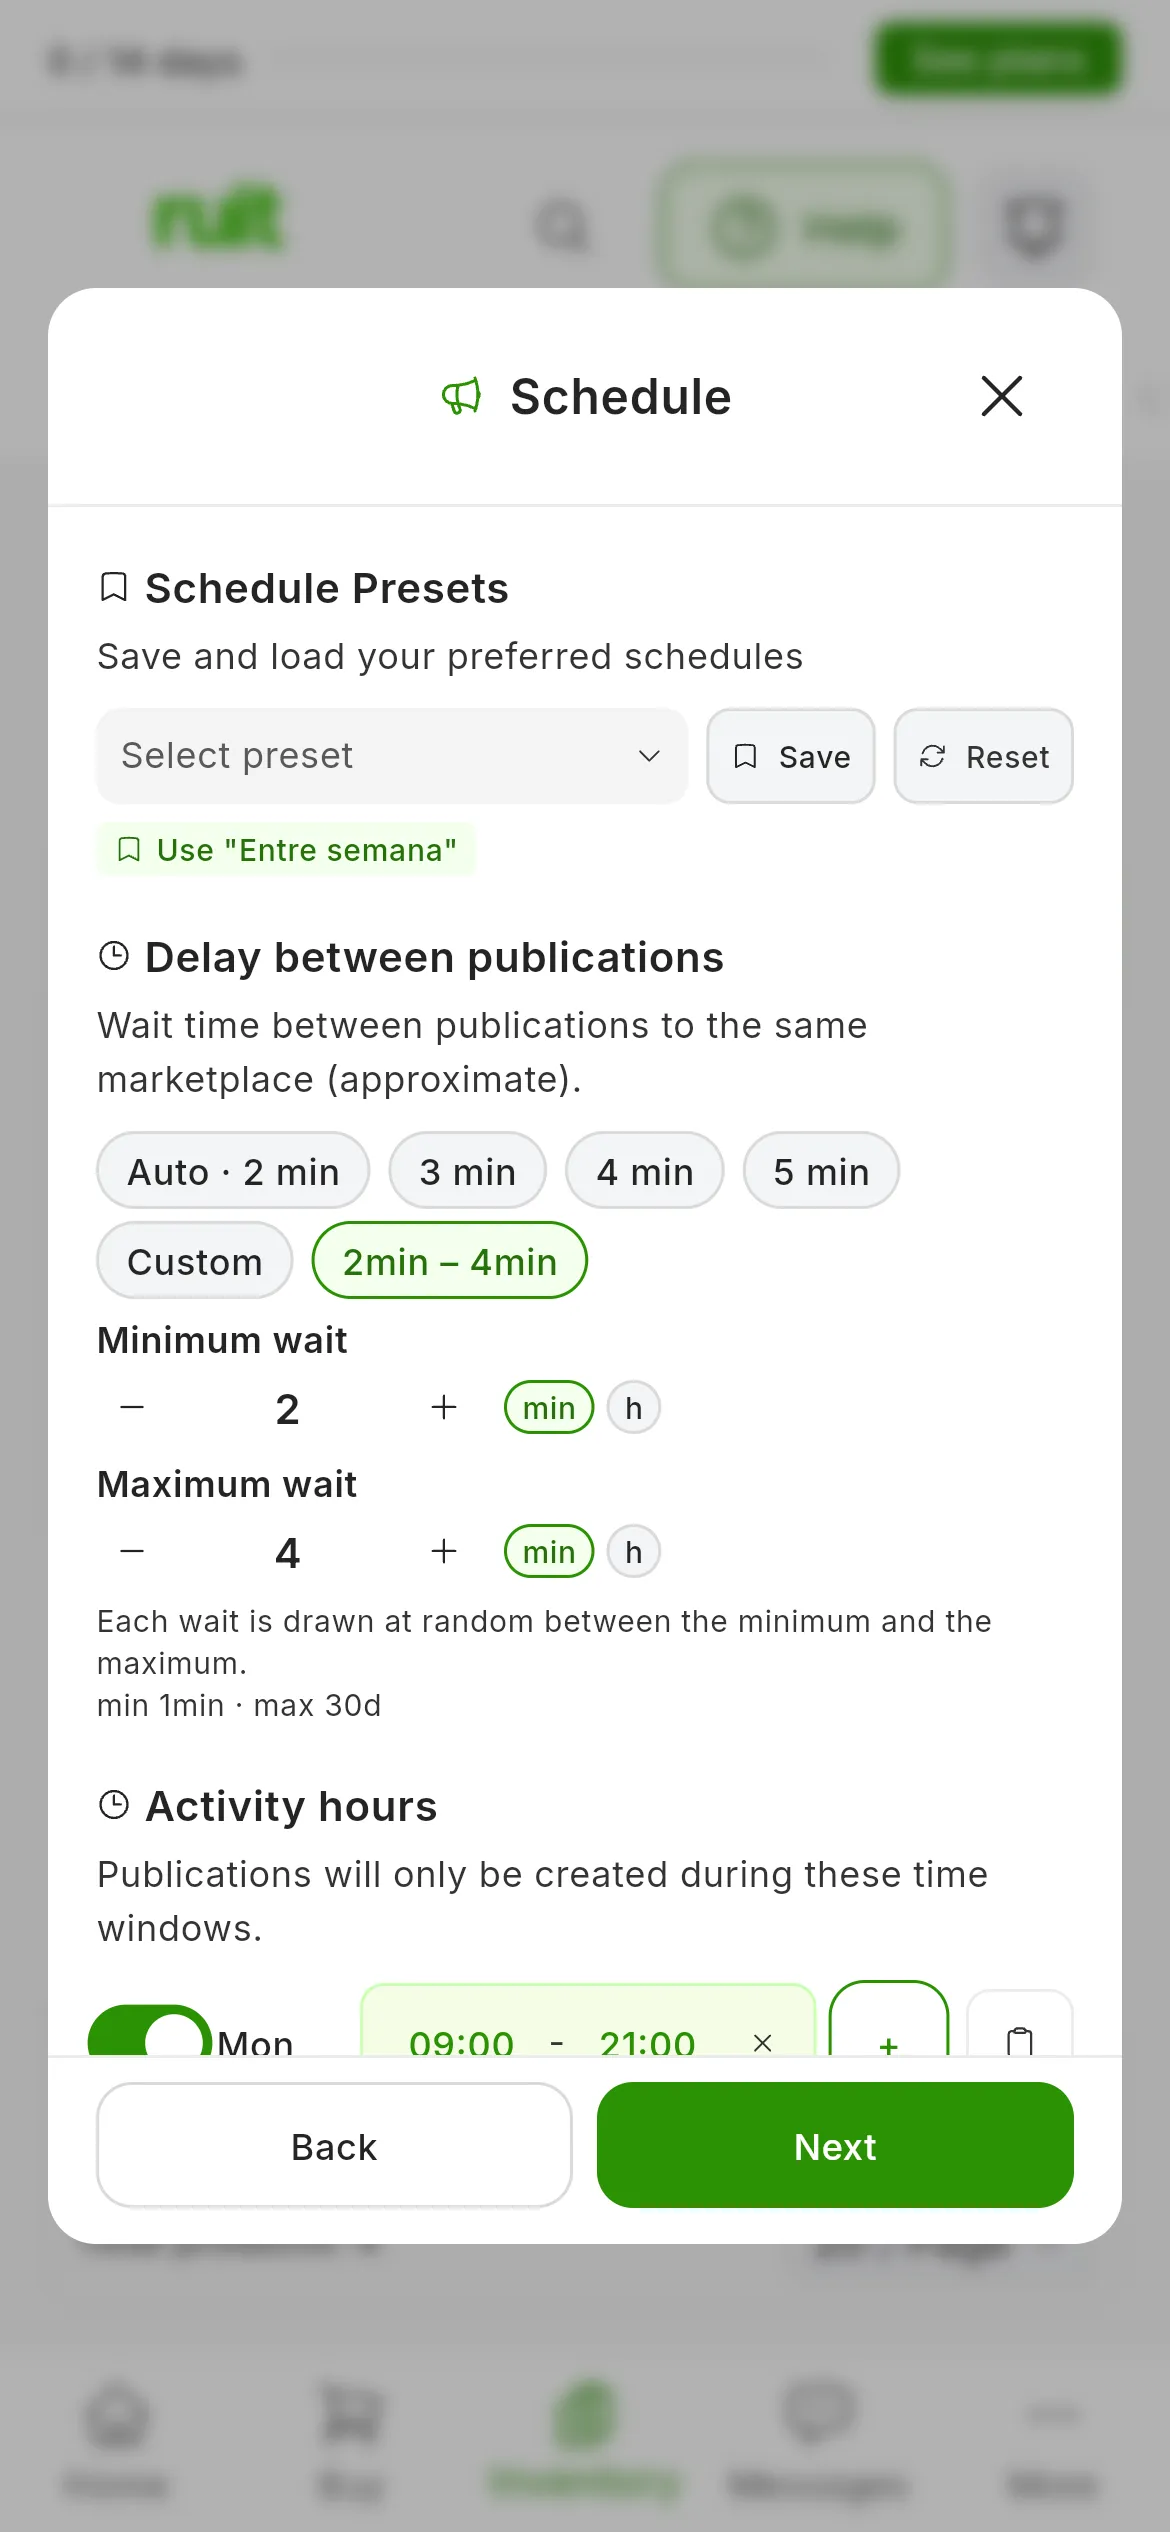
Once chosen, the Random button shows the range: here, from 2 to 4 minutes.
The activity hours
They are the time windows in the week during which RUIT can publish. Outside them nothing goes out: whatever was due waits for the next window, without being lost. There is no start date either: the job starts as soon as you launch it, if you are inside a window, or when the next one opens.
The hours are always Madrid time: the wizard has no time zone selector. If you sell from the Canary Islands or from outside Spain, work it out using Madrid time.
To set up your week:
- Switch each day on with its toggle, from Mon to Sun. A day that is off says Disabled; one you switch on starts with the 09:00 to 21:00 window.
- Press a time to change it. It is written in 24-hour format, and if the start ends up after the end, RUIT swaps them.
- With + you add another window to that day, for example one in the morning and another in the afternoon. A window’s X deletes it.
- With the clipboard icon, Copy to all days, that day’s windows are copied to all seven, including the ones that were off.
Next becomes active when at least one day has a window. If the week opens with every day on Disabled, switch on the ones you want or load a preset.
The delay and the hours are fixed into the job when you launch it, and a running job cannot be edited. If you want a different schedule, cancel it and launch another one.
How long it will take
In the Confirm step, RUIT uses your delay and your hours to work out when the job will finish (Today or Tomorrow with a time, or a date) and how many publications go out per day on any one marketplace, on average: for example, ~12/day. Below that it sums up your schedule, like Mon-Fri 09:00-14:00, and your delay, like 2min between publications to the same marketplace.
Narrow windows make a job much longer. With a 30-minute delay and a two-hour window each day, about four listings go out daily on each marketplace: forty products on one marketplace take ten days. That is why this step warns you in two cases:
- The estimate goes beyond a week, two weeks or a month. For example: This job will take more than a week to complete.
- Your windows add up to less than two hours a day on average: Few activity hours can significantly extend the time it takes.
These are warnings and they do not stop you from starting. The estimate is approximate: it does not count the random extra on each delay, and it does count the products RUIT will skip when creating the job because they are already published or in another job’s queue.
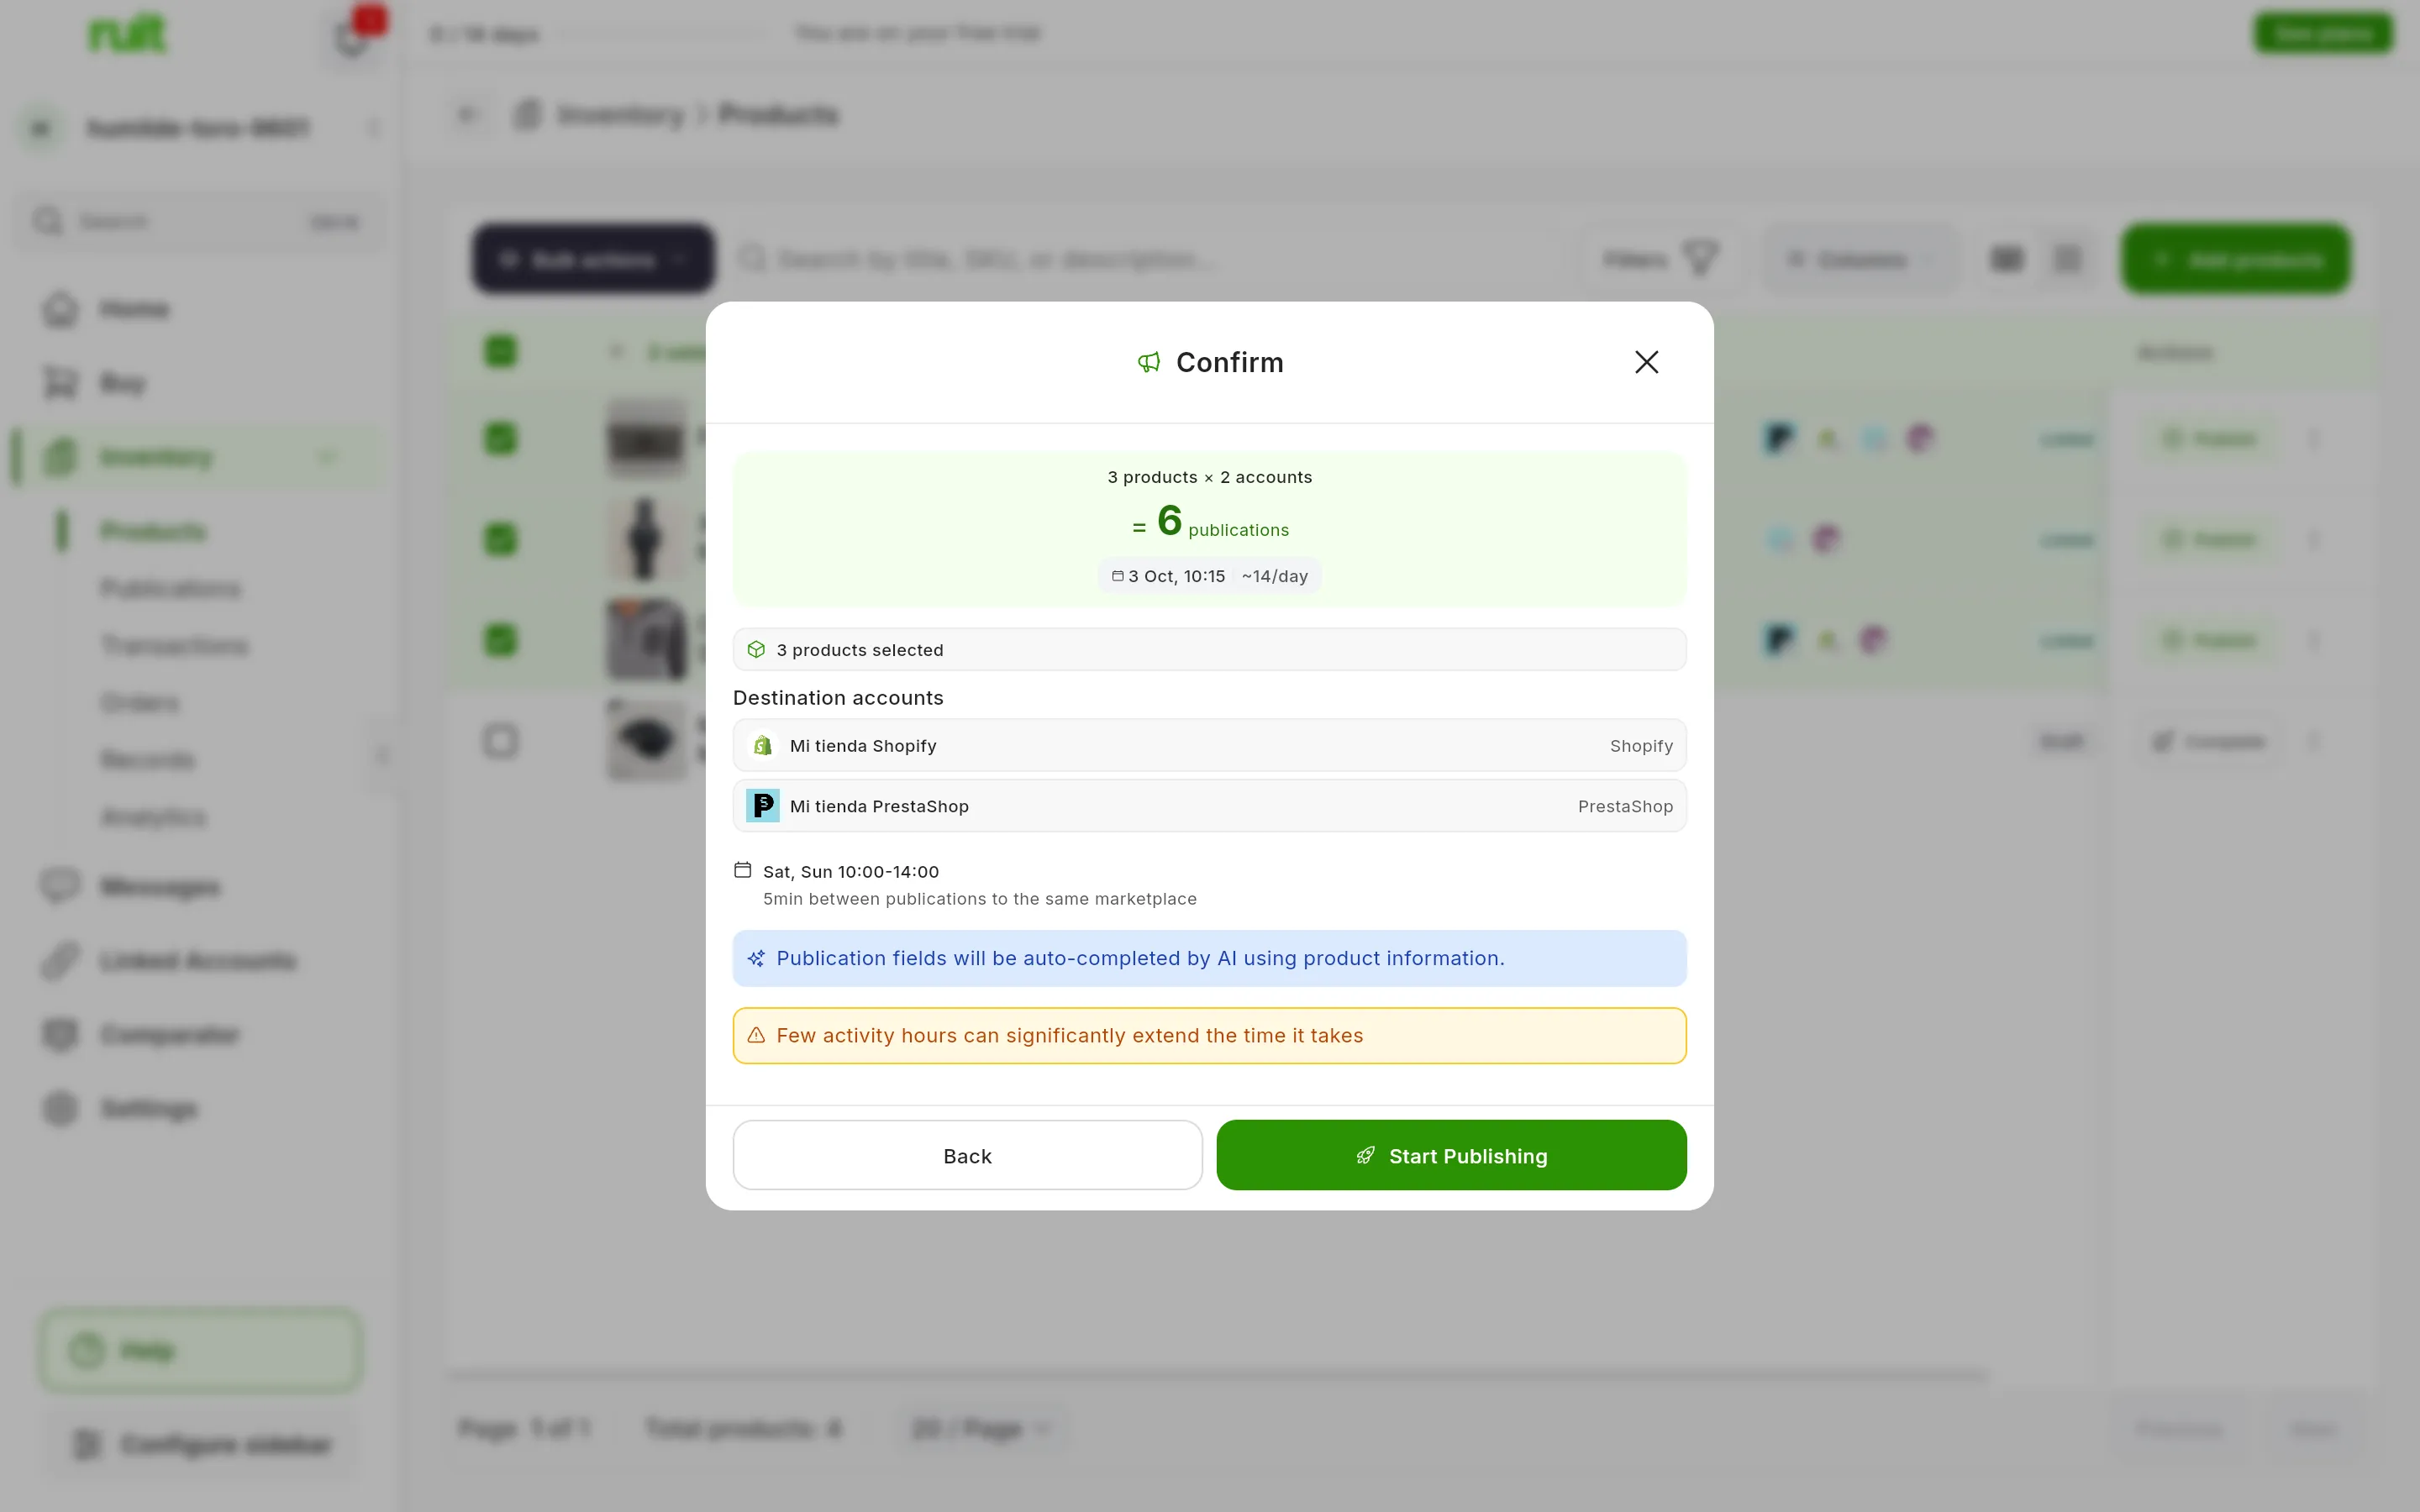
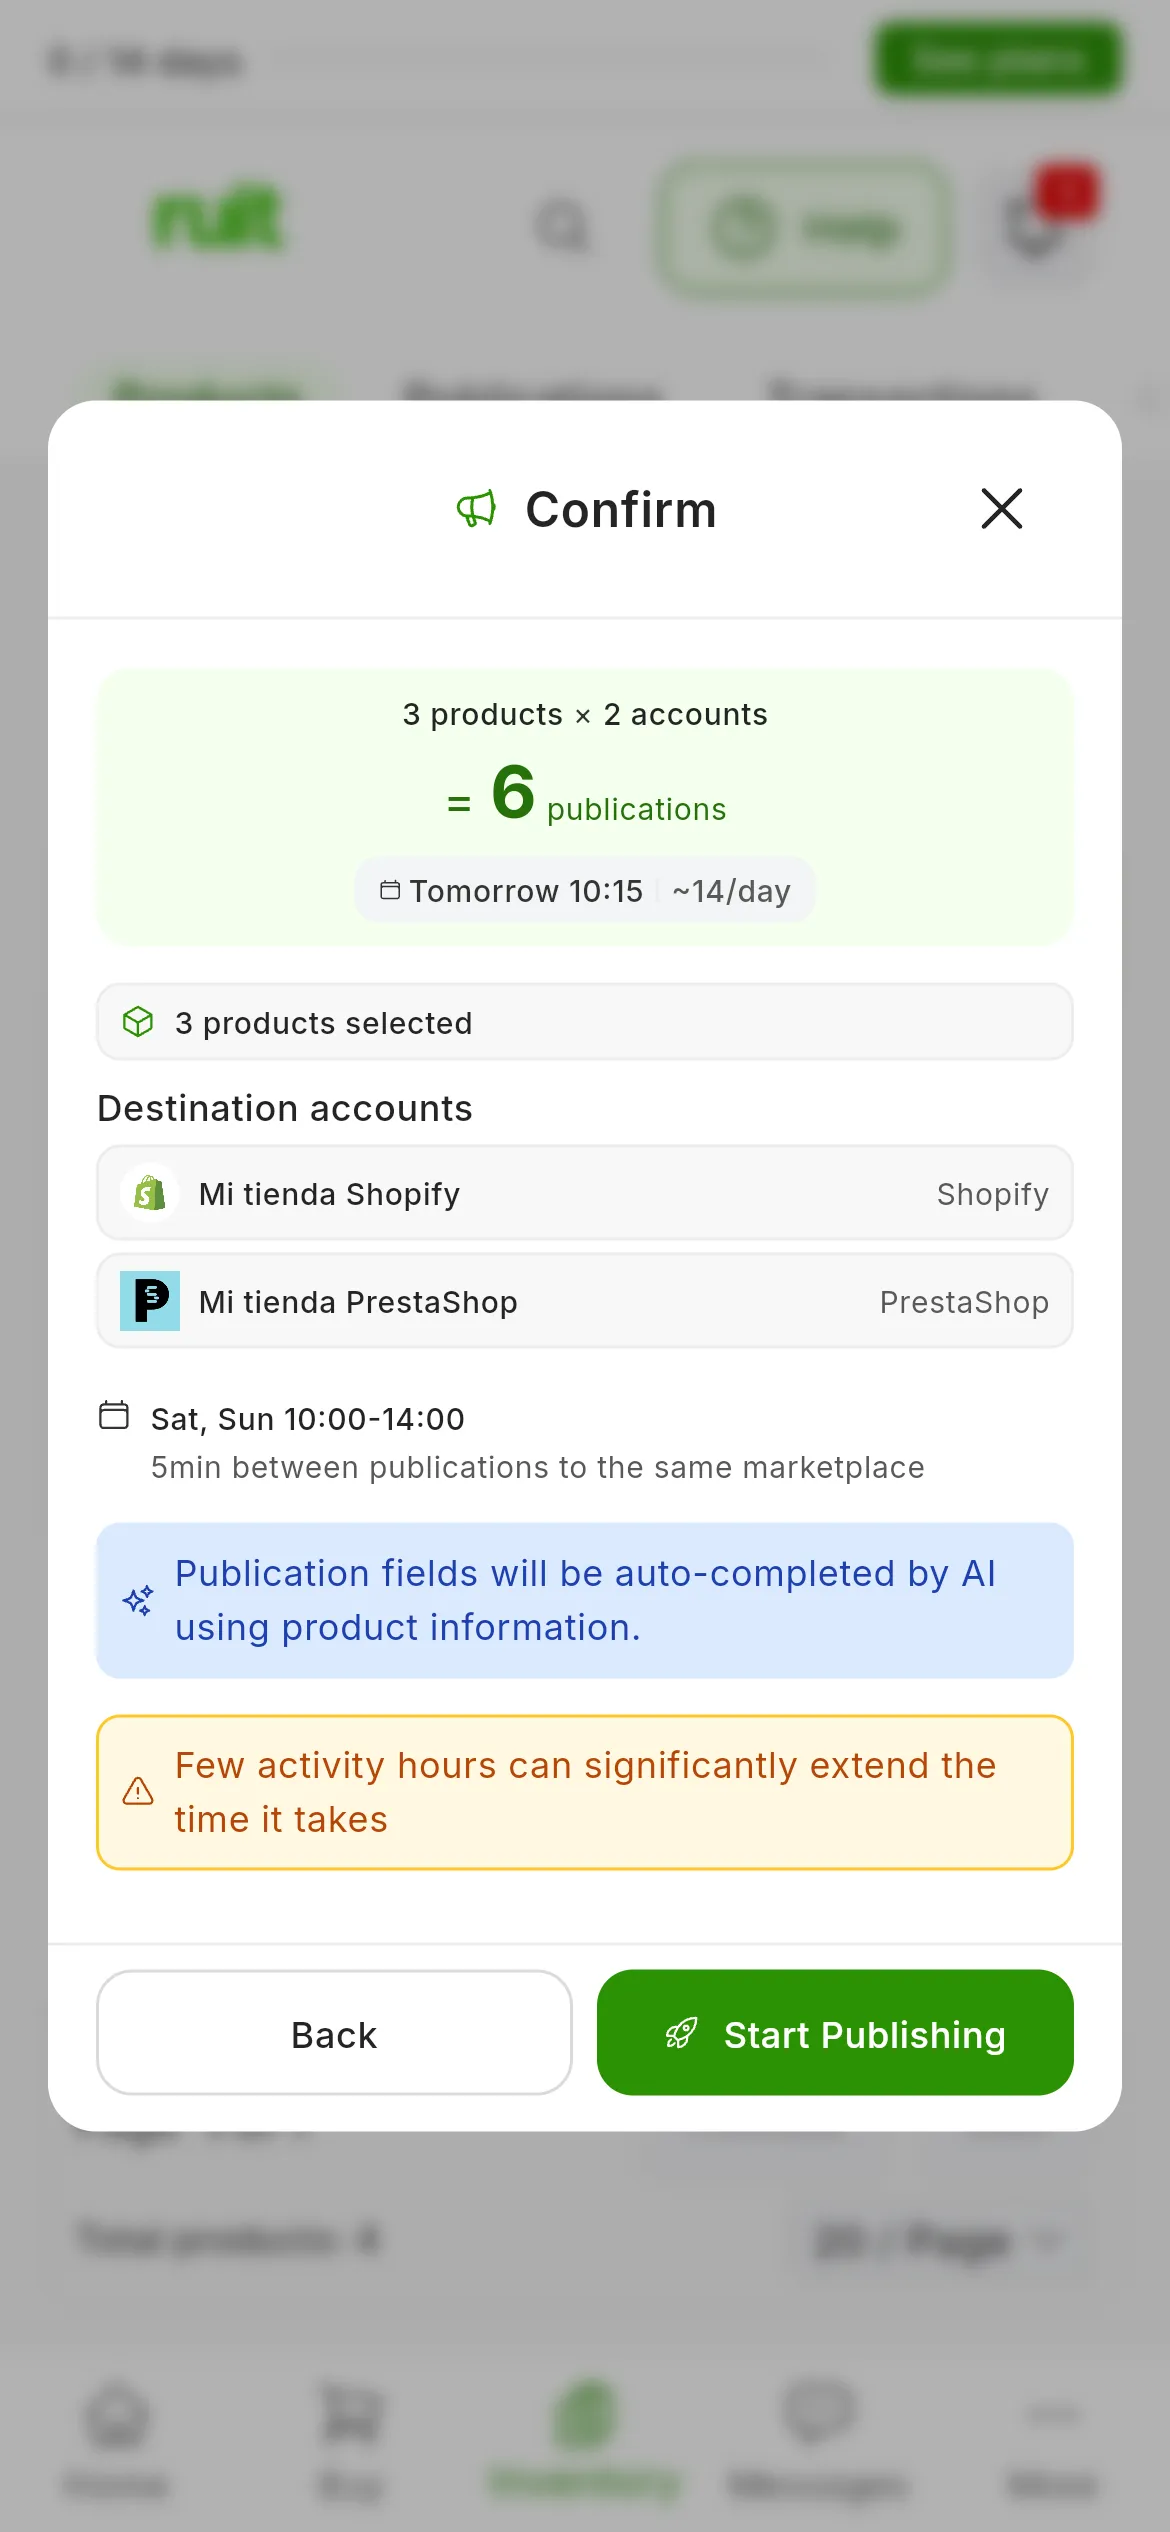
Four hours on Saturday and another four on Sunday: RUIT warns that the job will take longer.
Why it can take longer than estimated
When it sends out each listing, RUIT applies two more rules that the estimate does not count:
- One at a time per marketplace. While one listing is being published, the next one for the same marketplace does not start, even if its time has come.
- The delay is always respected. If the previous one went out less than the delay ago, the next one waits. After an interruption, the overdue ones do not go out all at once to catch up: they carry on one by one, at your pace.
Retries of whatever fails also respect your delay and your hours.
Saving your schedule as a preset
A preset saves a delay and a set of activity hours under a name. The wizard always opens on Auto · 2 min and does not remember your last job’s schedule, so if you repeat one, save it.
At the top of the Schedule step is the Schedule Presets block:
- Set the delay and the hours the way you want to save them.
- Press Save, type the Preset name and press Save again.
- When what you have on screen matches a preset, the button says Saved.
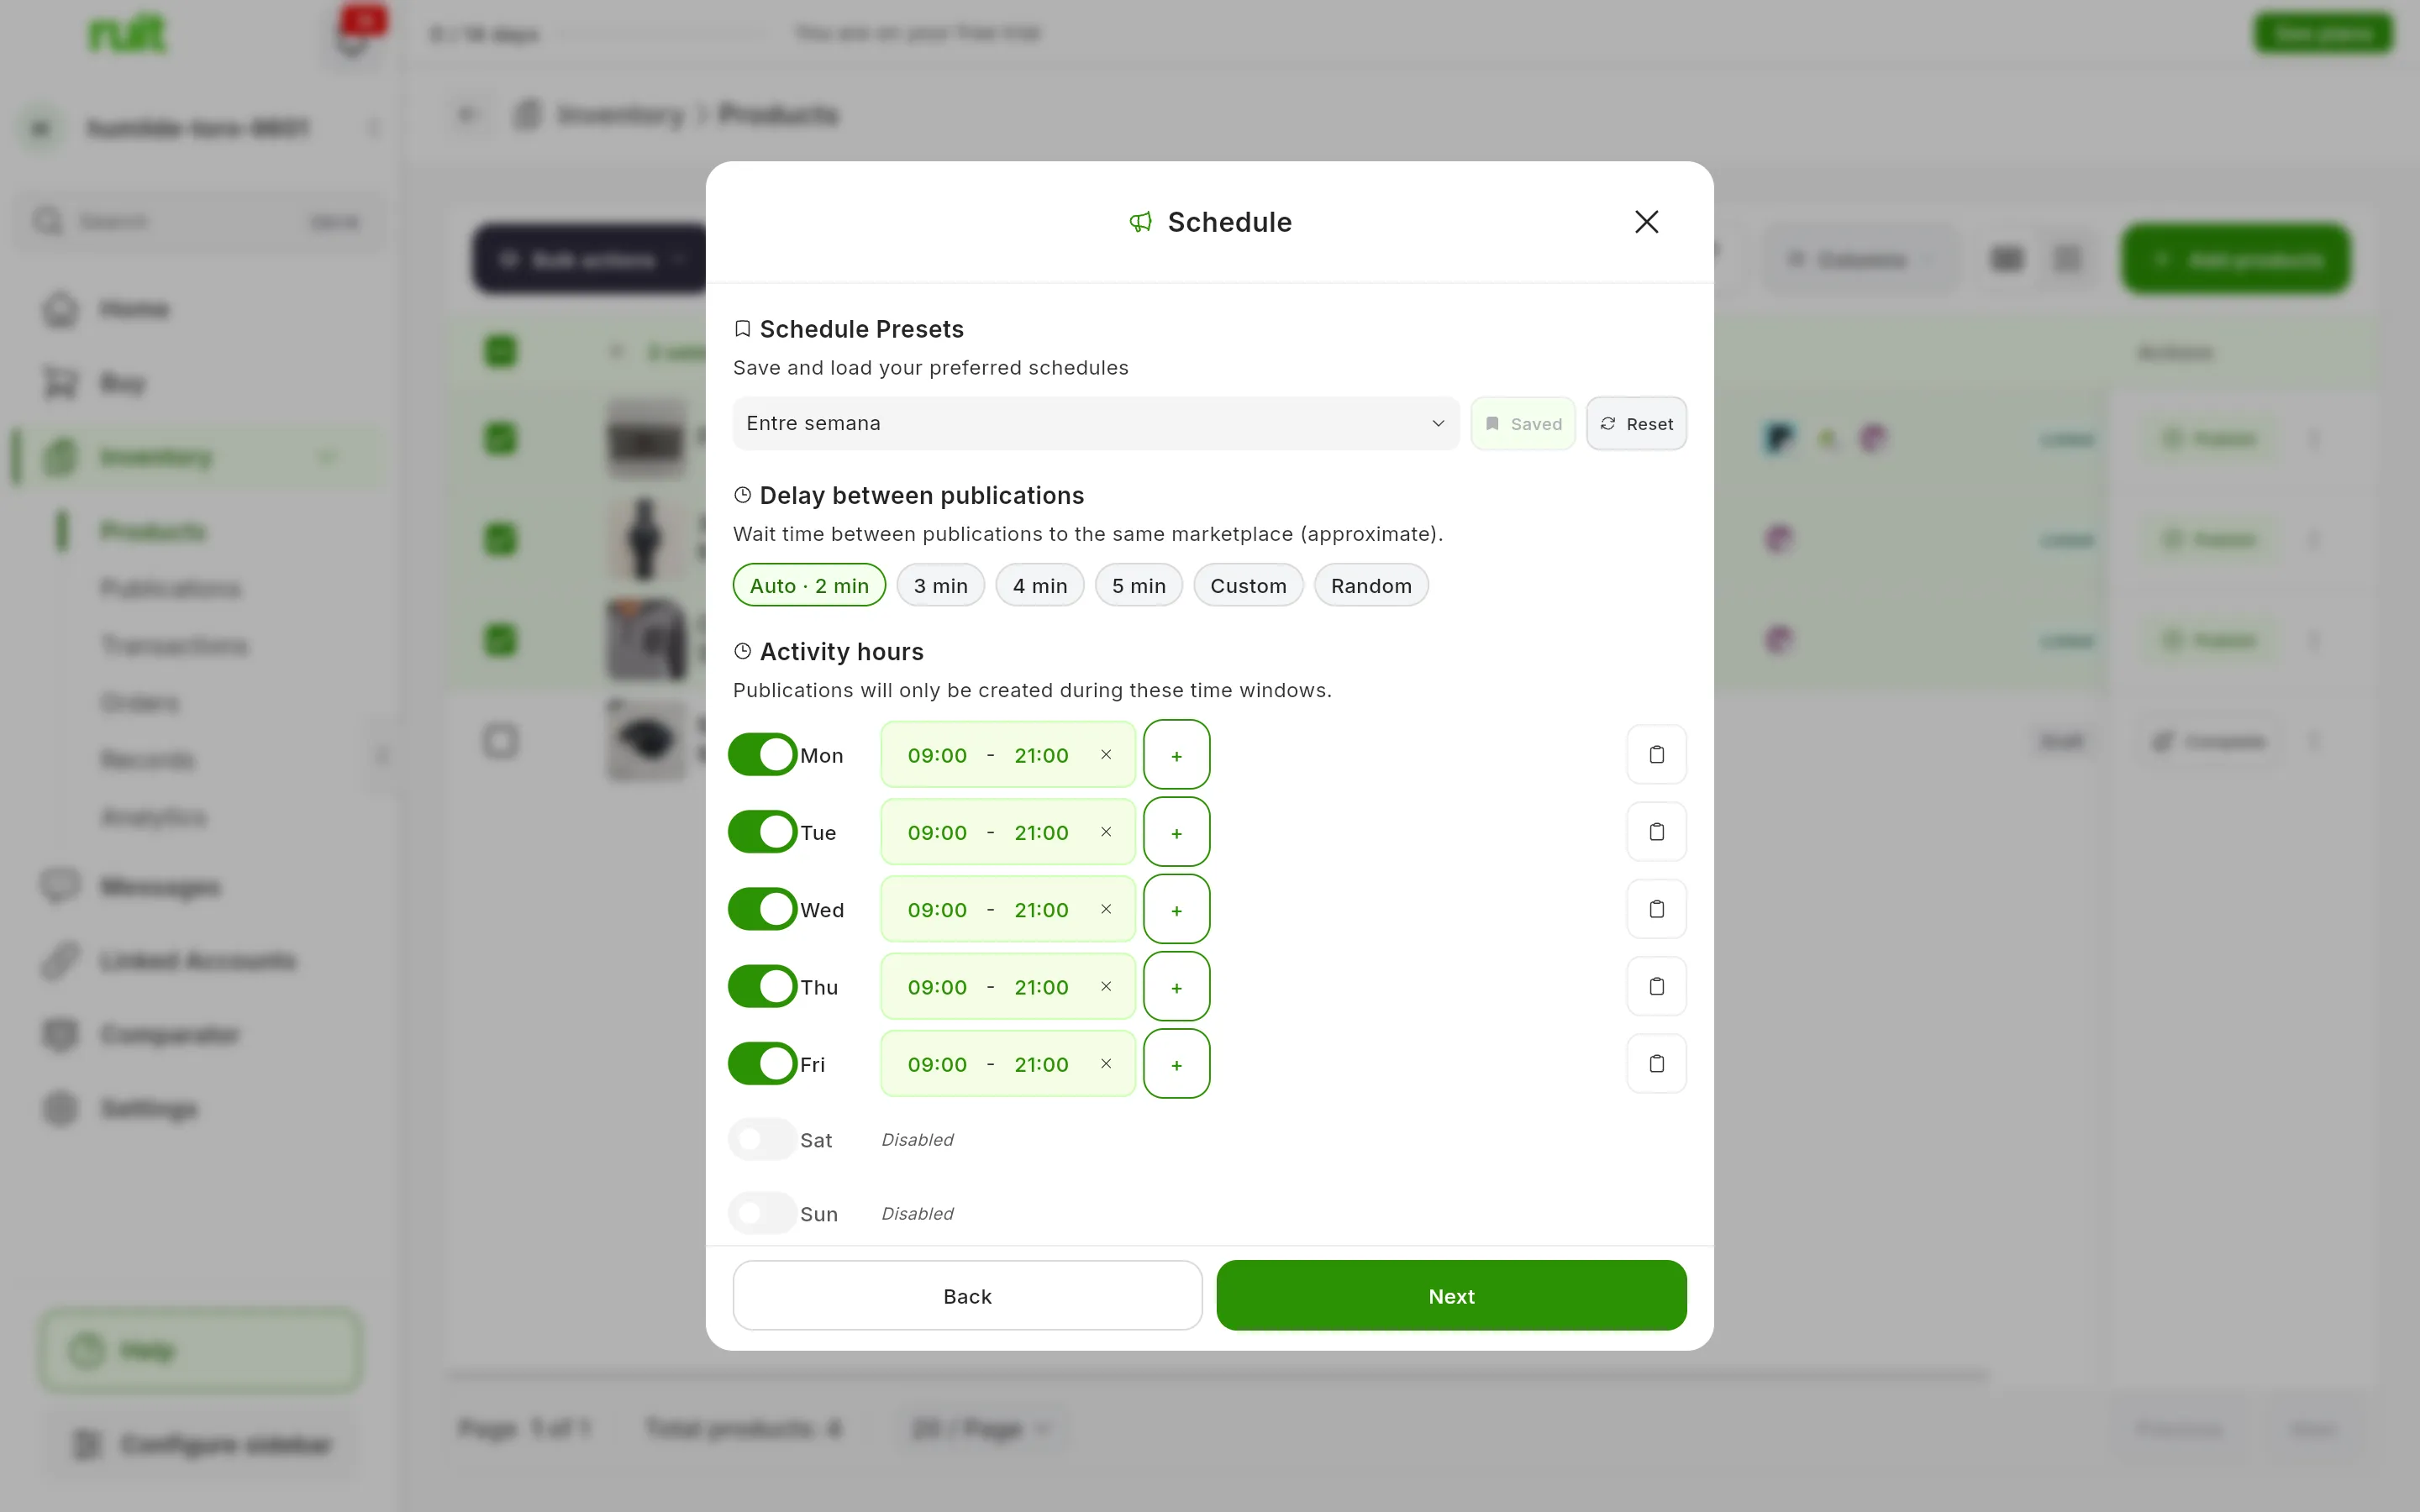
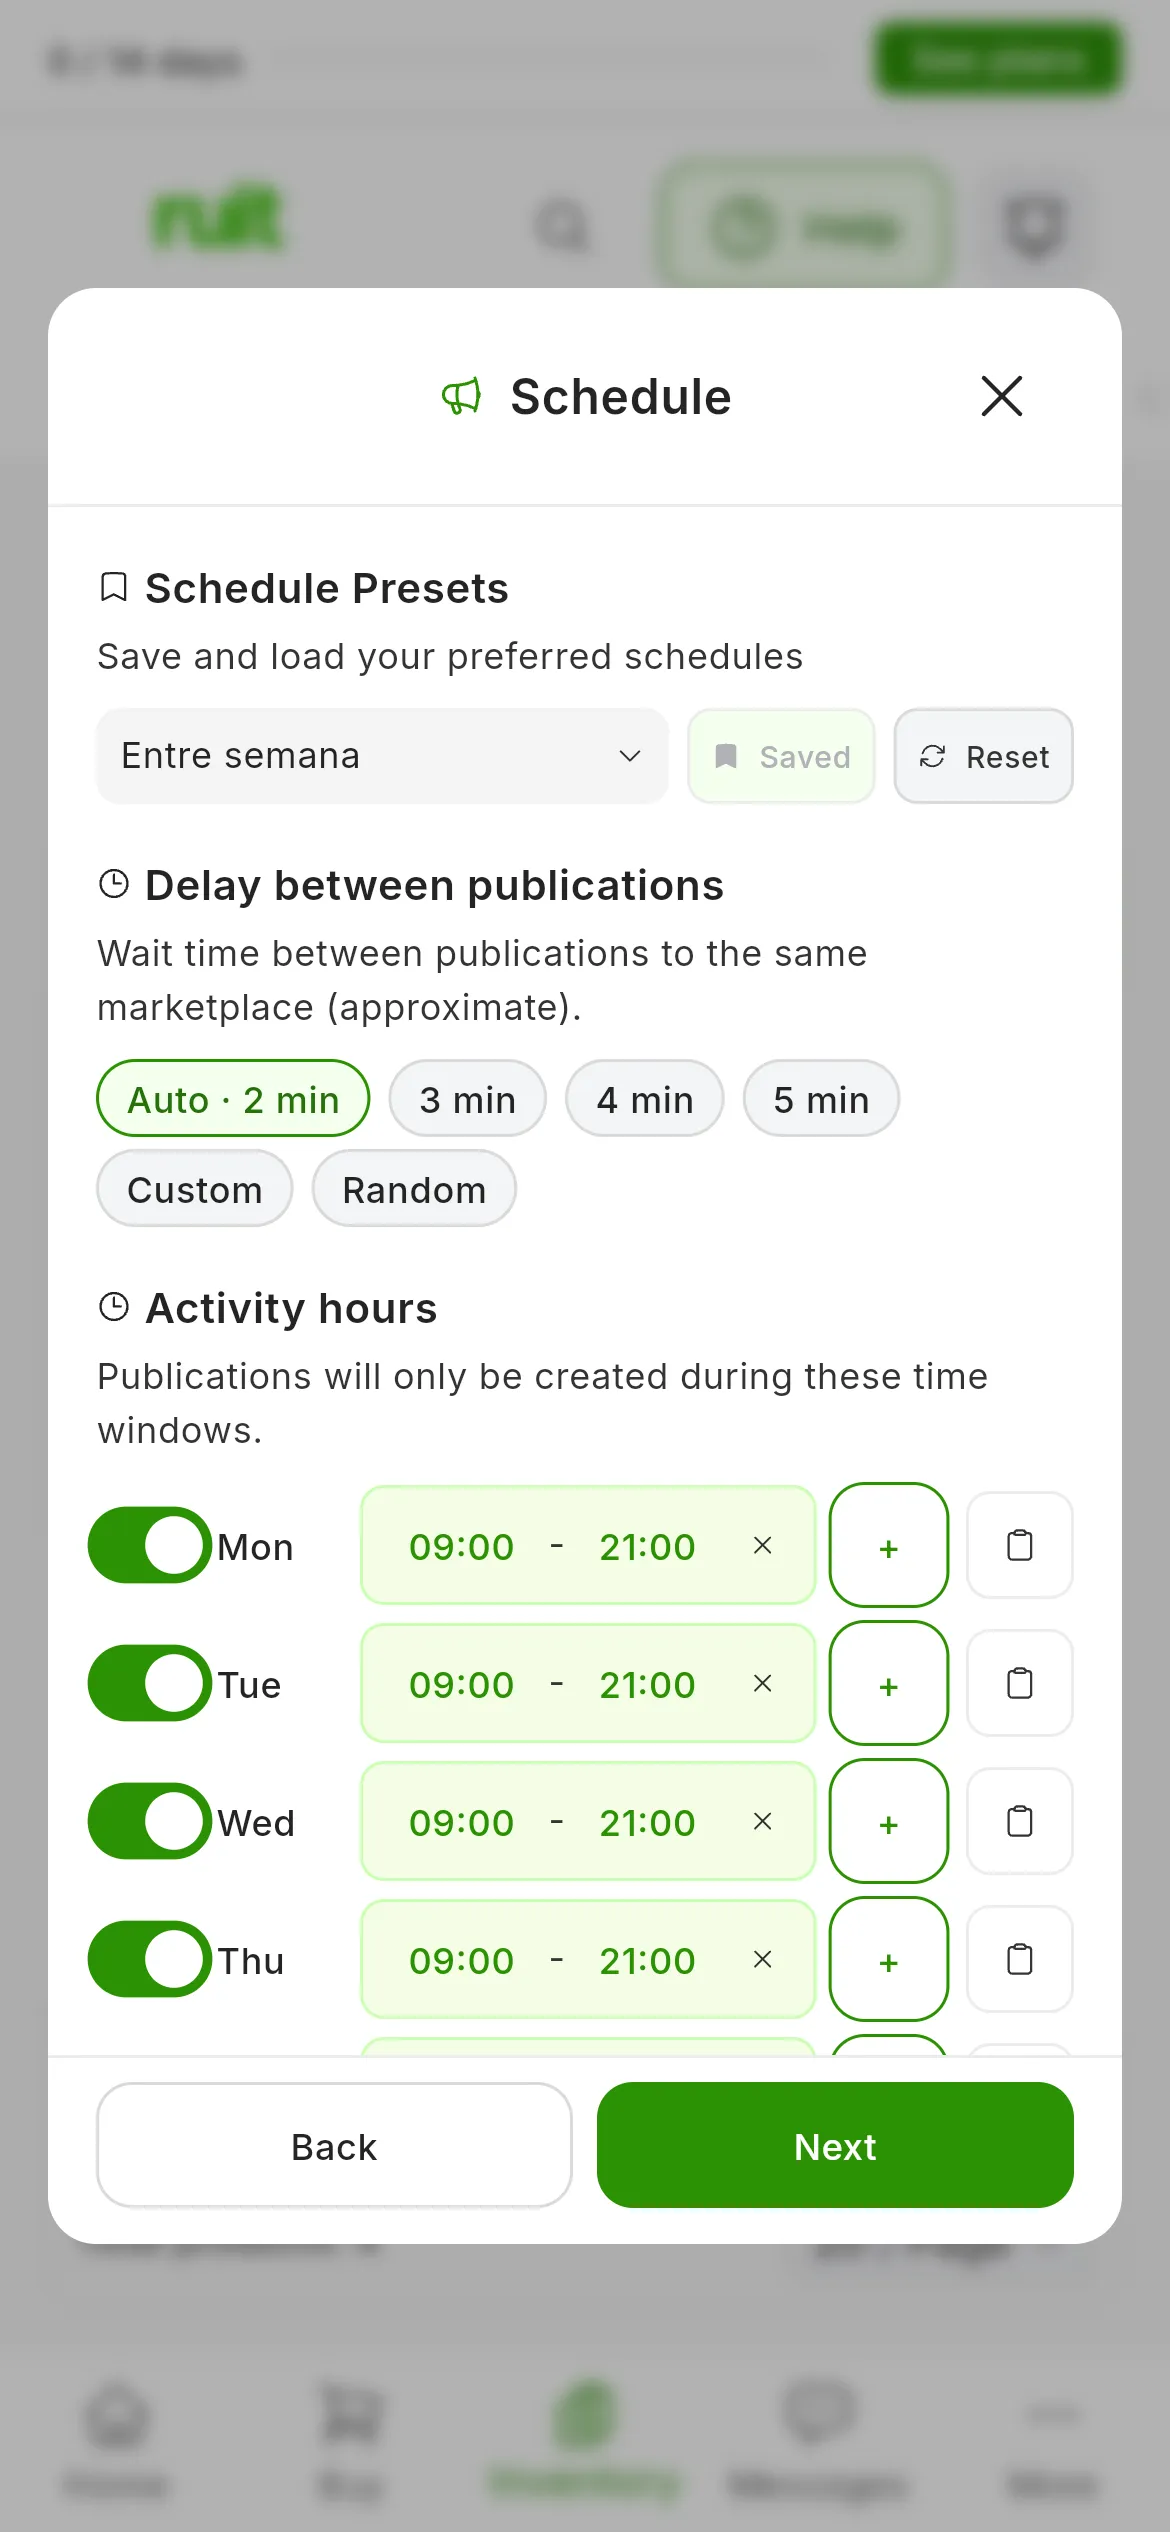
The Entre semana preset loaded: the button says Saved because what you see matches it.
To use one, press Select preset and choose it. Each one says how many days it has and its delay, like 5 days • 2min delay, and choosing it loads both. If you do not have any yet, the selector says No saved presets.
If you have marked one as default, a button with Use and its name appears below. It is not applied automatically: press it to load it.
Reset switches off every day of the week. The delay stays as it is.
Managing your presets in Settings
Your presets are in Settings → Presets, on the Schedule Presets page. You can also get there from Settings → Automations & AI → Publishing presets.
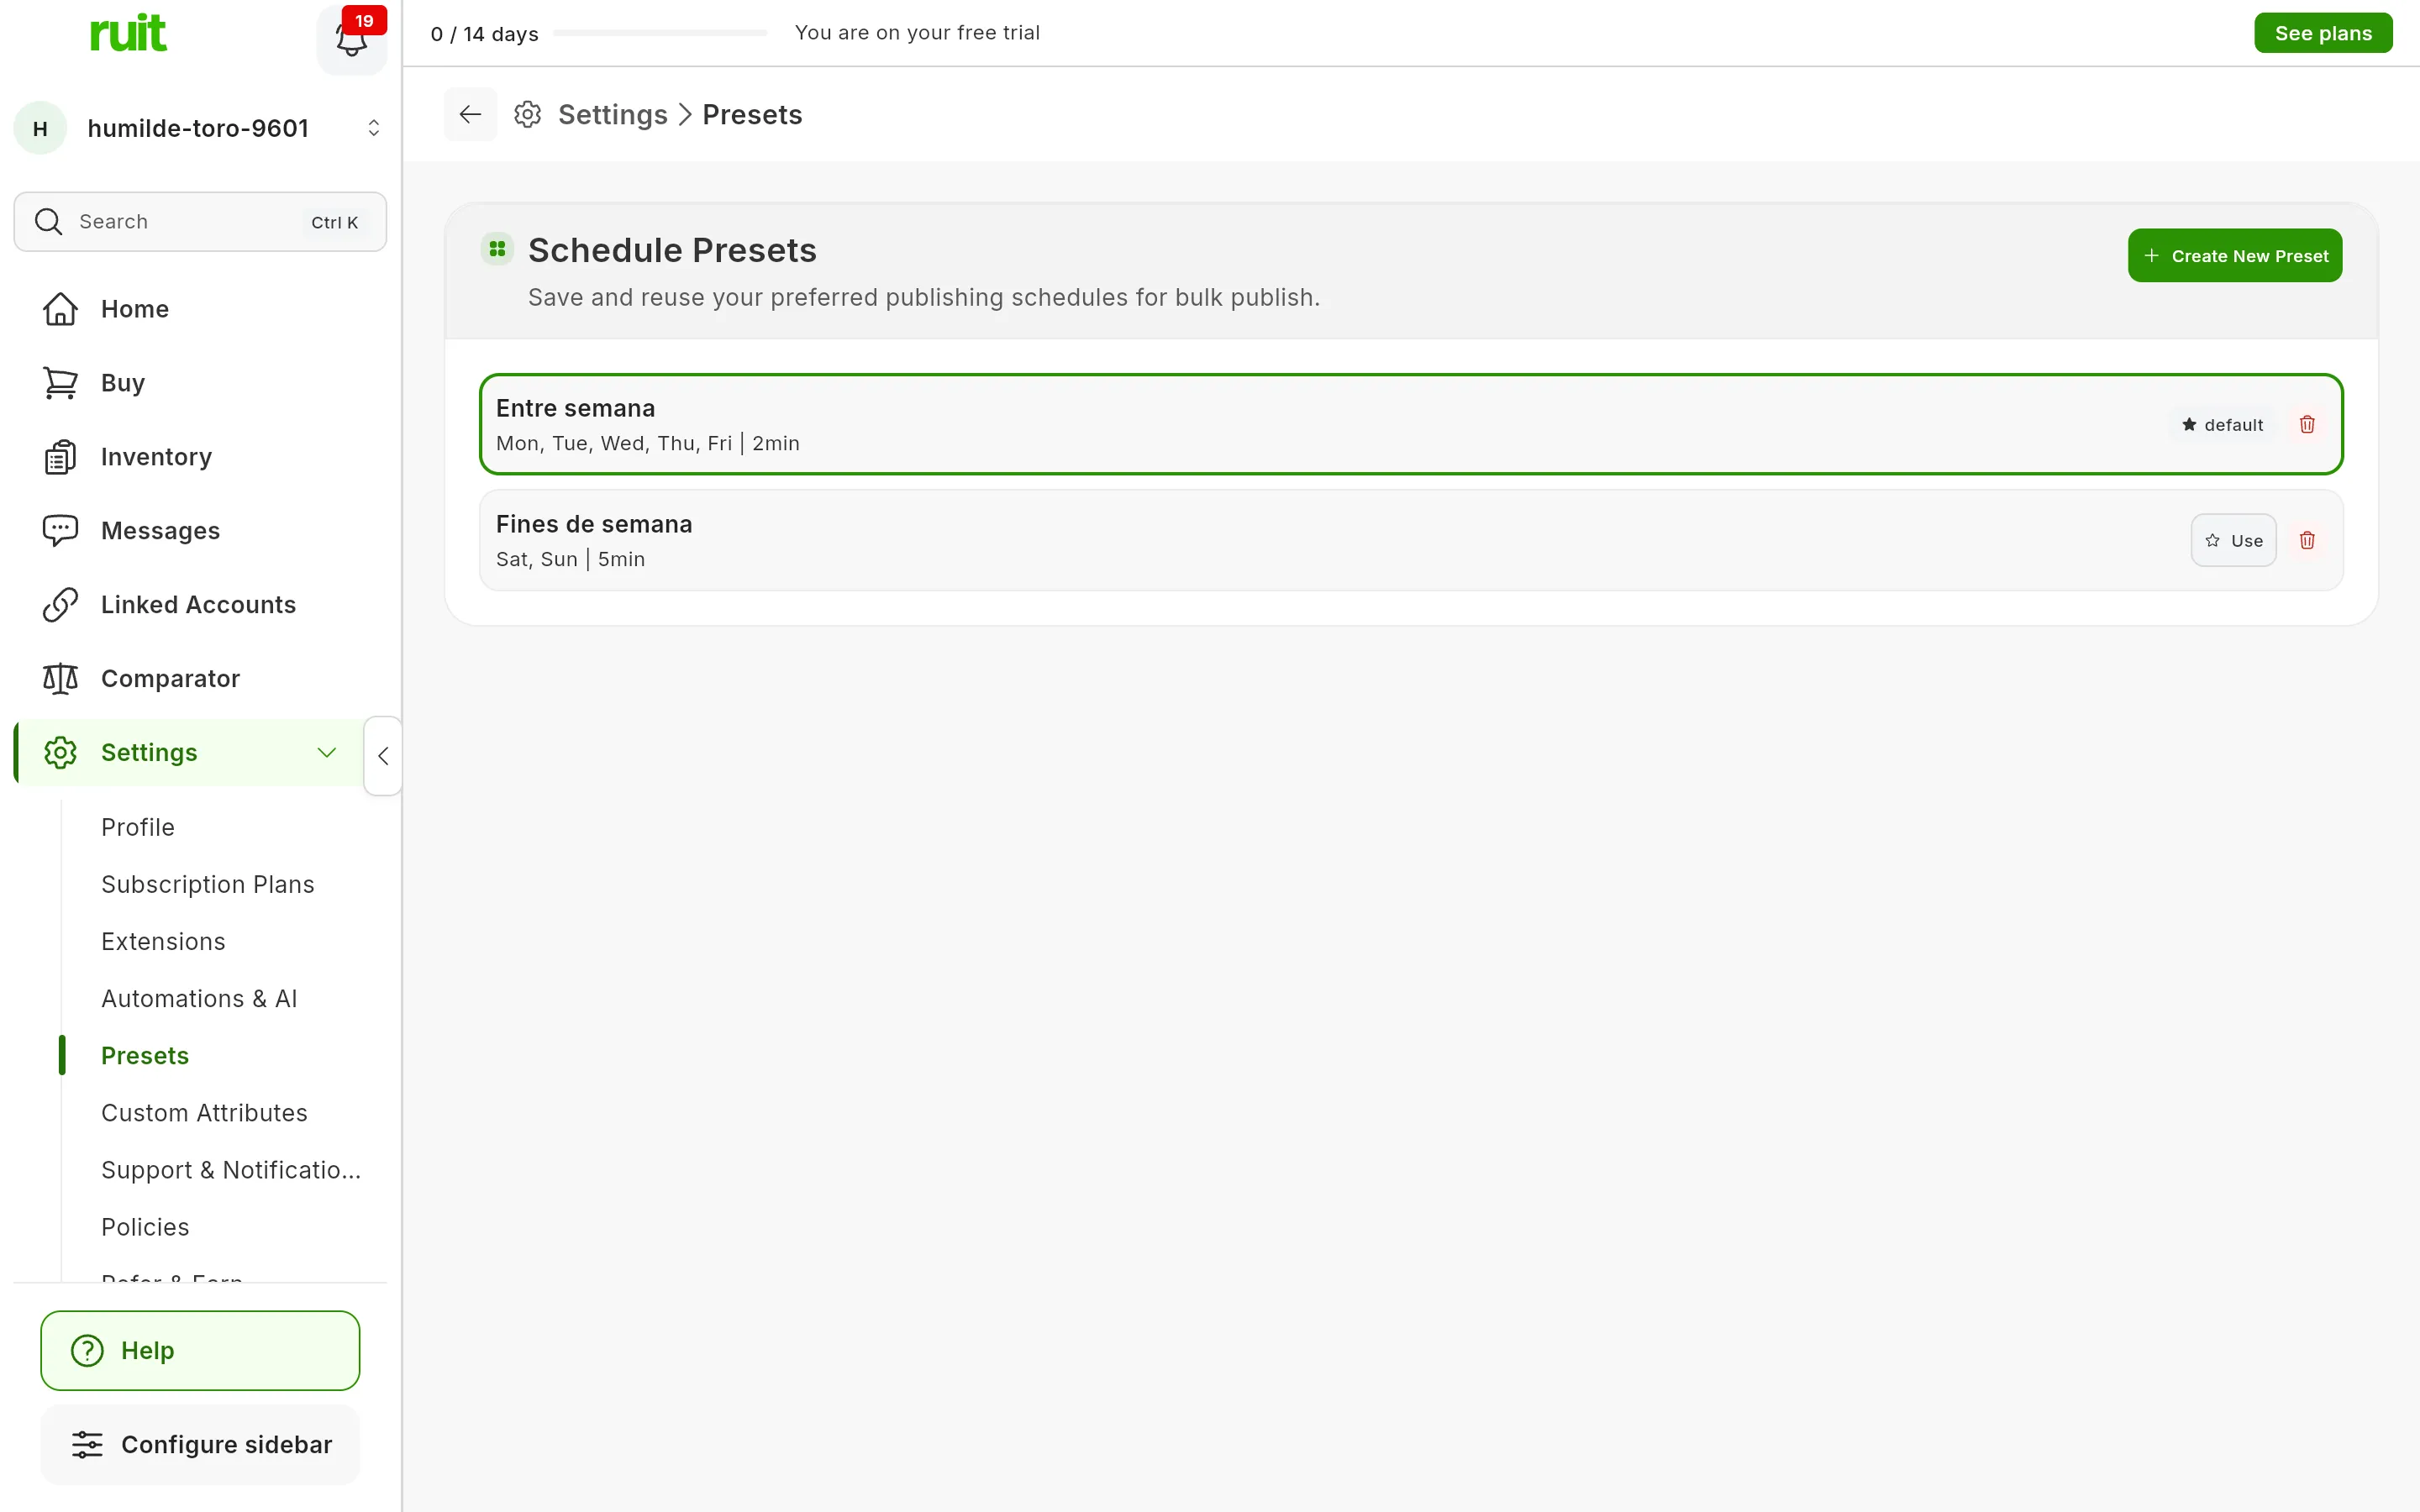
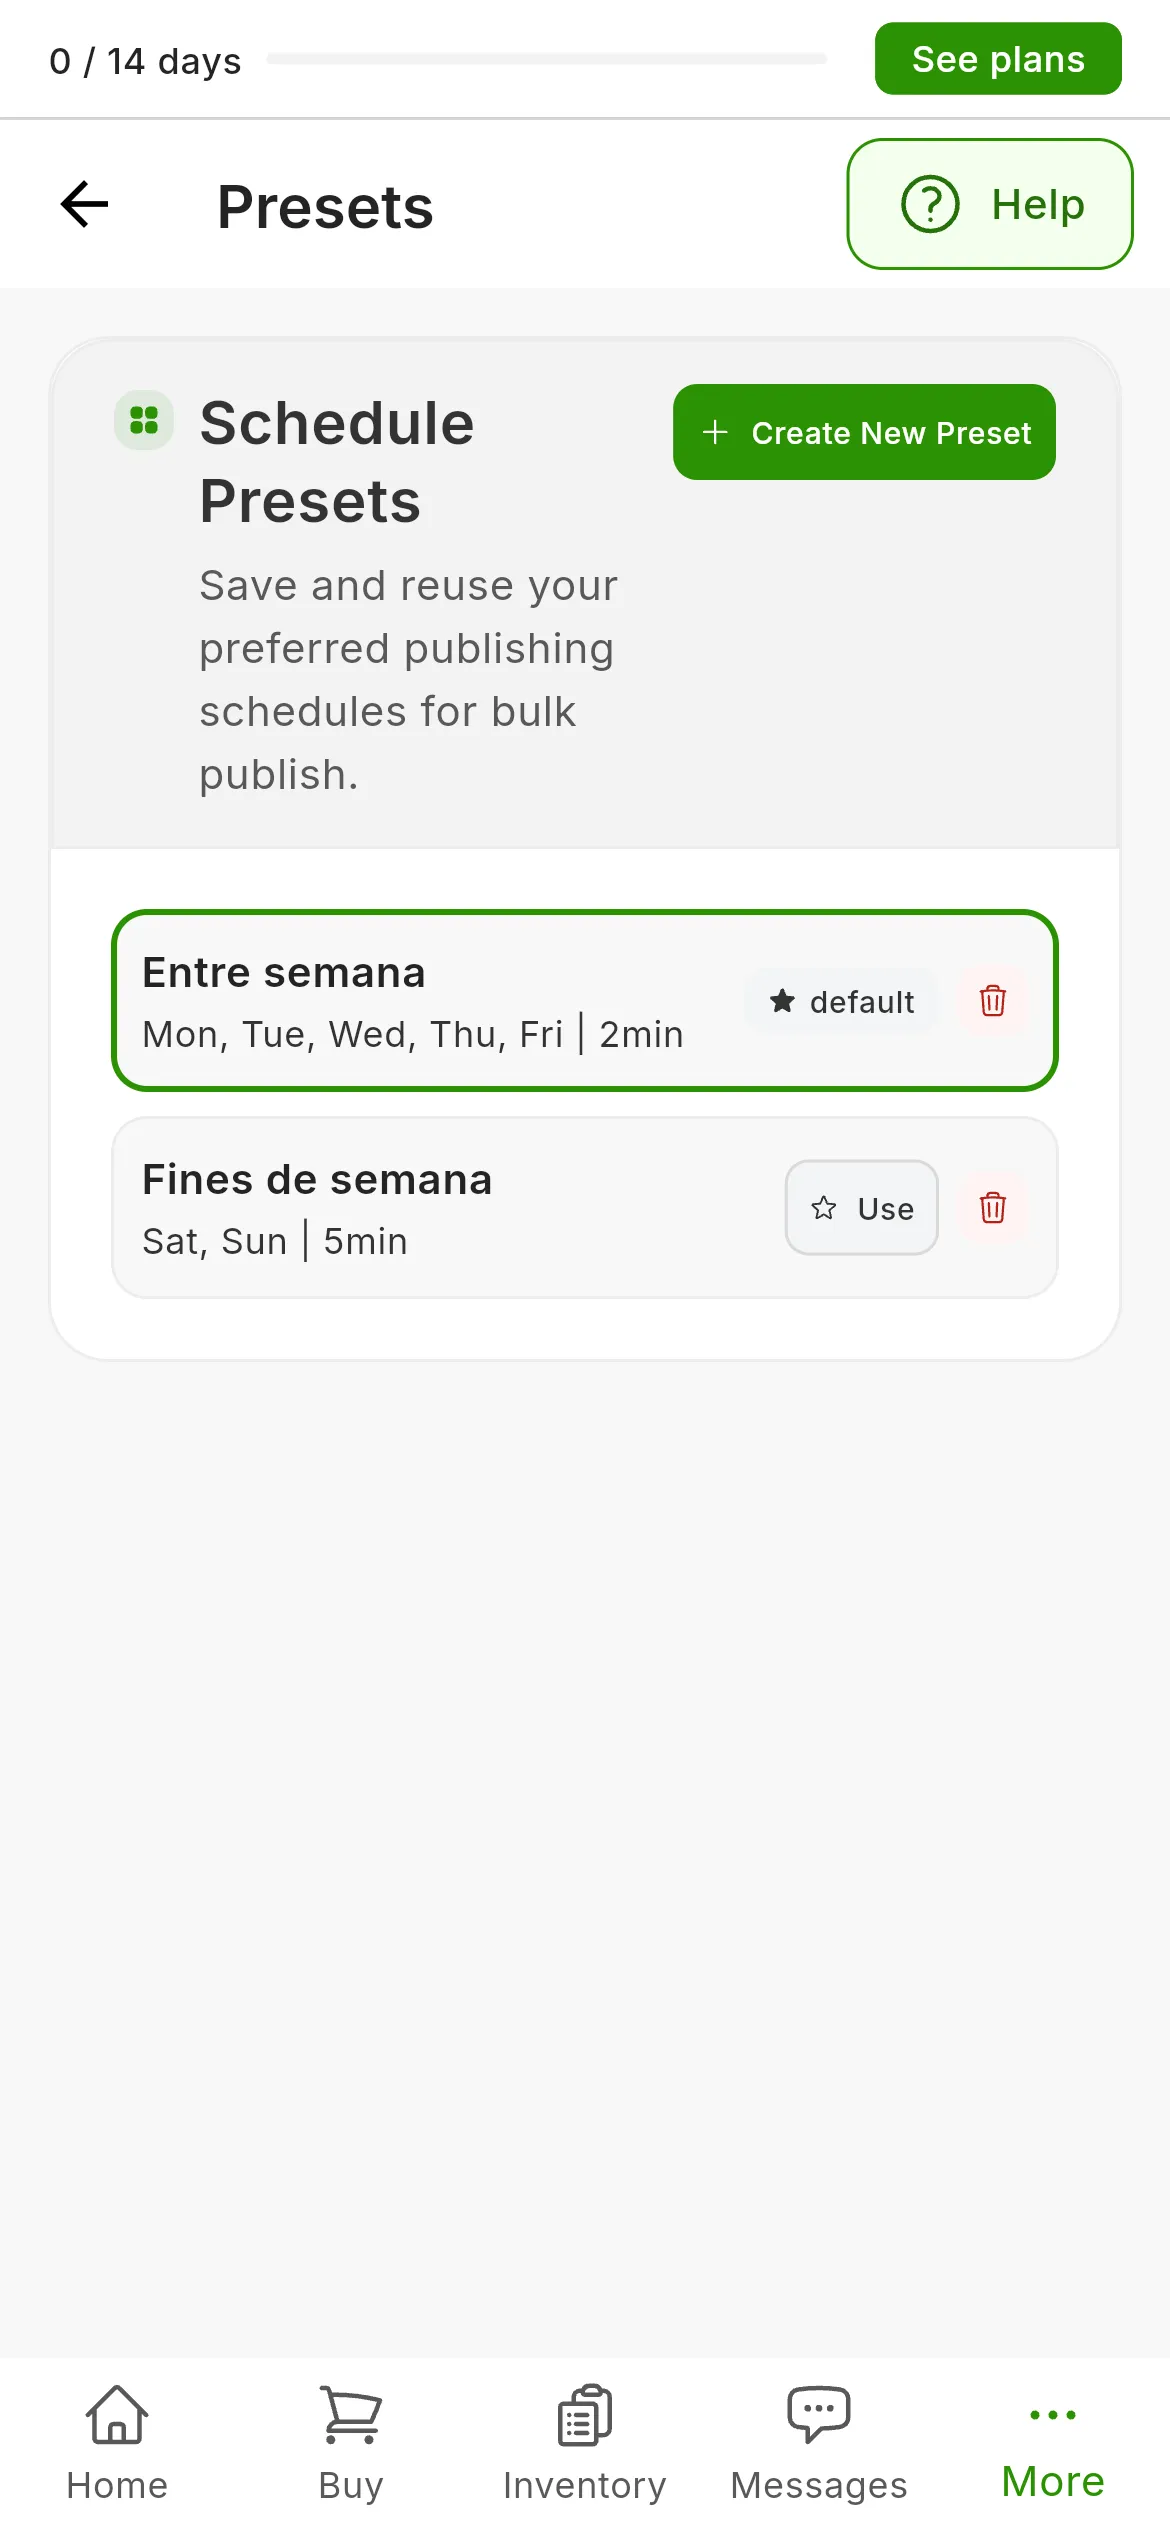
Each preset shows its days and its delay.
To create one:
- Press Create New Preset.
- Type the Preset Name, for example “Weekdays only”.
- Choose the Delay between publications and the Activity hours. A new preset starts at Auto · 2 min, Monday to Friday from 09:00 to 21:00. Give it at least one day with a window: without any, the wizard will not let you continue with it.
- If you want the wizard to offer it to you, turn on Set as default.
- Press Create.
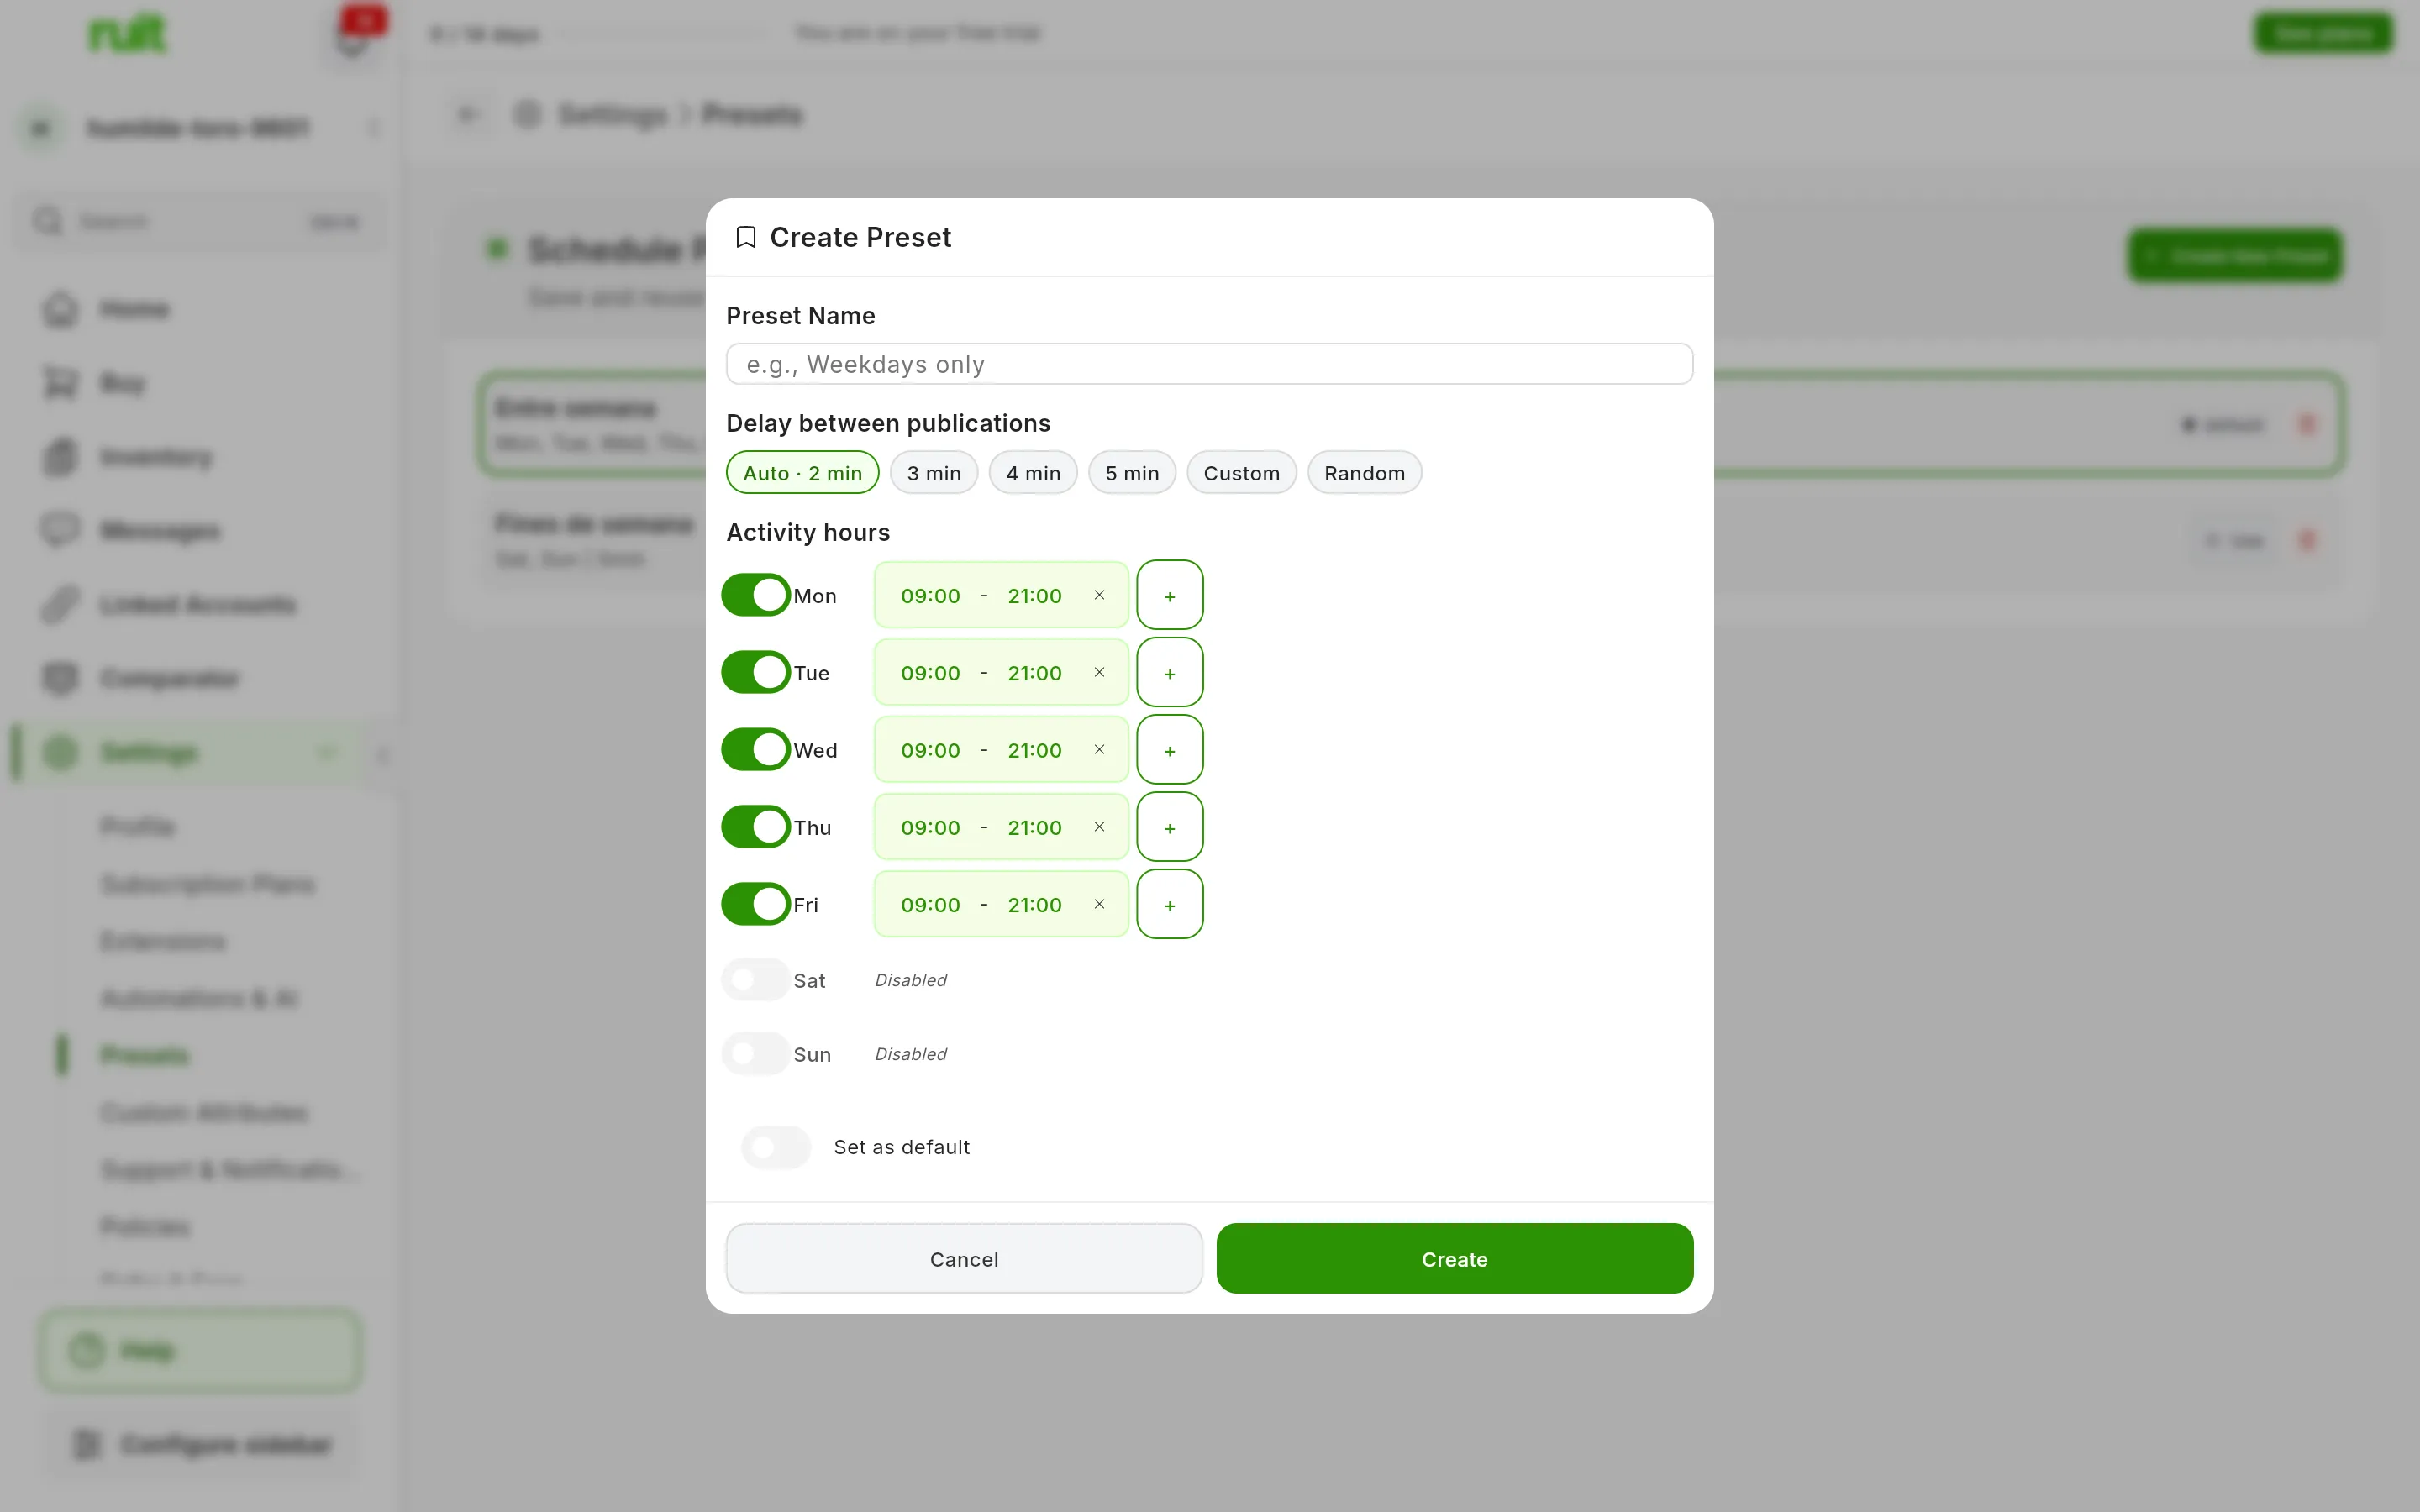
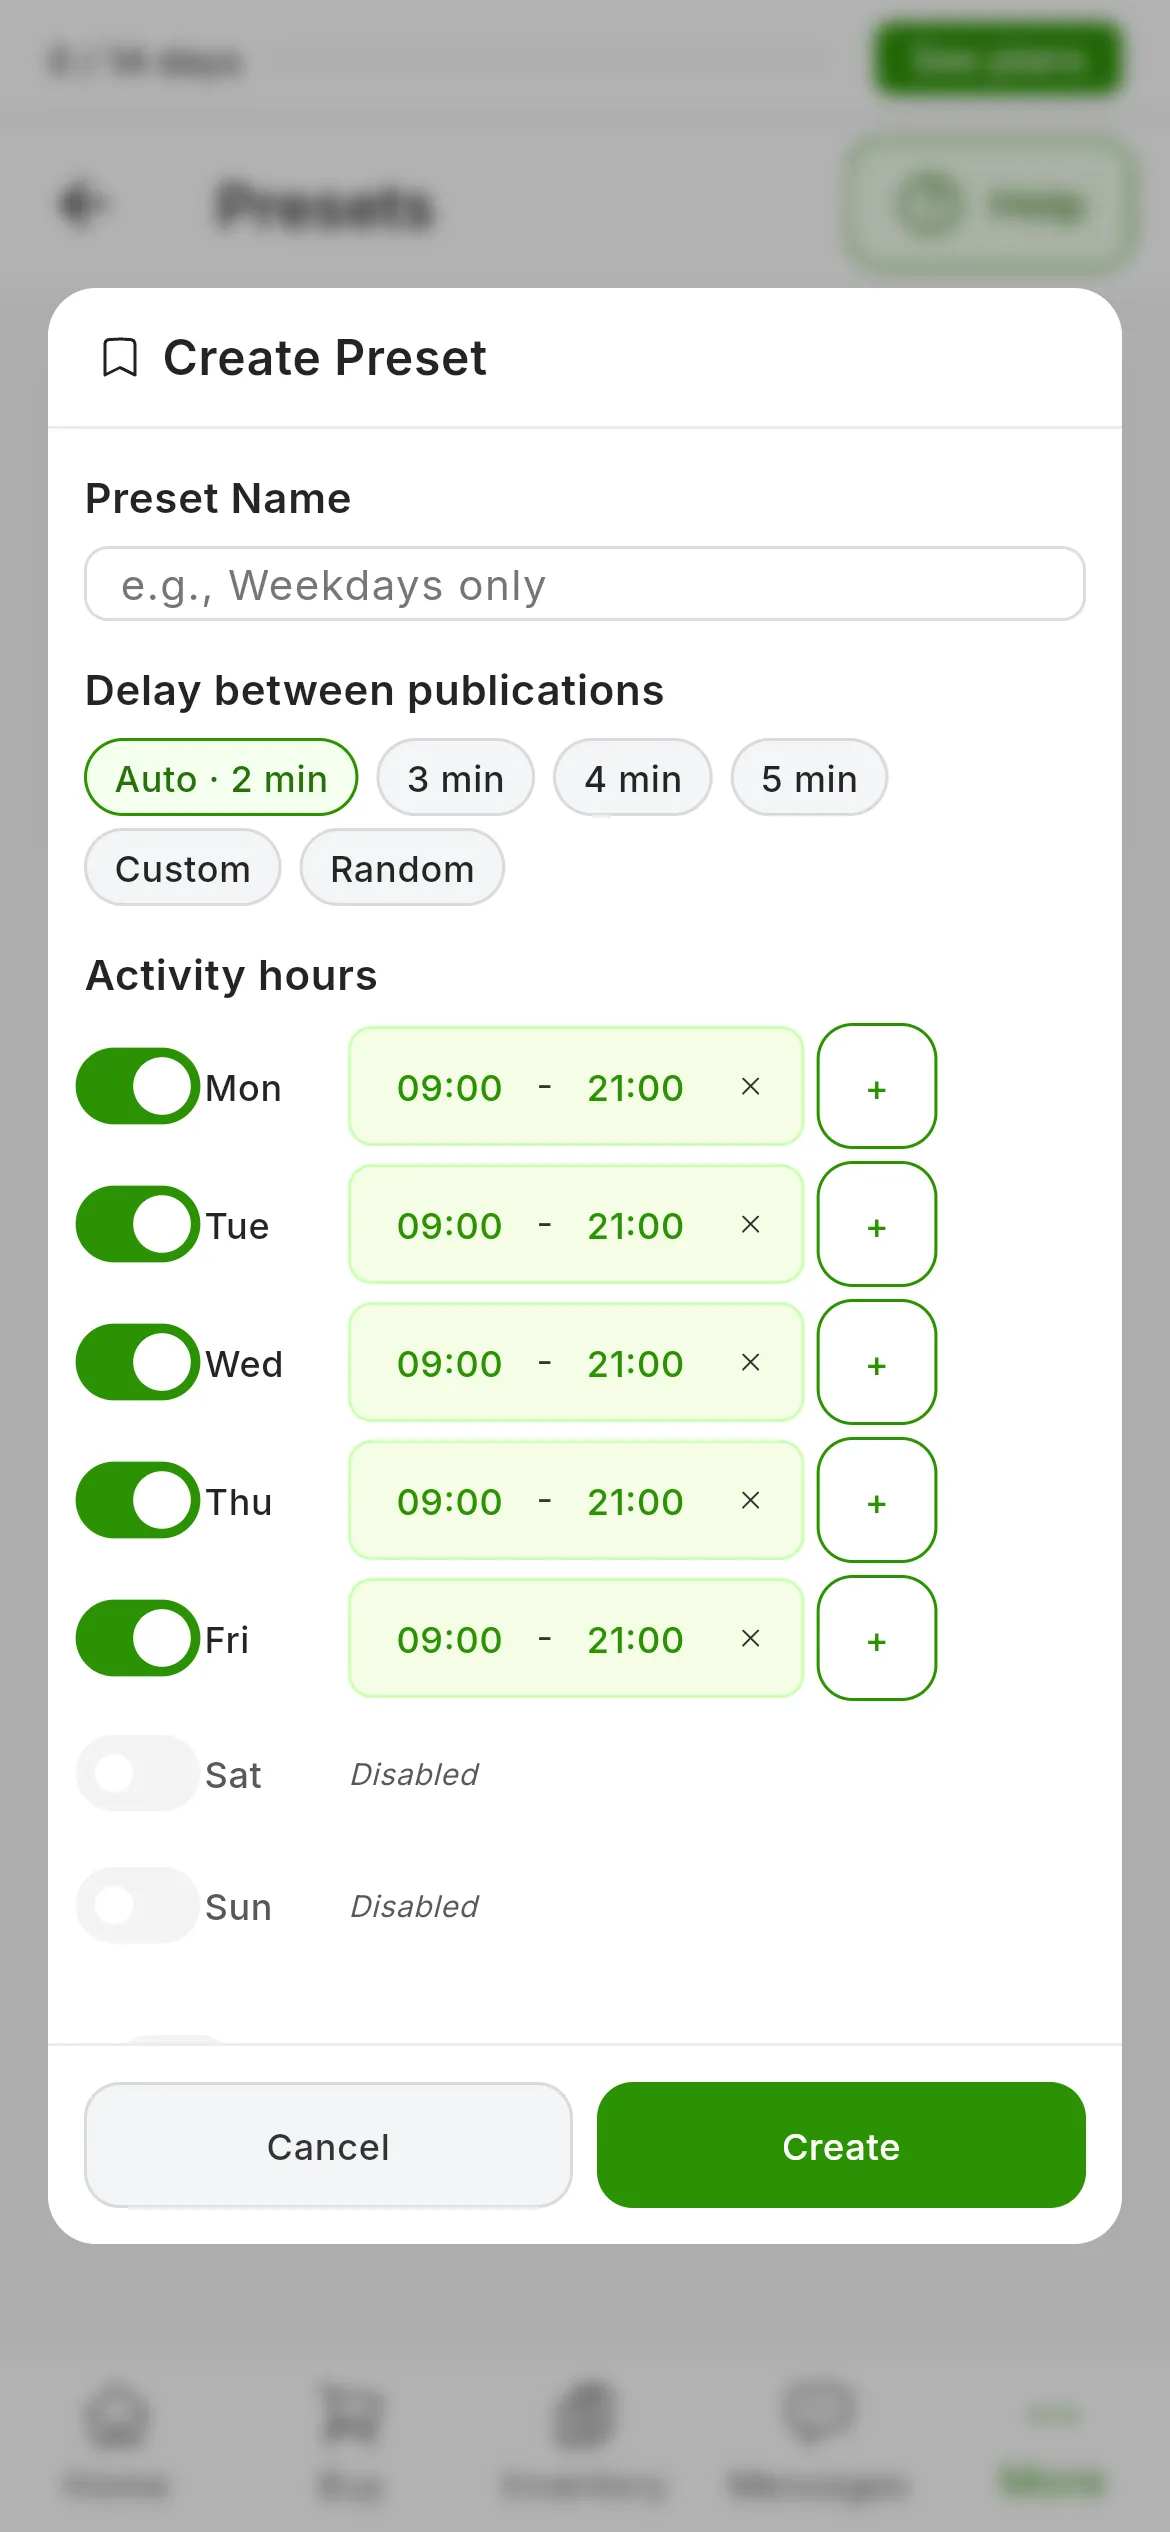
A new preset starts like this: Monday to Friday, from 09:00 to 21:00.
In the list, each preset shows its name, its days and its delay:
- Press it to change it in Edit Preset, and save with Save.
- Use marks it as the default. There can only be one, and it carries the default mark.
- The trash can deletes it, after you confirm with Delete.
Changing or deleting a preset does not affect jobs already launched: each job stores its delay and its hours when it starts.
Presets also work for bulk renewing
When you renew several listings at once, the scheduling step has the same preset selector. There the delay counts between renewals on the same account, not on the same marketplace. Renewing is explained in Renew a listing.
Video
Video not recorded yet: Adjusting the pace of a bulk publishing job
Did this article help?
Thanks for telling us.