Product attributes
How to add the brand, the size or the color to a product, what RUIT uses them for when publishing, and how to create your own attributes for your organization.
Attributes are the characteristics of a product: the brand, the model, the color, the size, the material. They go on its page, and RUIT uses them to fill in for you the fields that each marketplace asks for when you publish. This guide explains how to add them and, with the Premium plan, how to create your own attributes for your organization.
Adding attributes to a product
In the product form, under PRODUCT ATTRIBUTES, press Add attribute, choose which characteristic it is and type its value. The characteristic comes from a closed list, with the brand, the model, the color, the EU, US and UK sizes, the material, the country of origin, the memory, the ISBN, the author or the publisher, among others. You type the value yourself.
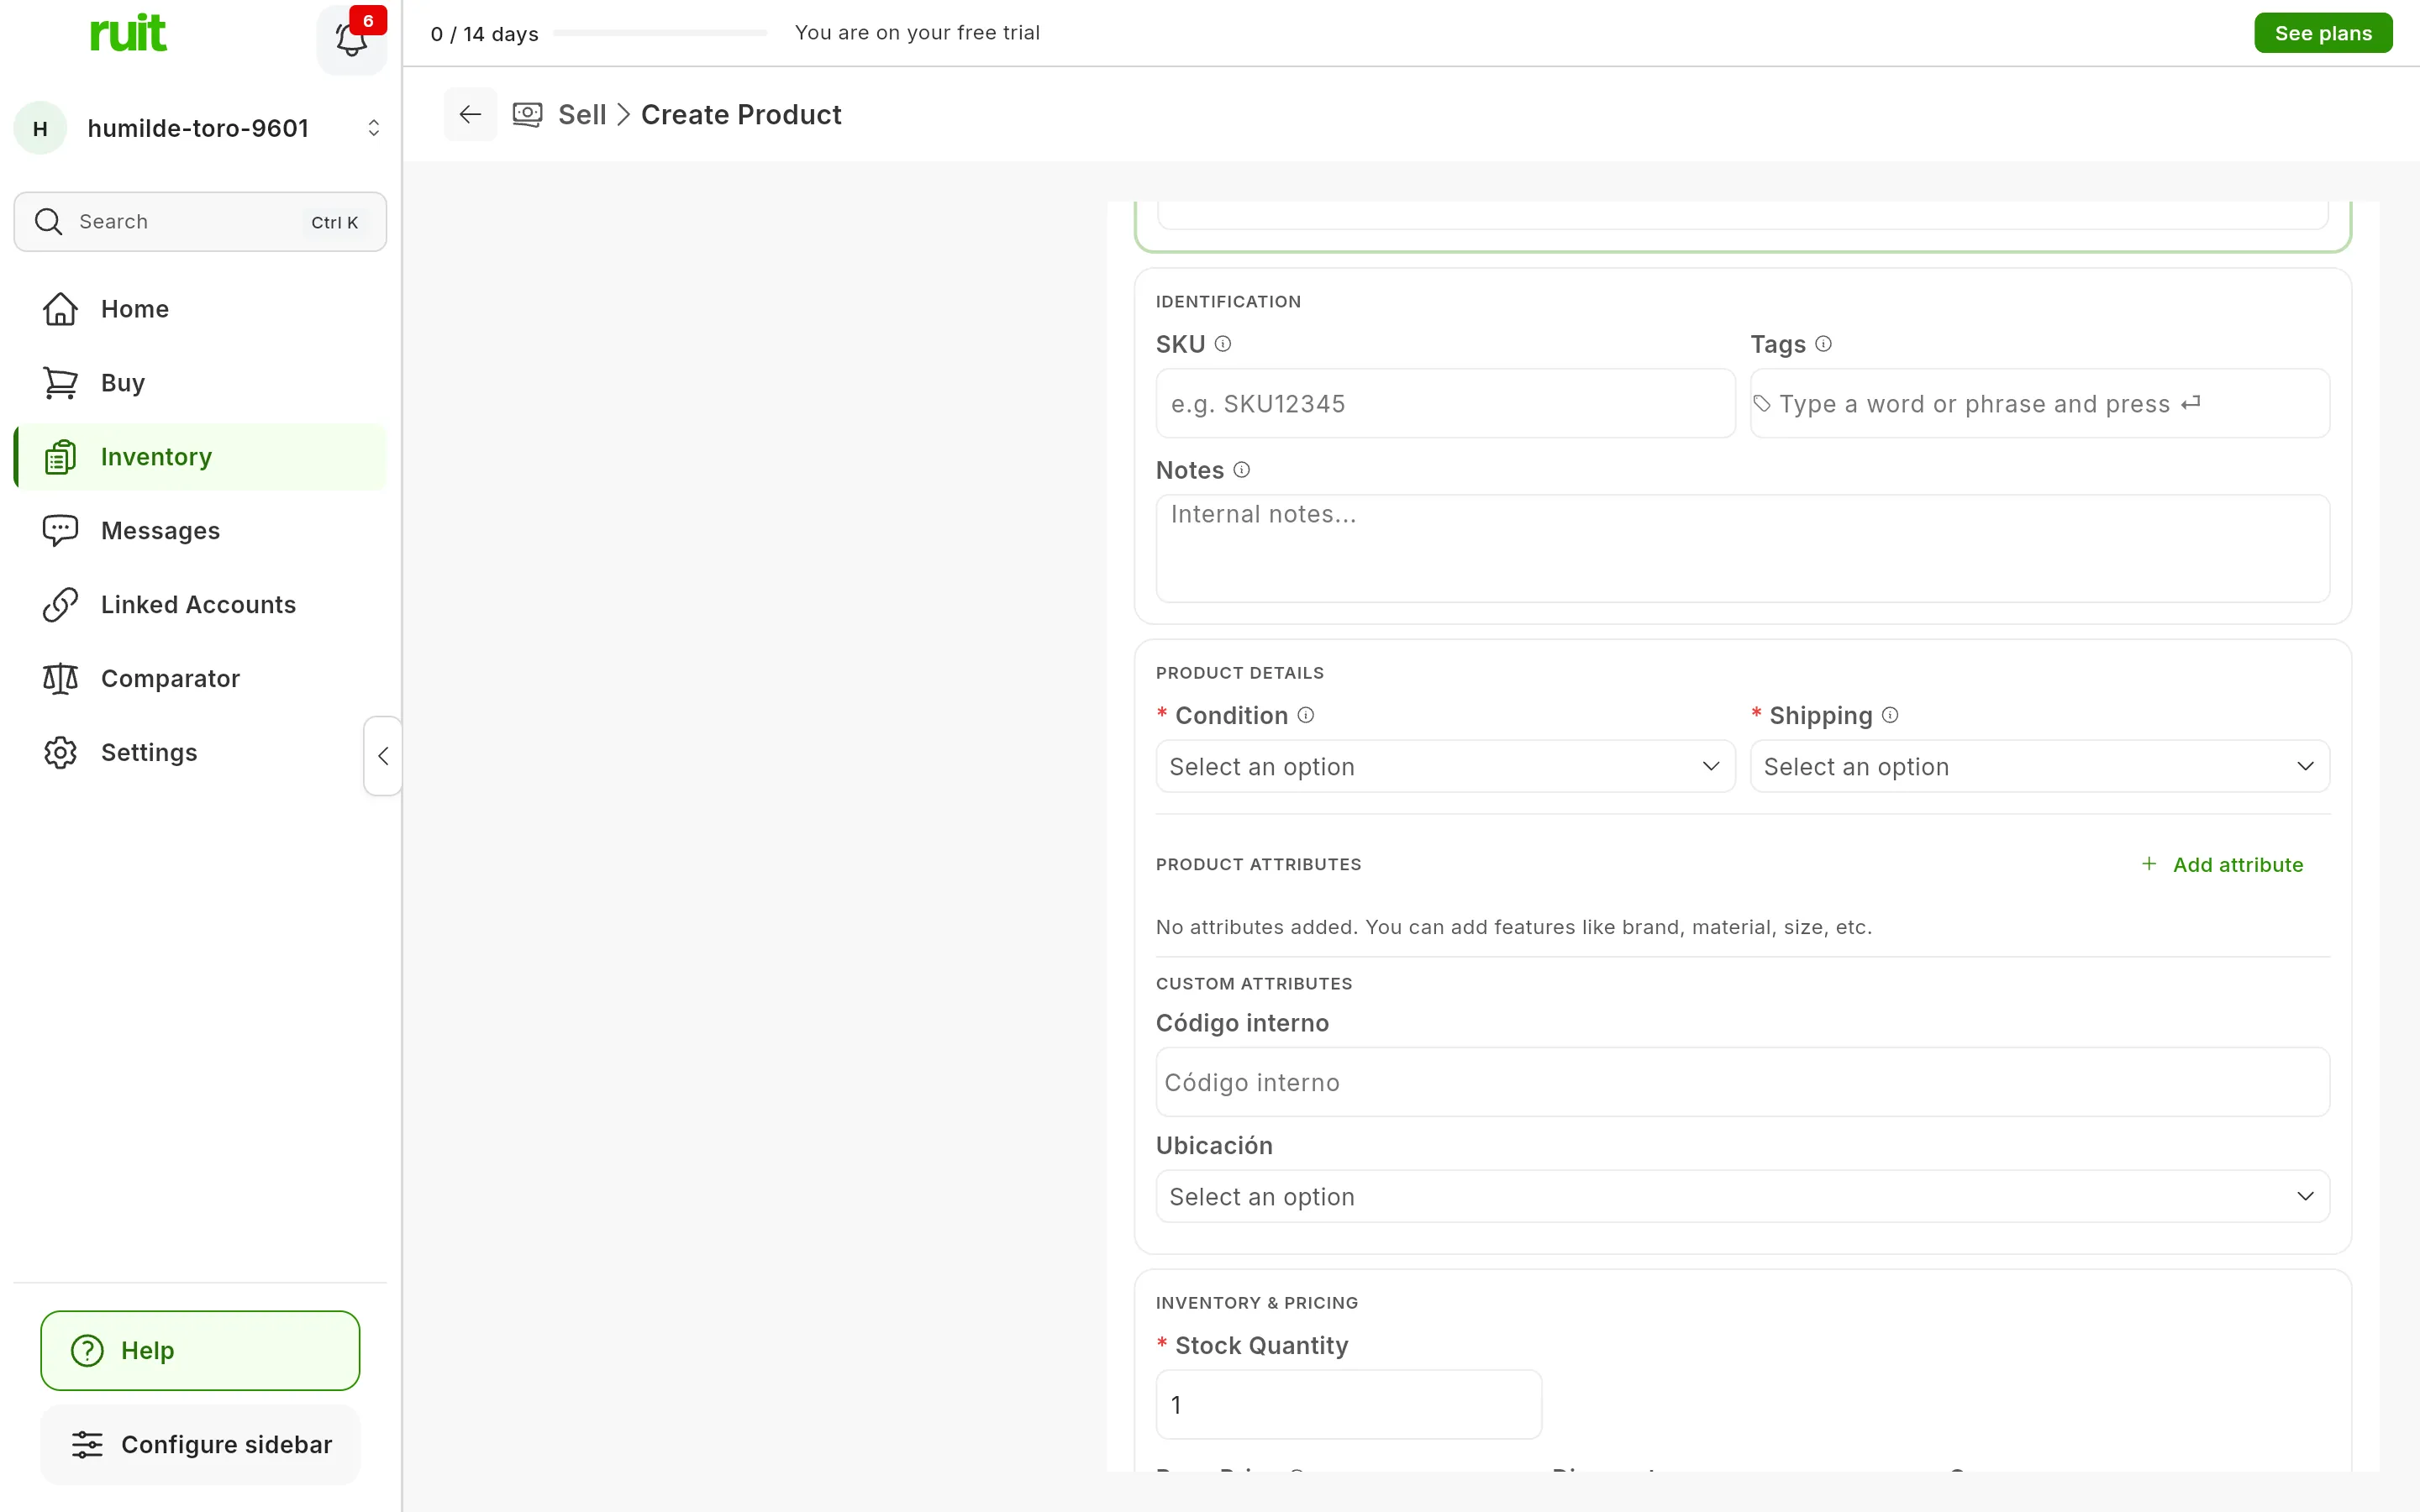
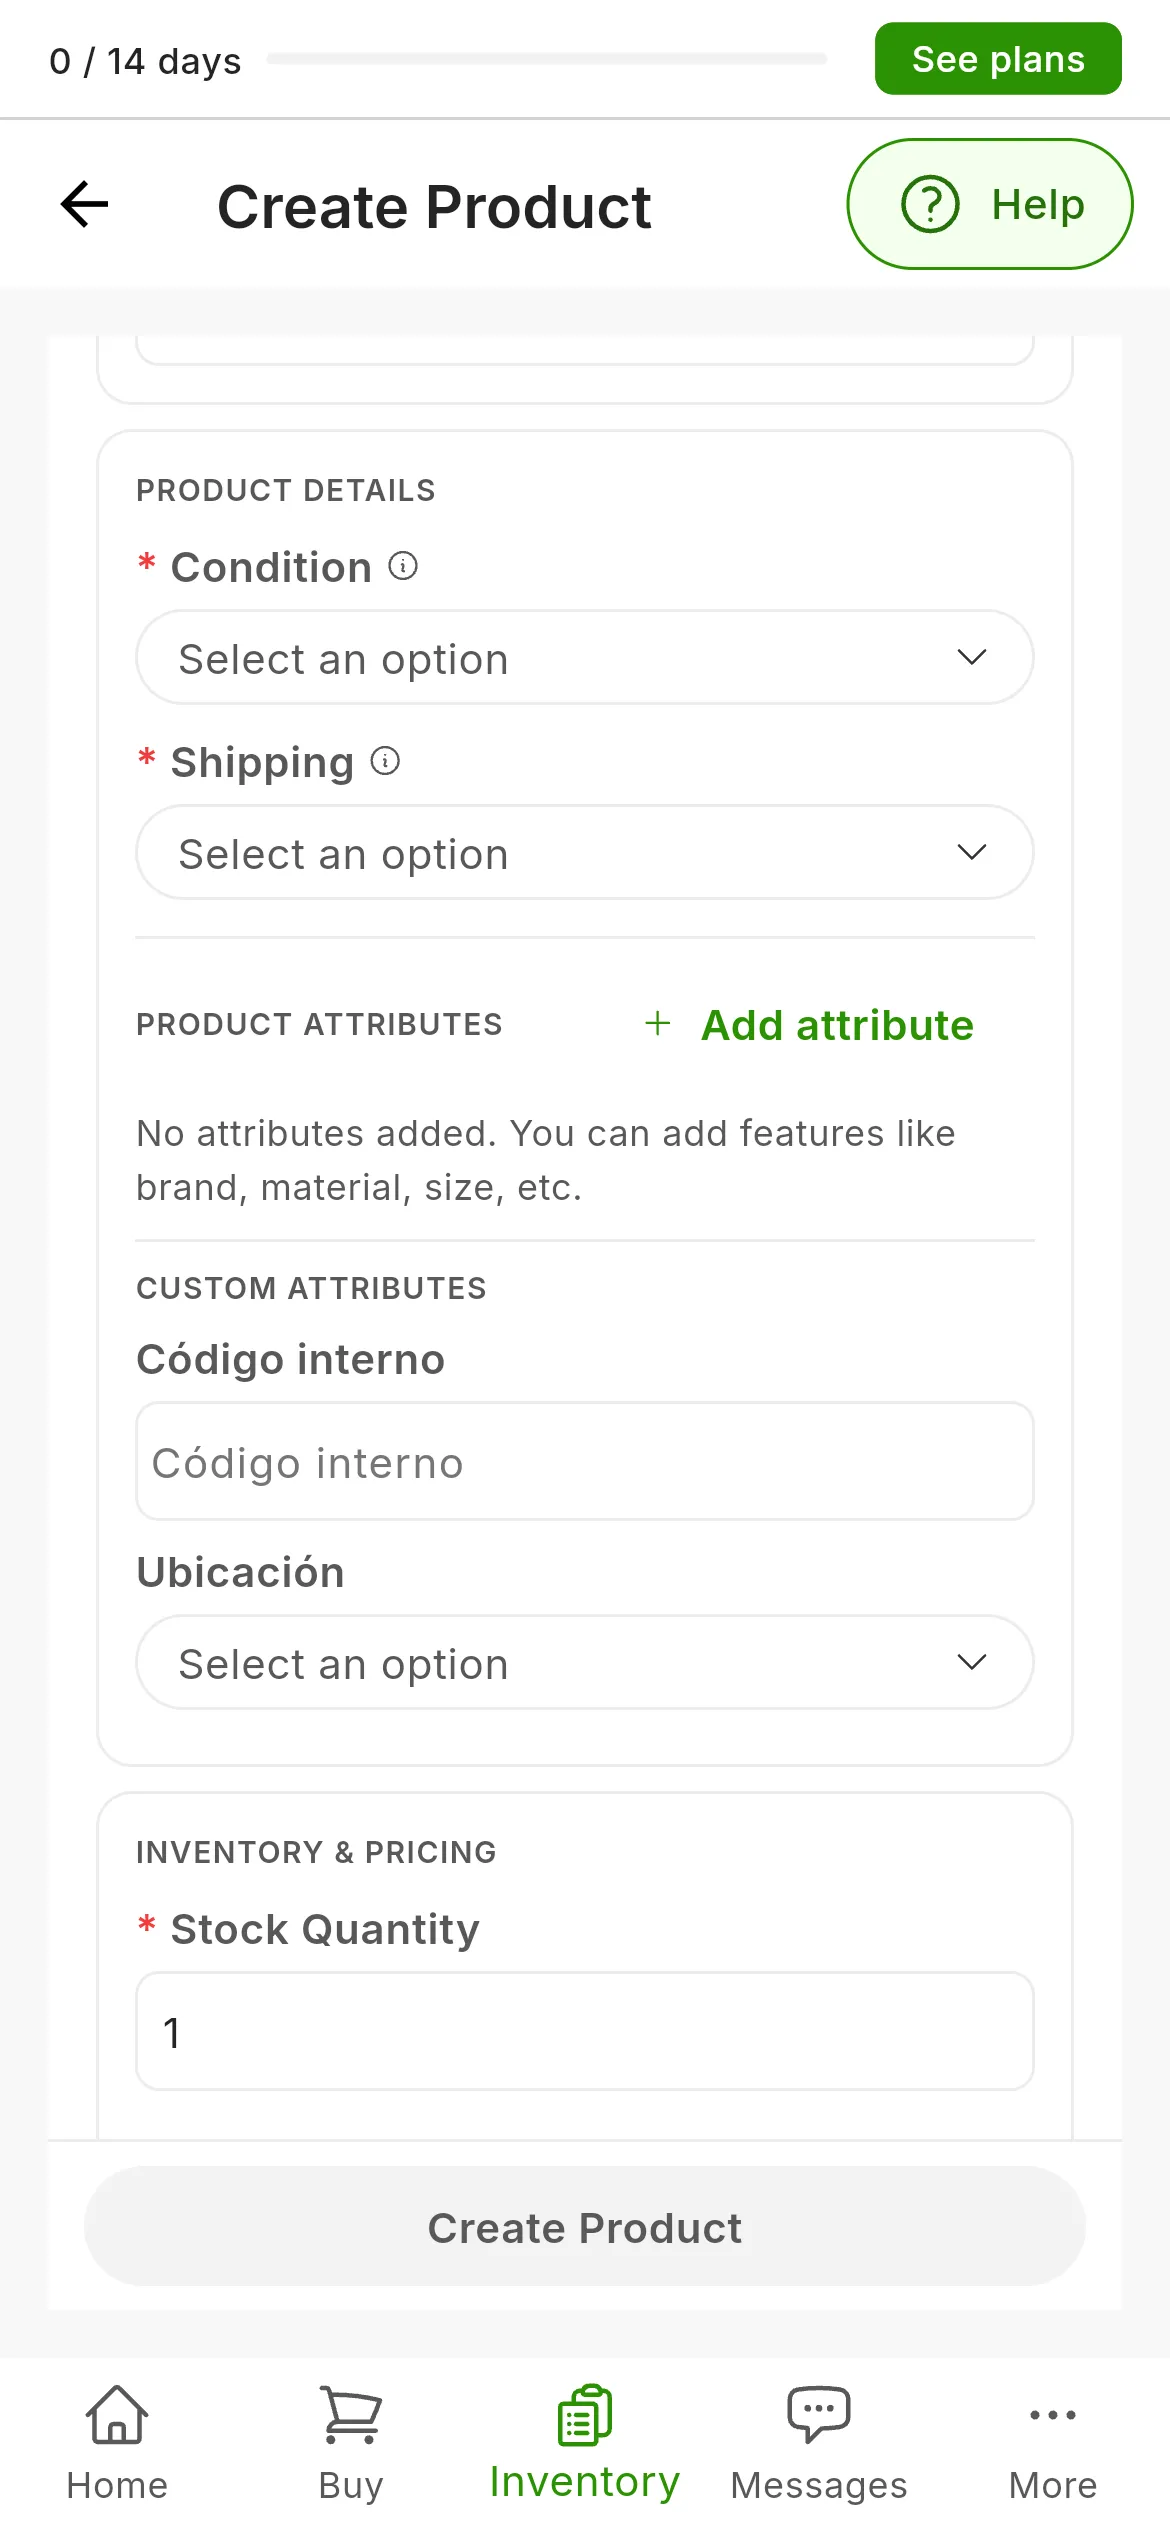
Add attribute (1), in the product form. Below it, under CUSTOM ATTRIBUTES, the ones the
organization has created, here Código interno and Ubicación.
You do not always have to type them yourself: the AI works them out from the photos, and the import brings in the ones that came with the listing. Next to the ones the AI has set you will see a confidence indicator, with the percentage when you hover over it.
Each characteristic takes a single value. A RUIT product is one size, one color and one stock: the same garment in two sizes is two products.
What they are for
- When publishing, each marketplace asks for its own fields depending on the category, and RUIT brings them already filled in with your attributes. The more complete the product page, the less you will have to type when you publish.
- In the products table, the Attributes filter and the Brand, Color, Size and Model columns let you search for your products and view them by attribute.
- When exporting the inventory to CSV, they go in their own columns.
They are not the same as tags. You write tags to organize yourself, search and filter, and they do not travel to any marketplace. Today they cannot be renamed or deleted from the app: if you need to change one, ask us from Help.
Creating your own attributes
If the list falls short, with the Premium plan you can create attributes for your whole organization, like an internal code or a location in the warehouse. The owner and the administrators create them; the rest of the team fills them in.
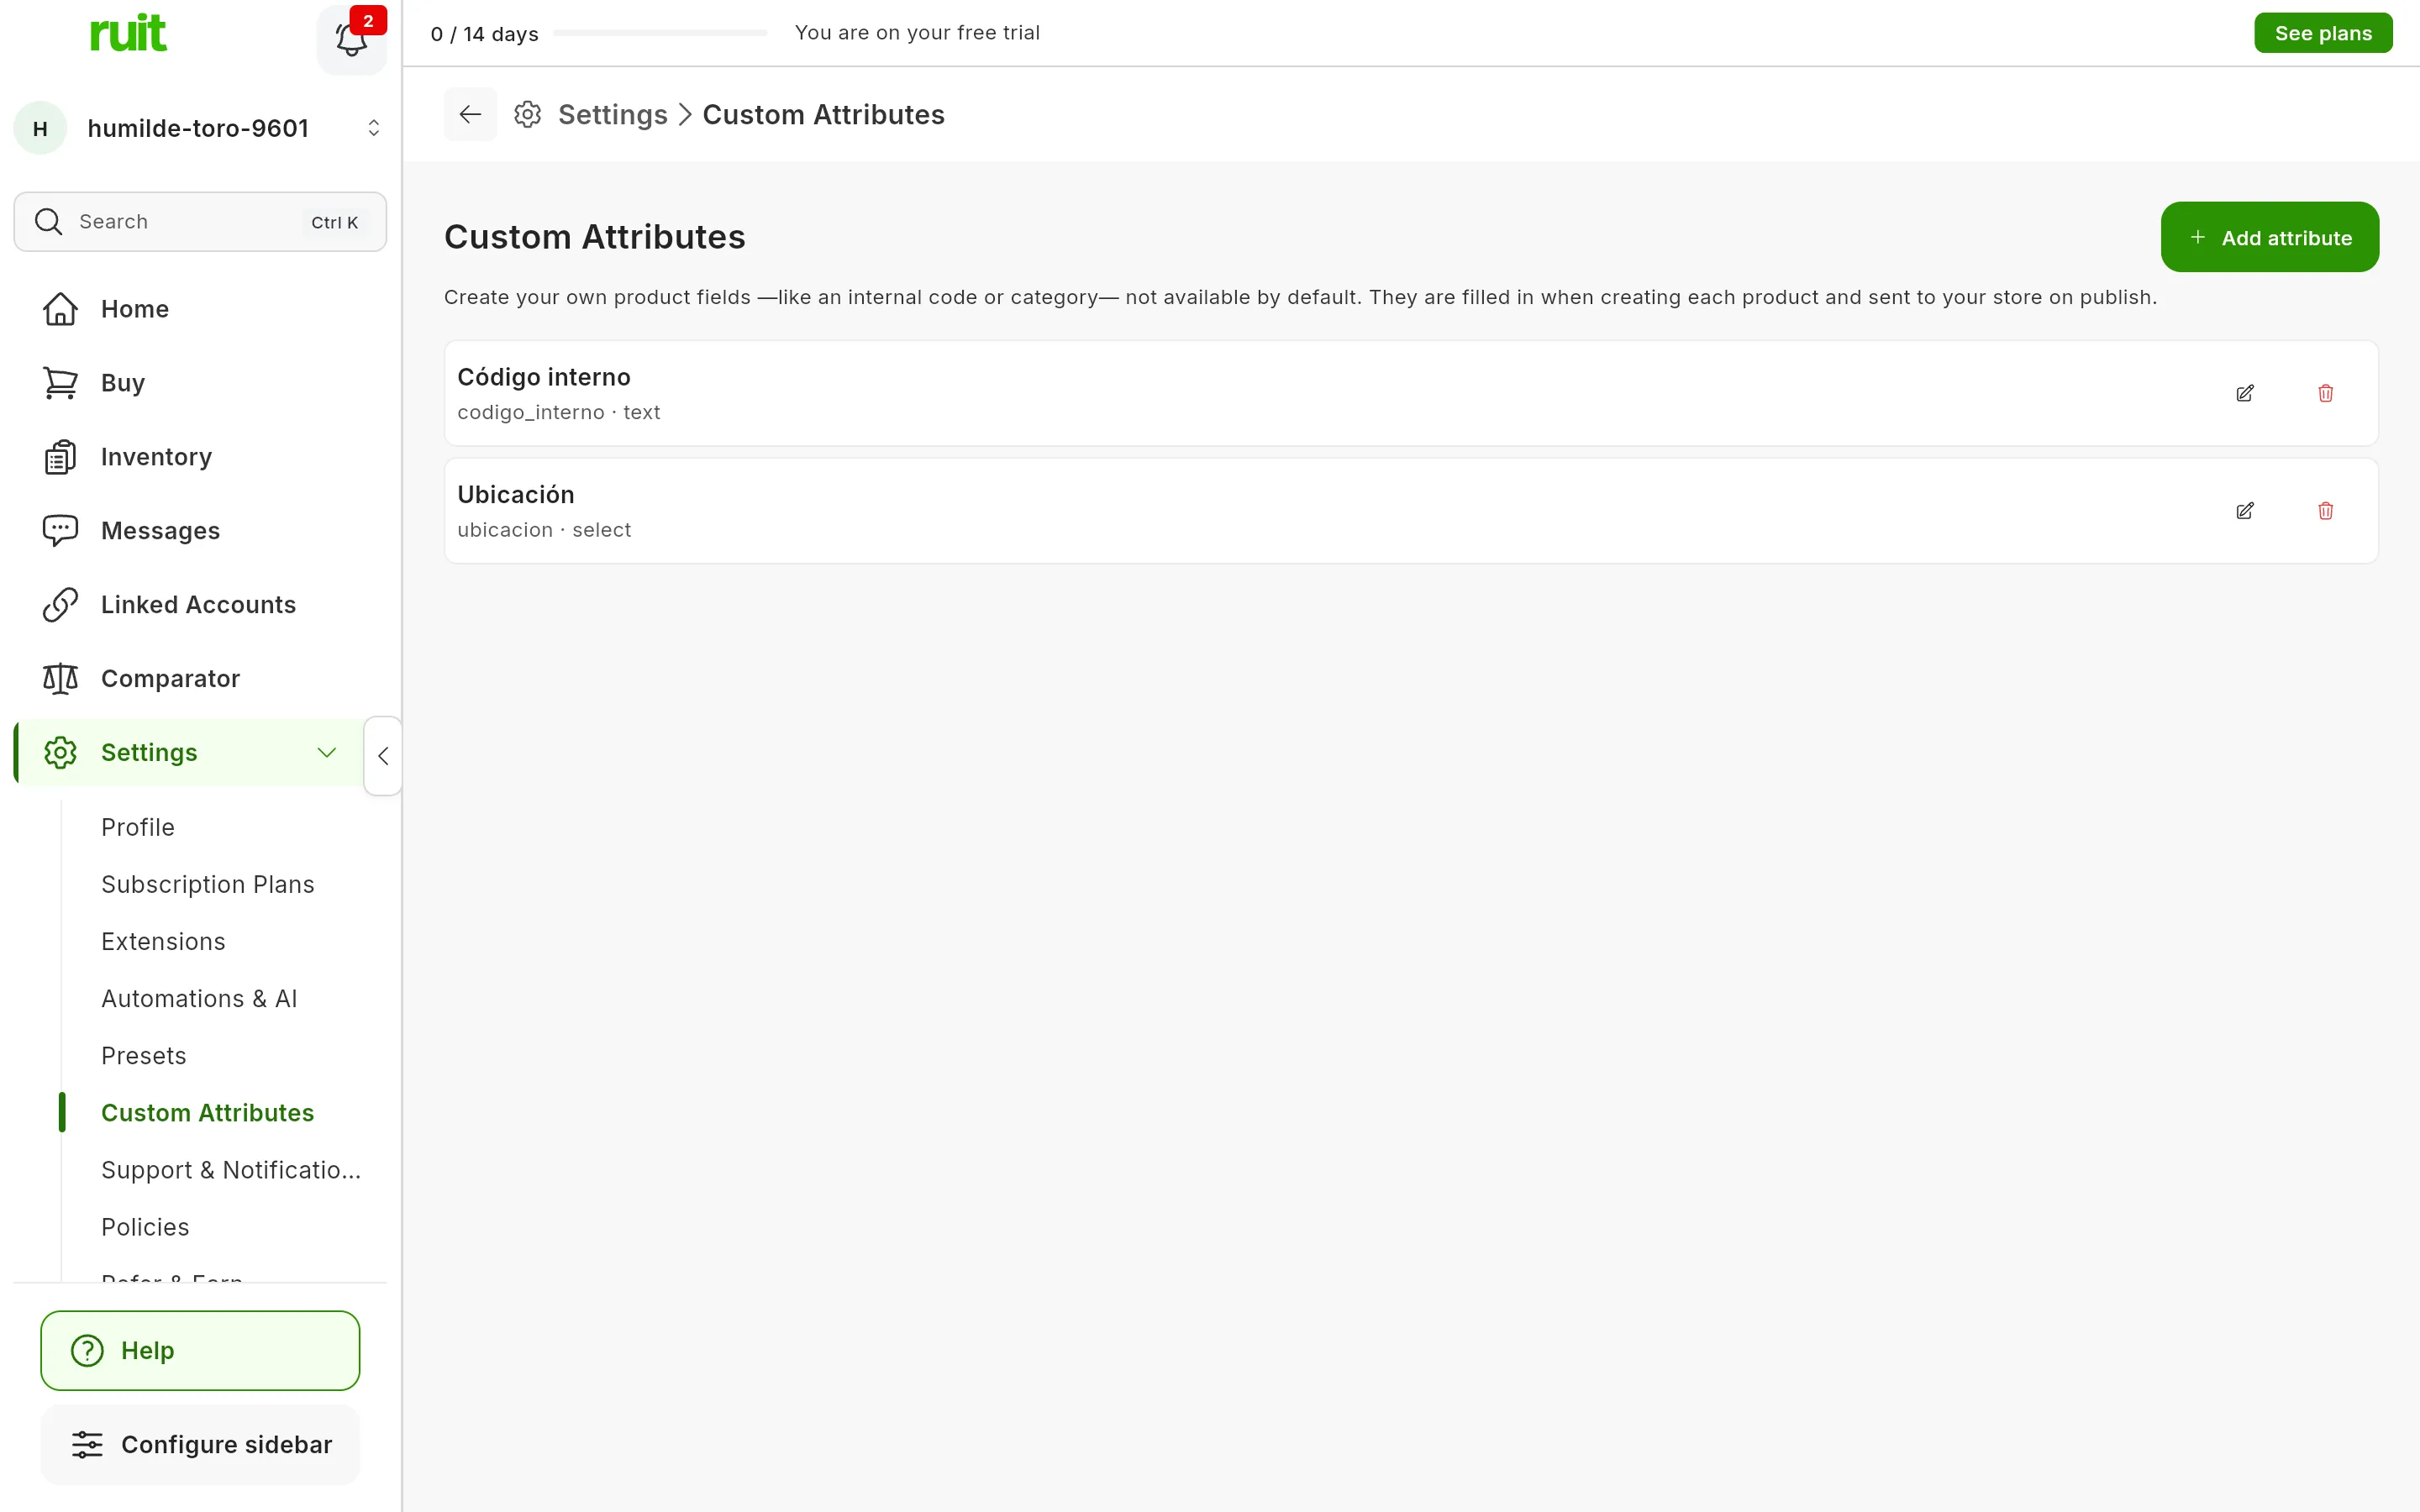
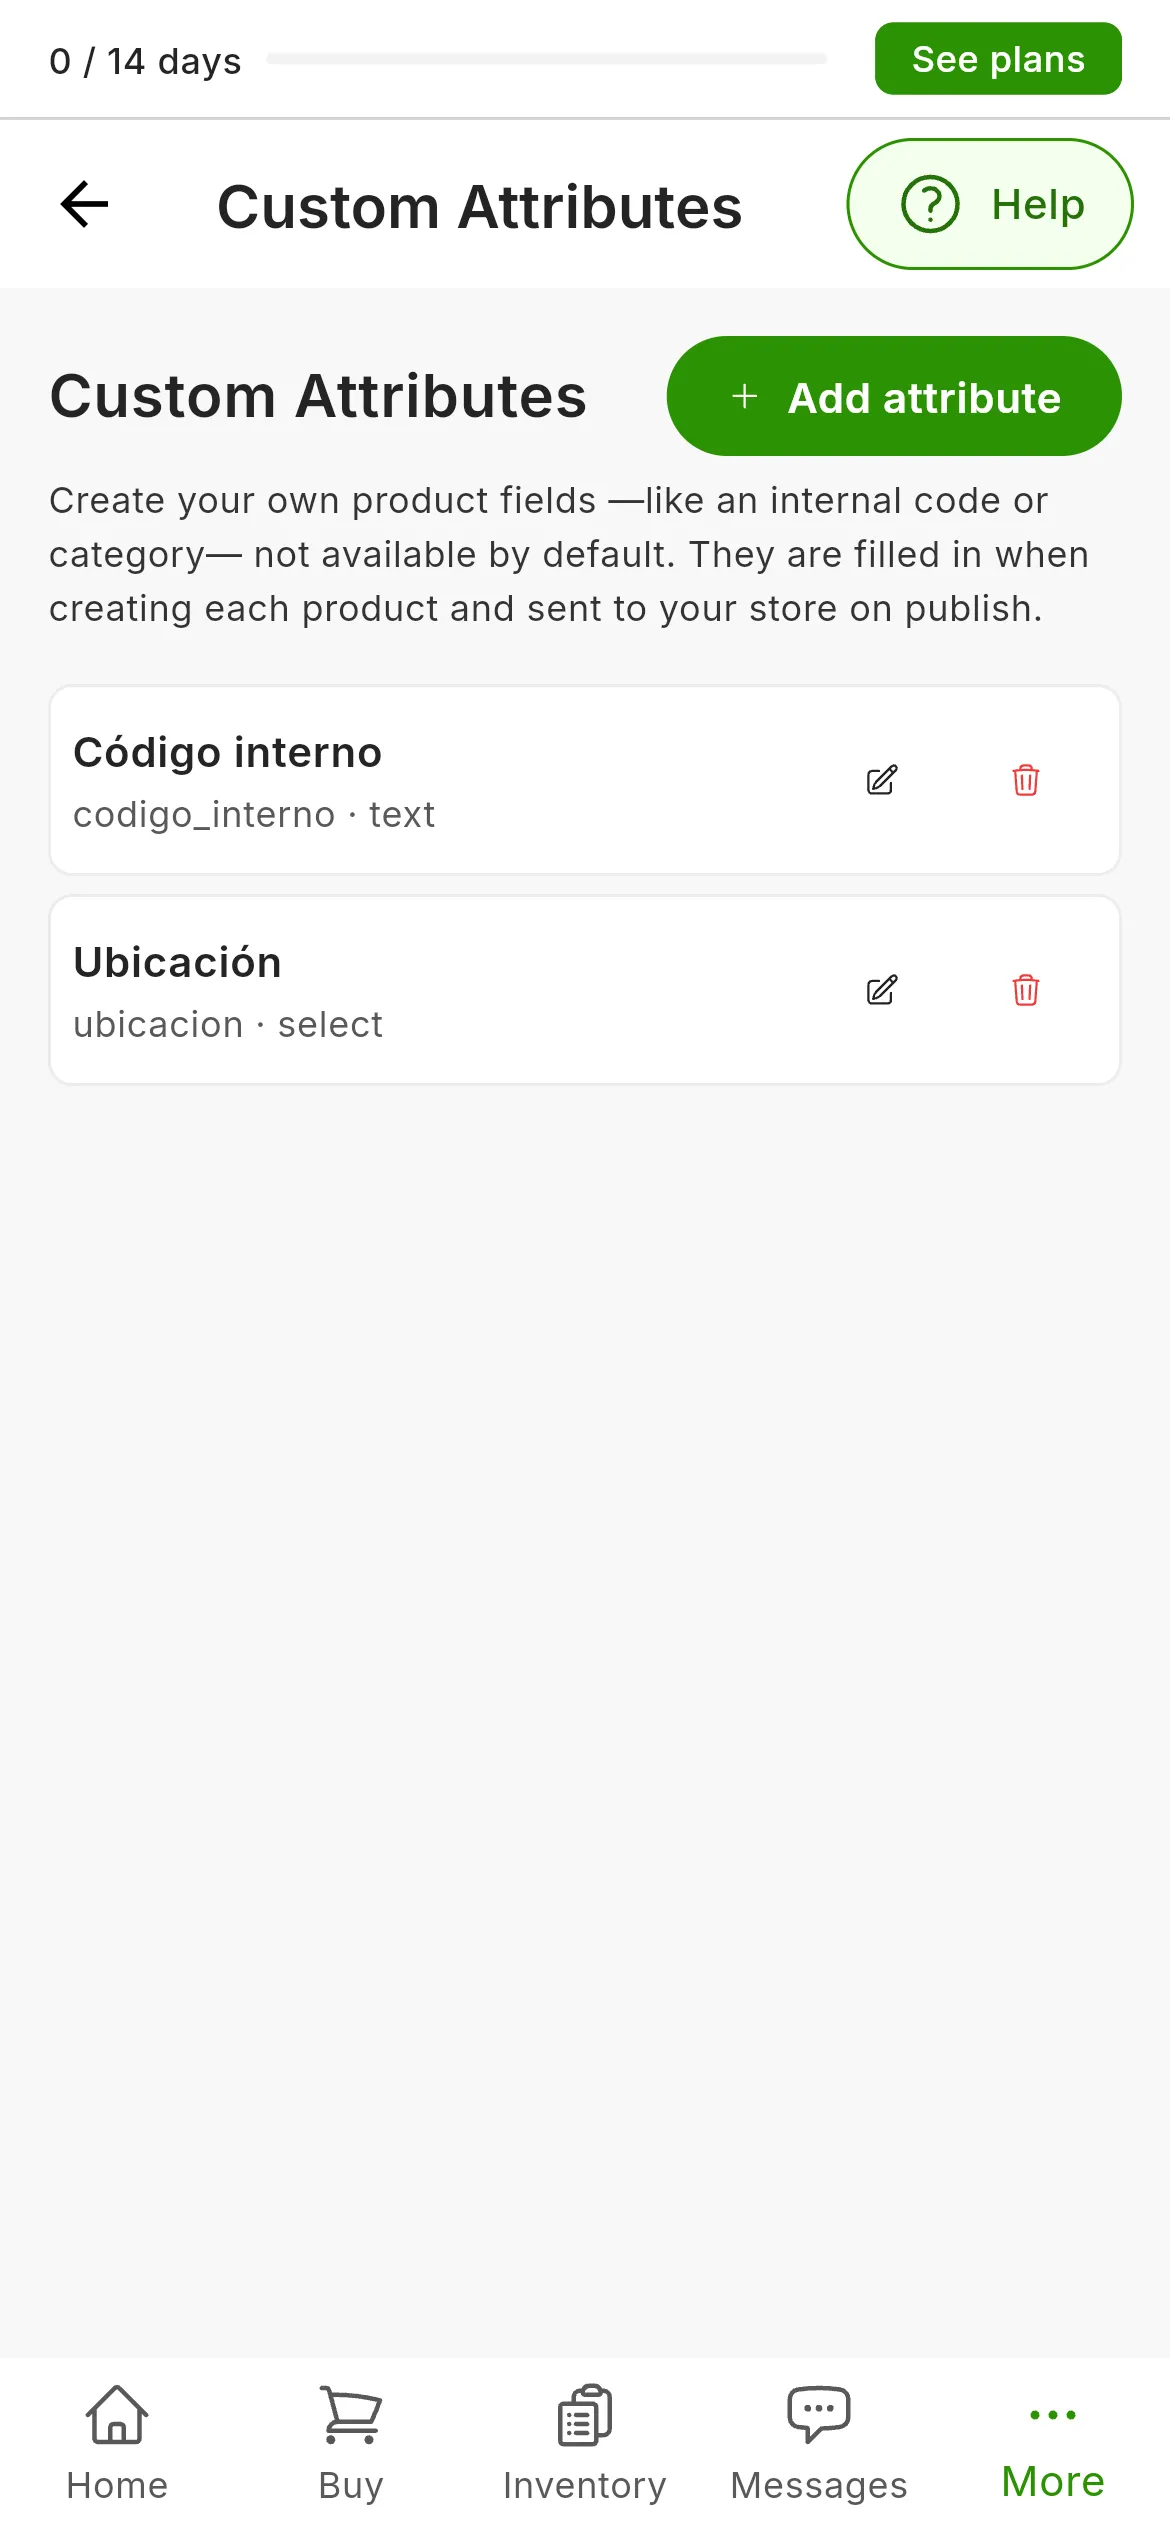
Settings → Custom Attributes.
- Go to Settings → Custom Attributes and press Add attribute.
- Type the Label, which is the name you will see in the product form.
- Type the Key, the identifier it is sent to your store with. Use lowercase letters, with no
spaces or accents, like
codigo_interno: it cannot be changed later, and it cannot be repeated. - Choose the Type: Text, Number or Select. With Select, add each option with Add option: its Value, which is what gets sent, and, if you like, a Label, which is what is shown.
- If the product must not be published without it, turn on Required, and press Save.
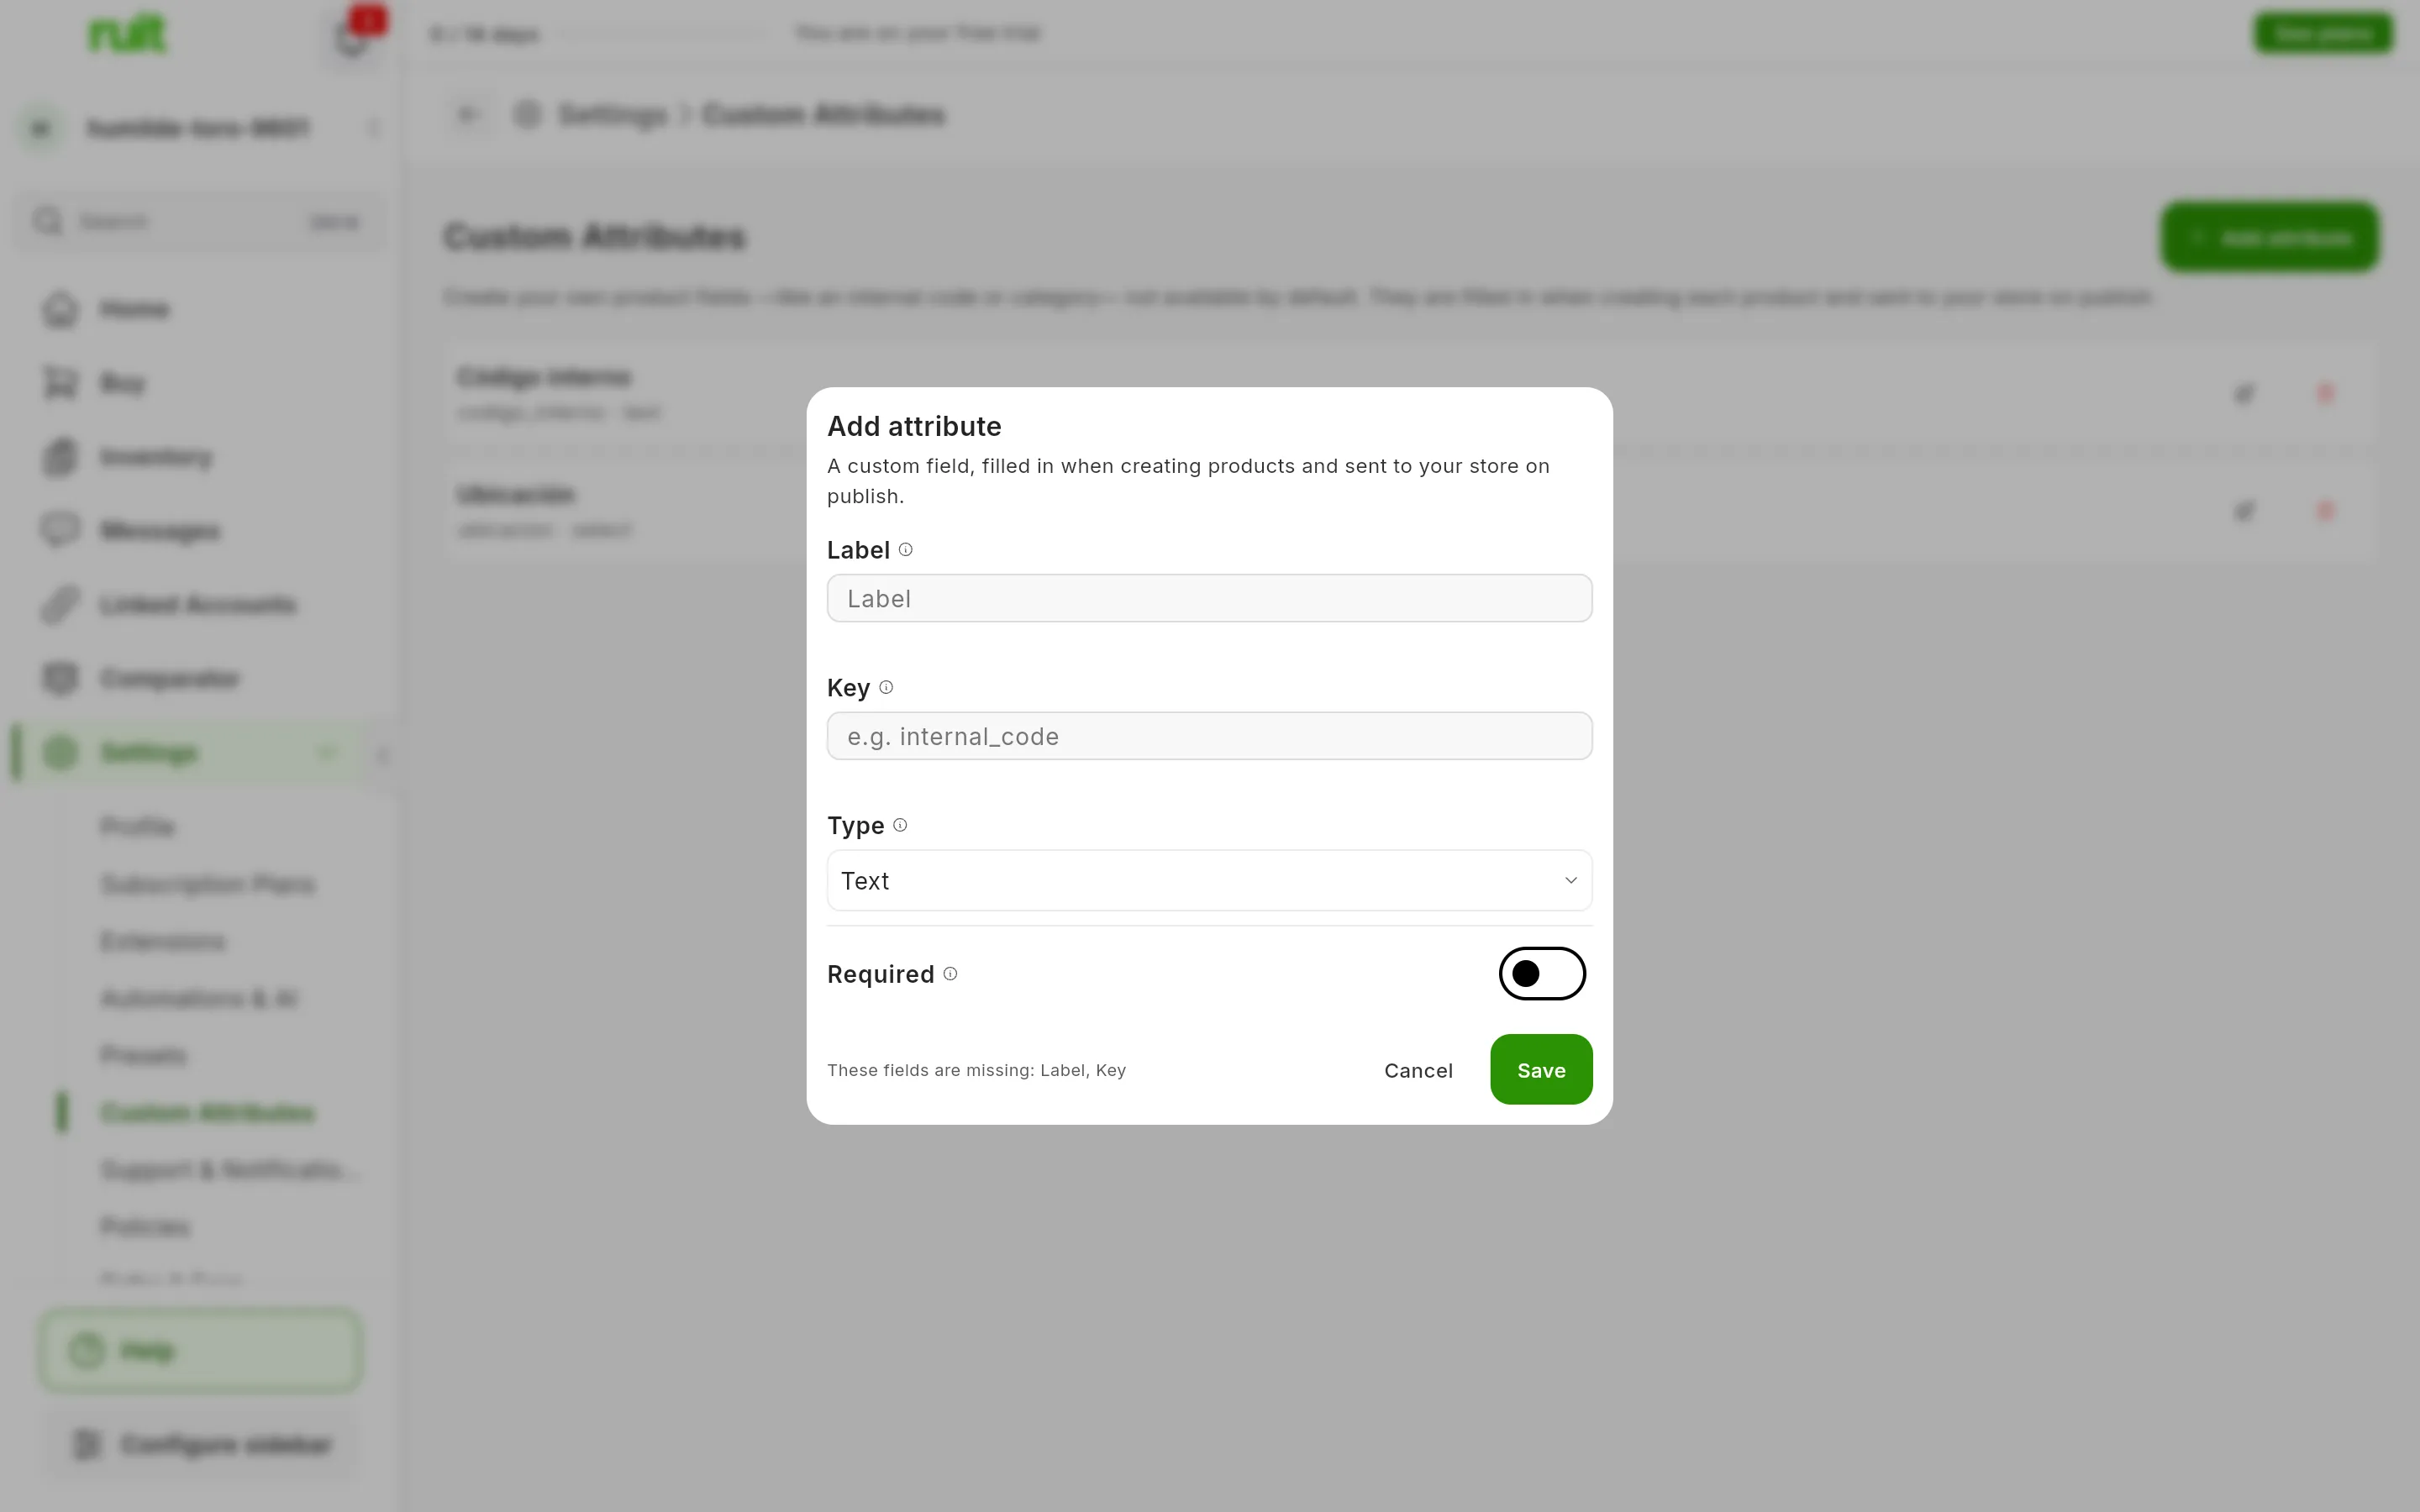
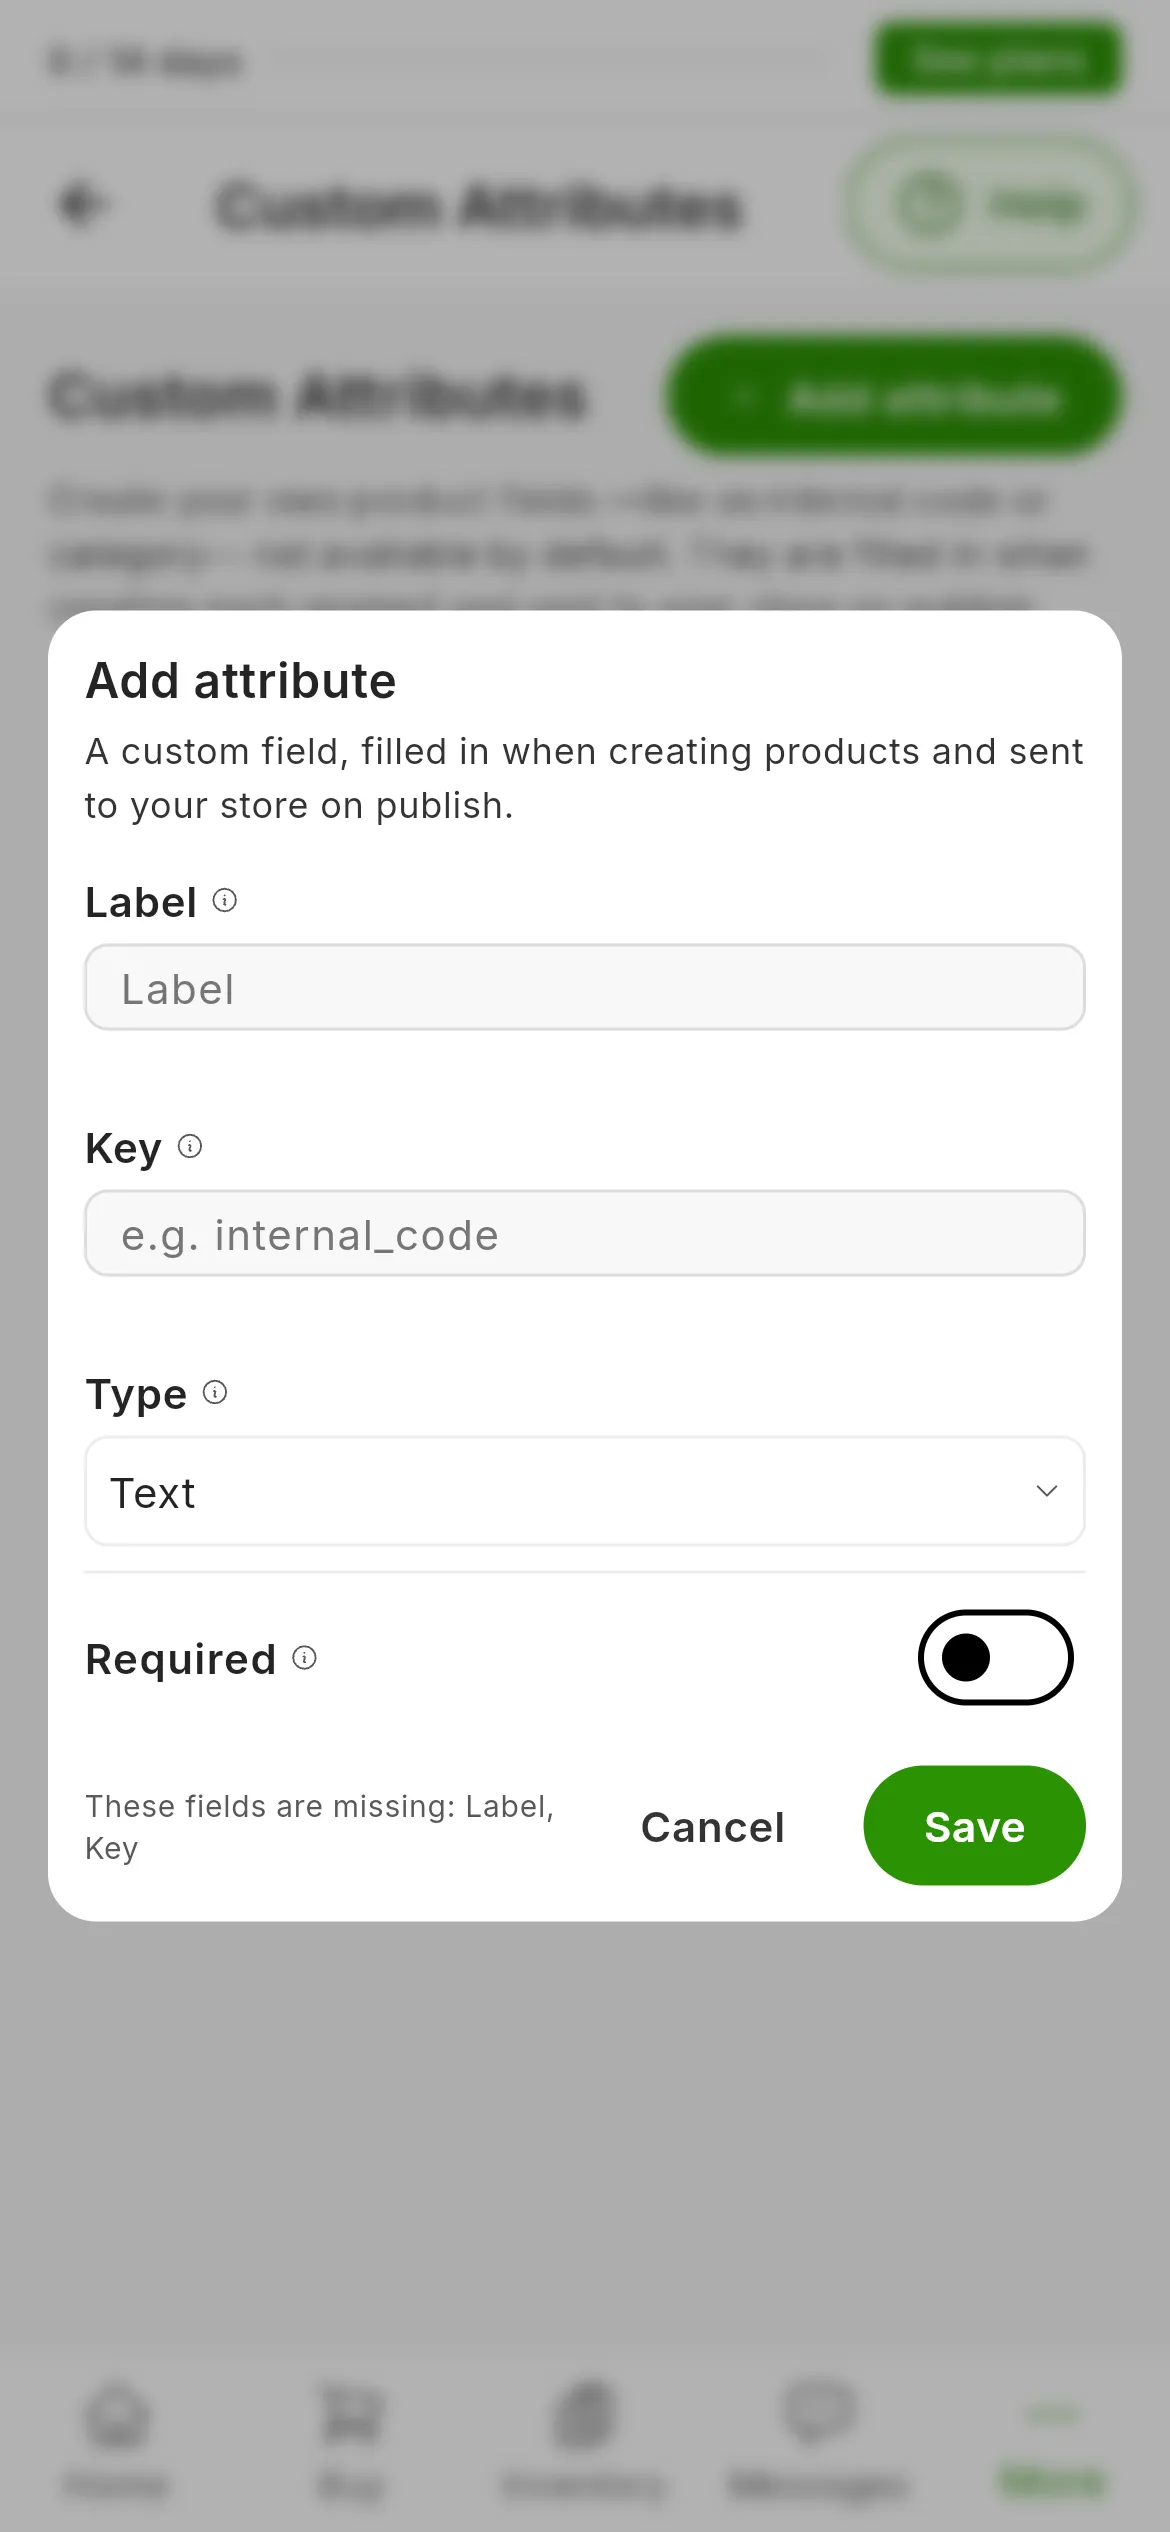
The form for a new attribute.
From then on, every product’s form has a field for it under CUSTOM ATTRIBUTES.
Where they go
Only to WooCommerce. When you publish there, each attribute appears in the publishing form already filled in, and it reaches your store as a piece of product data under its key, which your customers do not see. Required only acts here: if the value is missing, that publication fails. When you import from WooCommerce, the data with the same key goes back to its attribute.
They also appear in the CSV export, and when you import from CSV or Excel you can match a column to them.
Changing or deleting them
The pencil on each attribute edits it; the key stays fixed. The trash can deletes it, and with it the values it had on all your products, with no way back. Whatever was already published on WooCommerce is not touched.
If you leave the Premium plan nothing is deleted: your products keep their values and those values keep reaching WooCommerce, but you lose the screen for managing them. Before changing plan, remove “Required” from the attributes you do not want to keep blocking publications: without Premium you will no longer be able to.
Templates
RUIT has no product templates: there is no way to save a product page as a model for the next one. The closest thing is custom attributes. The Presets in Settings are something else: saved schedules for bulk publishing.
Video
Video not recorded yet: Adding attributes to a product and seeing them when publishing
Did this article help?
Thanks for telling us.